


When you think of making stickers, you probably picture a Cricut and an inkjet printer, not a laser. I did too. So when I heard the xTool M2 could print and laser cut stickers in the same machine, I had to see it for myself.
I've made a lot of stickers over the years, and the two-machine dance is real. Print on the inkjet, move the sheet to a sticky mat, line it up just right, and hope the registration marks scan. Learning how to make stickers with a laser removed every single one of those steps for me.
In this tutorial, I'll walk you through the whole print-then-cut process, explain the one material rule you absolutely cannot skip, and share what surprised me most about the results.
Project at a glance: Time: About 30 minutes | Cost: one sheet of sticker paper plus your design | Difficulty: Beginner
This post contains affiliate links. If you buy through them, I may earn a small commission at no extra cost to you.

Quick Links / Table of Contents
- Materials & Tools
- Sticker Paper vs Printable Vinyl: Read This First
- How to Make Stickers with a Laser Step by Step
- Tips & Troubleshooting
- FAQ
- Downloads & Design Files
- Call to Action & Community Invite
- More Projects You'll Love
Materials & Tools
Here's everything you'll need to make stickers with a laser:
- xTool M2 Laser – The machine I used, with both a print module and a laser module. Grab one here. Use code KERRI116 at checkout to see if additional savings apply to your order.
- Sticker Paper – I used Cricut printable sticker paper I already had on hand. More on why below!
- Sticker Designs – I used this Small Business Packaging Stickers Bundle from Creative Fabrica.
- xTool Studio Software (free with the machine)
Want unlimited sticker designs? A Creative Fabrica subscription gives you unlimited downloads for $3.99/month and includes a commercial license. You'll find that link in the Downloads section below.
Sticker Paper vs Printable Vinyl: Read This First

Before you load anything into a laser, you need to know the difference between these two materials. They look similar, but they are completely different.
Sticker paper is paper based. Printable vinyl is plastic based, and most vinyl designed for cutting machines contains PVC. As a general rule, you should never put vinyl into a laser unless it's specifically labeled laser-safe or PVC-free. Cutting PVC with a laser can release harmful fumes.
For this project I used true paper-based sticker paper, so it was laser friendly. If you want a deep dive on which sticker papers I like best for printing, check out my best printable sticker paper guide. I also cover laser-safe materials in detail in my what is laser-safe vinyl post.
Here's a fun bonus. I had a stack of old Cricut sticker paper sitting around because it was always too thick for my inkjet printer. It got stuck every single time, but I never wanted to throw it away. The M2 finally gave that paper a purpose, and it printed beautifully.
How to Make Stickers with a Laser Step by Step
Step 1: Choose and Upload Your Sticker Designs
I uploaded a bundle of small business stickers from Creative Fabrica, the same bundle linked in the Materials list above. These are the kind of stickers you can tuck into customer orders, so they're perfect if you sell your crafts.
Arrange your designs in xTool Studio to fill the page. Here's a nice perk: because there are no registration marks, you can fit more stickers on a page. Cricut's registration requirements shrink down your usable area and waste a lot of paper. With the laser, the whole sheet is fair game.
Step 2: Add an Offset Around Each Design
Just like with my Cricut, I added an offset around each design to create a cut line. To add one, select your designs and click Offset in xTool Studio, then choose a small outward distance. The offset gives every sticker that classic white border and gives the laser a clean path to follow.
If you've made stickers with a Cricut before, this step will feel very familiar.

Step 3: Load Your Sticker Paper and Print
Place the sticker paper in the machine, tape it down using masking tape, and send your design to the print module.
Right away, I noticed the colors looked much more vibrant than they did on my wooden name puzzle project. That's because sticker paper has a bright white, smooth surface. The M2 doesn't print white ink, so on wood the material color softens everything. On white paper, the colors really pop and look much closer to what's on your screen.
Step 4: Swap to the Laser Module

Once printing finished, I swapped over to the laser module. The modules are magnetic, so the swap is just unplug one cable, lift the printer off, snap the laser on, and plug back in. It takes about 5 seconds.
Step 5: Cut Your Stickers
Start the cut. Because the sheet never left the machine, the laser cut everything out in the exact same position it was printed. No registration marks to scan, no sticky mat, no crooked-paper do-overs.
I printed at 80% concentration, then used a kiss cut. A kiss cut slices through the sticker layer but not the paper backing, so each sticker peels off on its own. My kiss cut settings were 40% power at 11 mm/s for 1 pass.
Step 6: Peel and Admire

The finished stickers came out really clean, and I was impressed with how accurately everything lined up.
I did notice a slight dark outline around the stickers after cutting. But once I peeled them off the backing paper, it was barely noticeable. I think a little more testing and setting adjustment can improve that even further.
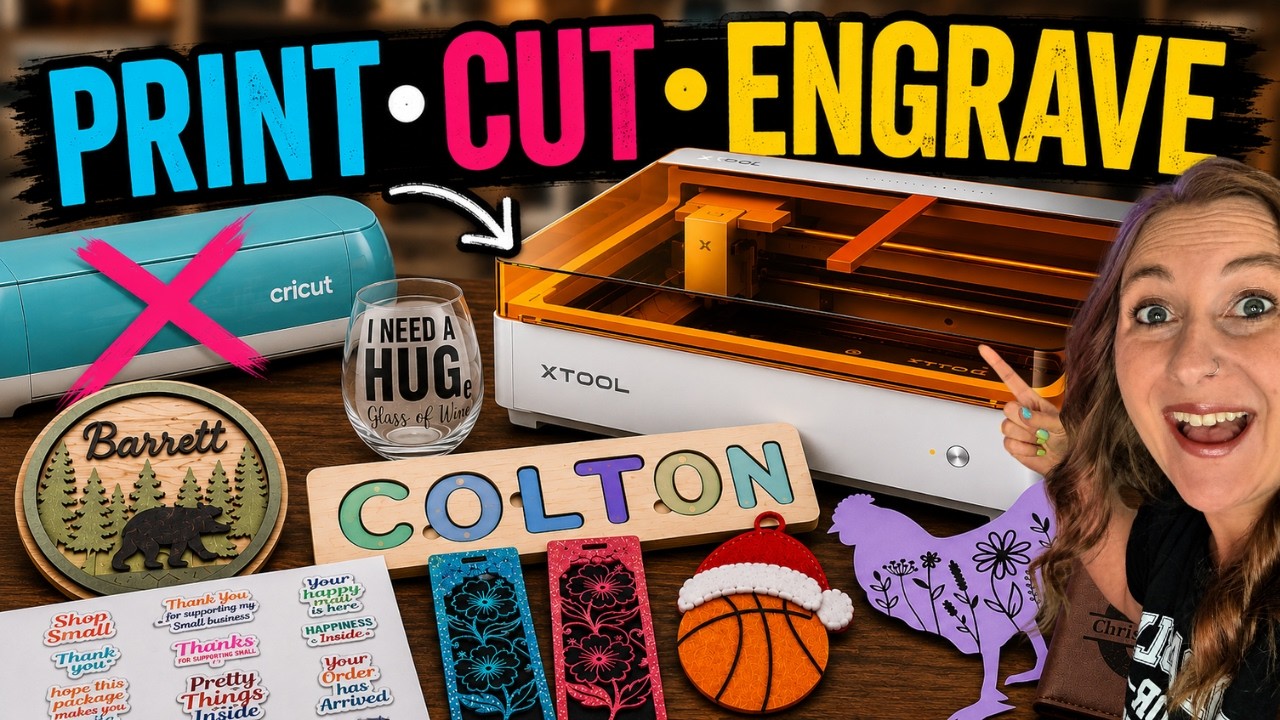
Watch me make this in my xTool M2 review:
Tips & Troubleshooting
- Never cut PVC vinyl: Worth repeating. Only paper-based sticker paper or materials labeled laser-safe or PVC-free belong in a laser.
- Use up your thick sticker paper: If you have sticker paper that always jammed your inkjet, the laser workflow may finally put it to use. Thick paper was never a problem for the M2.
- Fill the page: Without registration margins, you can pack more stickers per sheet. Less wasted paper means cheaper stickers.
- Seeing a dark cut outline? A slight outline along the cut edge is common and barely visible after peeling. Test small adjustments to your cut settings on a scrap corner first.
- Selling stickers? If your stickers will live on water bottles or tumblers, read my guide to making waterproof stickers before you list them.
FAQ
Q: Can you make stickers with a laser cutter? A: Yes! A laser with a print module, like the xTool M2, prints your designs in full color and then kiss cuts them in the same machine. Even a cut-only laser can cut pre-printed sticker sheets, as long as the material is paper based or labeled laser-safe.
Q: Is it safe to cut sticker paper with a laser? A: Paper-based sticker paper is laser friendly. The material to avoid is printable vinyl, which usually contains PVC. Never cut vinyl with a laser unless it's specifically labeled laser-safe or PVC-free.
Q: What's the difference between making stickers with a laser and a Cricut? A: A Cricut needs a separate inkjet printer, a sticky mat, and registration marks that have to scan correctly. With a print-and-cut laser, the sheet never leaves the machine, so there's nothing to line up. I compare the two head to head in my laser vs Cricut for stickers post.
Q: Why do laser cut stickers have a dark outline? A: The laser leaves a slight dark edge where it cuts through the paper. In my tests it was barely visible once the stickers were peeled from the backing, and fine-tuning your settings can reduce it more.
Q: Can you fit more stickers on a page with a laser? A: Yes. Cricut print then cut needs registration marks and margins that shrink your usable area. The laser doesn't, so you can use nearly the entire sheet.
Downloads & Design Files
- Small Business Packaging Stickers Bundle (linked in the Materials list above)
- Creative Fabrica Subscription – $3.99/mo Unlimited Downloads (includes commercial license)
- Compatible with xTool Studio and standard PNG/SVG sticker files
Community Invite
Now it's your turn! Grab a sheet of sticker paper, add those offsets, and make a batch of stickers without ever touching a sticky mat.
Share your creations, I'd love to see them! Tag @KerriCraftsIt on Instagram or post in my Kerri Crafts It Facebook Group.


