


Quick answer: For making stickers, a laser like the xTool M2 is the easier workflow, because it prints and cuts in one machine with no sticky mat and no registration marks. A Cricut still wins on cheaper materials and more sticker-paper options, so it comes down to how much you make versus how much fuss you want to deal with.
If you've been making stickers with a Cricut and an inkjet printer, you know the drill. Print, move the sheet, stick it to a mat, line it up, scan registration marks, and cross your fingers.
So when I heard the xTool M2 Laser could print and cut stickers in one machine, I had to see it for myself. I've made stickers with my Cricut for years, and I compare both workflows below, step by step.
By the end of this laser vs Cricut for stickers comparison, you'll know exactly which setup fits your budget, your patience, and your sticker business.
This post contains affiliate links. If you buy through them, I may earn a small commission at no extra cost to you.

Quick Links / Table of Contents
- How I Tested Both Methods
- Comparison Table
- The Cricut Sticker Workflow, Step by Step
- The Laser Sticker Workflow, Step by Step
- How to Choose Between a Laser and a Cricut for Stickers
- FAQ
- Final Recommendation
- More Guides You'll Love
How I Tested Both Methods
I'm Kerri, author of Cricut For Dummies, and I've been teaching Cricut sticker making on YouTube for years. My Cricut sticker tutorial walks through the whole print then cut process if you want to see that side in action.
For the laser side, xTool sent me the M2 to test. I'm not paid to say anything about it, and my opinions are my own.
I made a batch of small business packaging stickers on the M2 using a sticker bundle from Creative Fabrica. Just like with my Cricut, I added an offset around each design to create a cut line, so the design work was a fair apples-to-apples comparison.
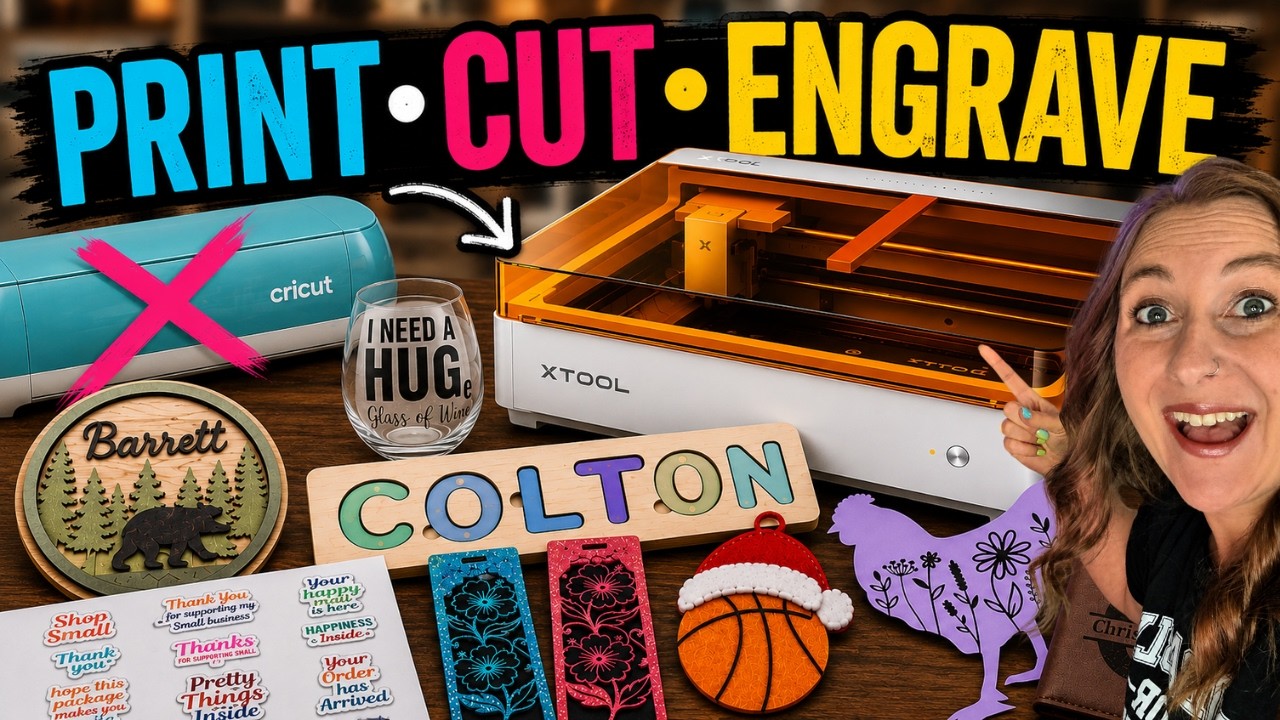
Watch me make stickers in my xTool M2 review:
Comparison Table
| Laser (xTool M2) | Cricut + Inkjet Printer | |
|---|---|---|
| Machines needed | 1 | 2 |
| Print and cut alignment | Automatic, sheet never moves | Registration marks must scan correctly |
| Cutting mat | None | Required, must align in upper left corner |
| Usable sheet area | More designs per page | Reduced by registration limitations |
| Upfront cost | Higher | Lower |
| Material choices | Growing selection | Huge selection of sticker papers |
| Learning curve | New software to learn | Familiar to most crafters |
The Cricut Sticker Workflow, Step by Step
If you've made stickers with a Cricut before, this will feel very familiar.
Step 1: Print Your Design on an Inkjet Printer

Your Cricut can't print, so the design starts in a separate inkjet printer. Cricut adds registration marks around your design so the machine can find your cut lines later. Those marks shrink down your usable area on the paper, which wastes a lot of it.
Sticker paper thickness matters here, too. I had a stack of old Cricut sticker paper that was always too thick for my inkjet printer. It kept getting stuck, so I never got to use it.
Step 2: Stick the Sheet to a Cutting Mat

Move the printed sheet over to your Cricut mat and hope you get it lined up perfectly in that upper left-hand corner. If it's a little crooked, you peel it off and try again.
Sometimes the sticker paper even starts curling from being peeled off the mat. Delicate sheets don't love the do-over.
Step 3: Scan Registration Marks and Cut
Load the mat and hope the registration marks scan correctly. Depending on the finish of your sticker paper and even which Cricut model you're using, that doesn't always go as planned. Glossy and holographic finishes are the usual troublemakers.
When everything scans, the cut itself is great. My waterproof stickers tutorial shows how I finish Cricut stickers so they survive water bottles and dishwashers.

The Laser Sticker Workflow, Step by Step
Here's the same project on the xTool M2. What surprised me most wasn't that it could make stickers. It was how much easier the whole process felt.
Step 1: Print Directly in the Machine

The M2 prints your sticker designs right on the sheet inside the machine. That old too-thick Cricut sticker paper my inkjet always jammed on? It finally got used, and the colors looked vibrant on the bright white surface.
One important note: use sticker paper, not printable vinyl. As a general rule, never put vinyl in a laser unless it's labeled laser-safe or PVC-free.
Step 2: Swap to the Laser Module

The modules are magnetic. Unplug one cable, lift the printer off, snap the laser module into place, and plug the cable back in. The swap takes about 5 seconds.
Step 3: Cut in the Exact Same Position
The material never leaves the machine, so there's no sticky mat, no registration marks to scan, and no worrying about lining everything back up. The laser cuts exactly where the printer printed.
You can also fit more stickers on a page because there are no registration limitations eating up your sheet.
My results came out really clean, and I was impressed with how accurately everything lined up. I did notice a slight dark outline around the stickers after cutting, but once I peeled them off the backing paper, it was barely noticeable. I think a little more testing and setting adjustment can improve that.
Want the full project walkthrough? Check out my step-by-step laser sticker tutorial.

How to Choose Between a Laser and a Cricut for Stickers
Here's how I'd decide between the two:
- Choose the Cricut + inkjet combo if: you're on a budget, you already own both machines, or you want the widest choice of sticker papers. Not sure which paper to buy? My best printable sticker paper guide compares my favorites.
- Choose the laser if: stickers are a regular part of your business and the two-machine shuffle drives you crazy, or you want one machine that also cuts wood, felt, leather, and cardstock.
- Either works if: you make a few sticker sheets a month for fun. Both produce stickers you'd be proud to sell.
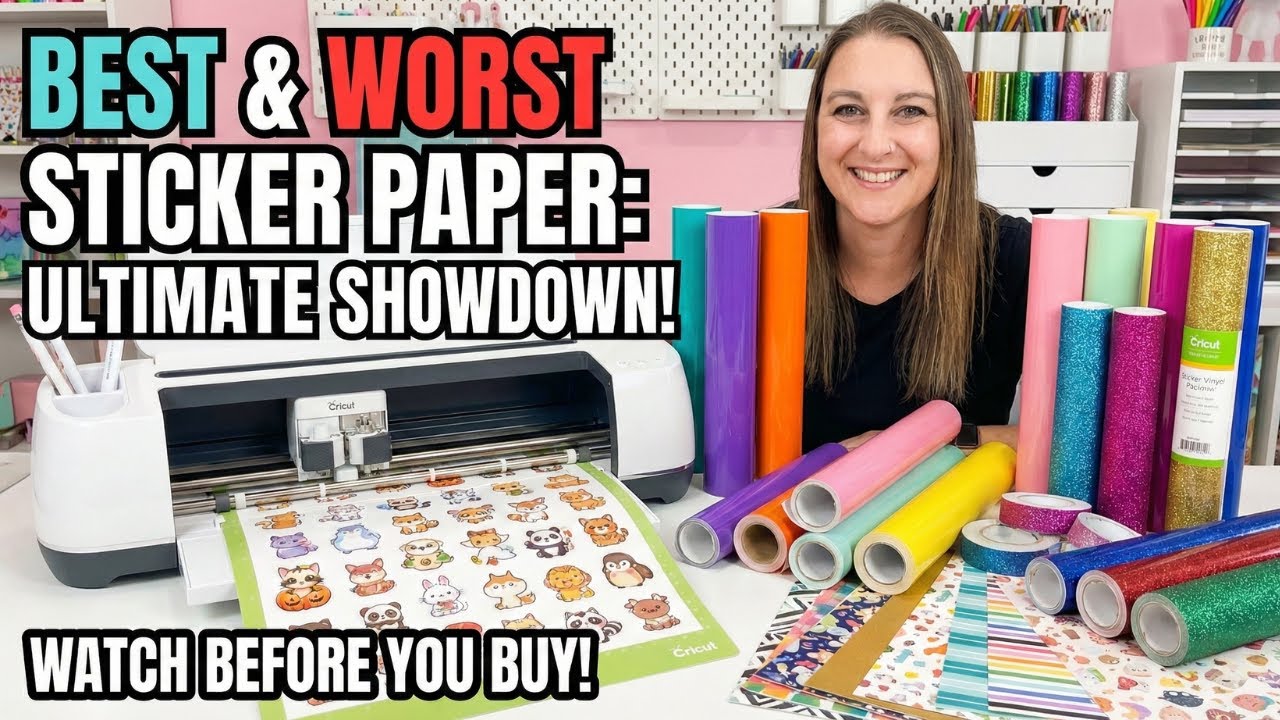
I also tested a whole bunch of sticker papers to see which ones print and cut best. Watch my sticker paper comparison:
FAQ
Q: Is a laser or a Cricut better for making stickers? A: A laser like the xTool M2 has the easier workflow because it prints and cuts in one machine with no registration marks or mats. A Cricut with an inkjet printer costs less upfront and works with more sticker paper options.
Q: Can a laser really print and cut stickers in one machine? A: Yes. The xTool M2 prints the design, then you swap to the laser module in about 5 seconds and it cuts in the exact same position. The sheet never moves.
Q: Do you need registration marks to make stickers with a laser? A: No. Because the material never leaves the machine, the laser cuts exactly where the design was printed. That also frees up more usable space on every sheet.
Q: Can you use regular sticker paper in a laser? A: Yes, sticker paper works great in a laser. Just don't confuse it with printable vinyl, which shouldn't go in a laser unless it's labeled laser-safe or PVC-free.
Q: Why won't my Cricut scan the registration marks on my stickers? A: Glossy or textured sticker paper finishes can confuse the sensor, and some Cricut models scan more reliably than others. A matte sticker paper usually scans best.
Final Recommendation
If I could only pick one setup for a sticker business, I'd pick the laser workflow. Skipping the mat, the alignment dance, and the registration scan was my favorite part of the entire project, and fitting more stickers per sheet adds up fast when you're selling.
If you're just getting started or watching your budget, the Cricut + inkjet route still makes fantastic stickers. It's how I made them for years, and my Cricut sticker tutorial linked above will get you there.
Ready to go the laser route? Here's the xTool M2 Laser I used. Use code KERRI116 at checkout to see if additional savings apply to your order.
Whichever machine you choose, share your sticker creations in my Kerri Crafts It Facebook Group. I'd love to see them!


