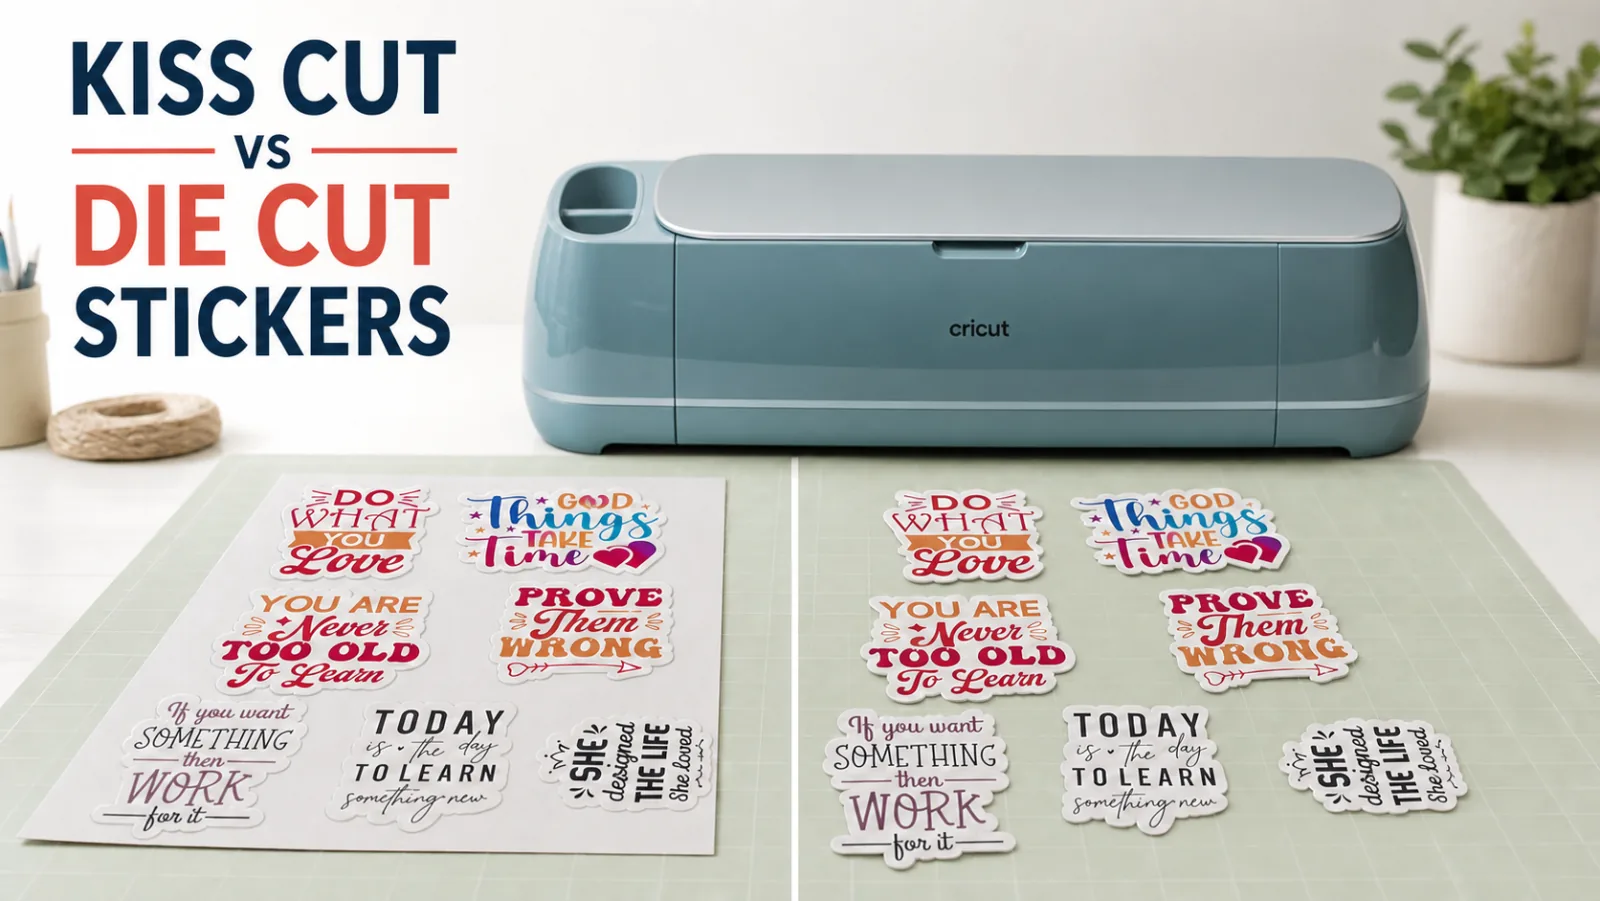

A kiss cut sticker cuts only the printed top layer and leaves the backing sheet whole, so your stickers stay together on one sheet. A die cut sticker cuts through the sticker and the backing, so every sticker comes out as its own separate piece.
That is the whole difference. But choosing the wrong one costs you real money when you sell, and it is the number one question I get on my sticker videos.
I get asked some version of “how do I cut them completely out so they are individual instead of on a sheet?” almost every week. So below you will find the exact Design Space setting for each one, including the pressure change that makes a die cut work every single time.
This post contains affiliate links. If you buy through them, I may earn a small commission at no extra cost to you.
Quick Links
- Kiss Cut vs Die Cut at a Glance
- What Is a Kiss Cut Sticker
- What Is a Die Cut Sticker
- The Exact Settings for Each Cut
- Which Cut Should You Use
- How to Set Up Each Cut in Design Space
- What About Waterproof and Laminated Stickers
- Tips and Troubleshooting
- Frequently Asked Questions
- Ready to Make Your Own
Kiss Cut vs Die Cut at a Glance
| Kiss Cut | Die Cut | |
|---|---|---|
| What gets cut | Top sticker layer only | Sticker and backing |
| What you end up with | One sheet of stickers | Separate individual stickers |
| Backing | Stays as one piece | Each sticker keeps its own backing |
| Best for | Planner sheets, labels, sticker packs | Selling singles, gifts, giveaways |
| Design Space material | Washi Sheet | Printable Vinyl (Specialty), pressure More |
| Weeding needed | Yes, peel away the excess | No, the excess lifts off with the cut |
| Shipping | Flat, one envelope | Needs sleeves or bags |
What Is a Kiss Cut Sticker
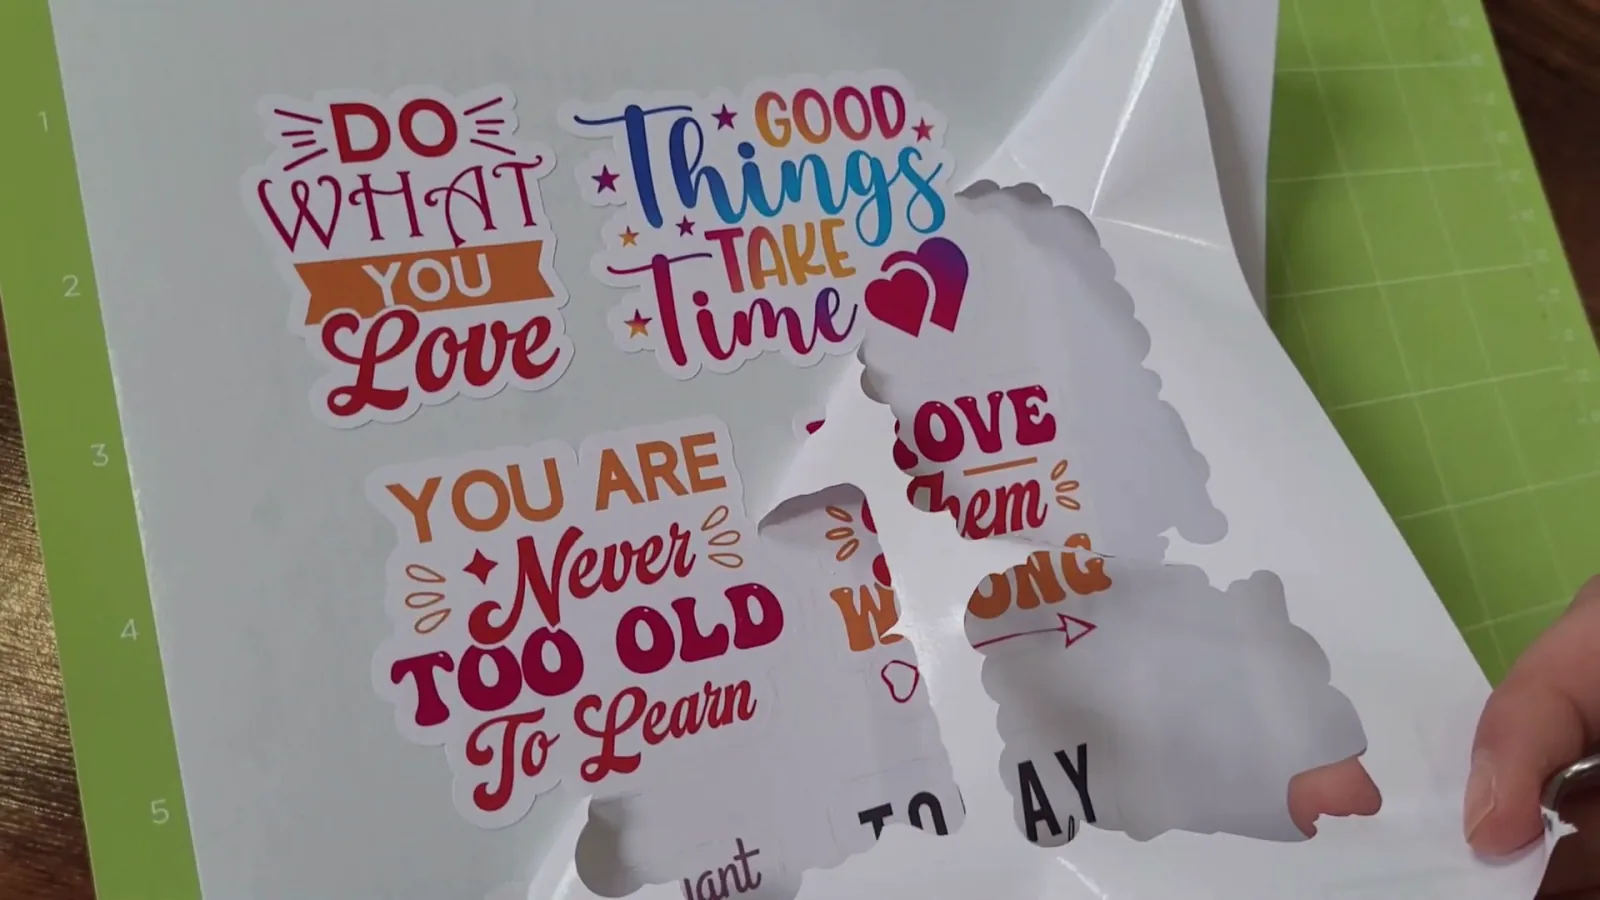
A kiss cut only cuts through the printed vinyl or paper on top. The blade never reaches the backing, so the sheet stays in one piece.
Think of the sticker sheets you peeled as a kid. All the shapes are cut, but they are still sitting on one big rectangle. That is a kiss cut.
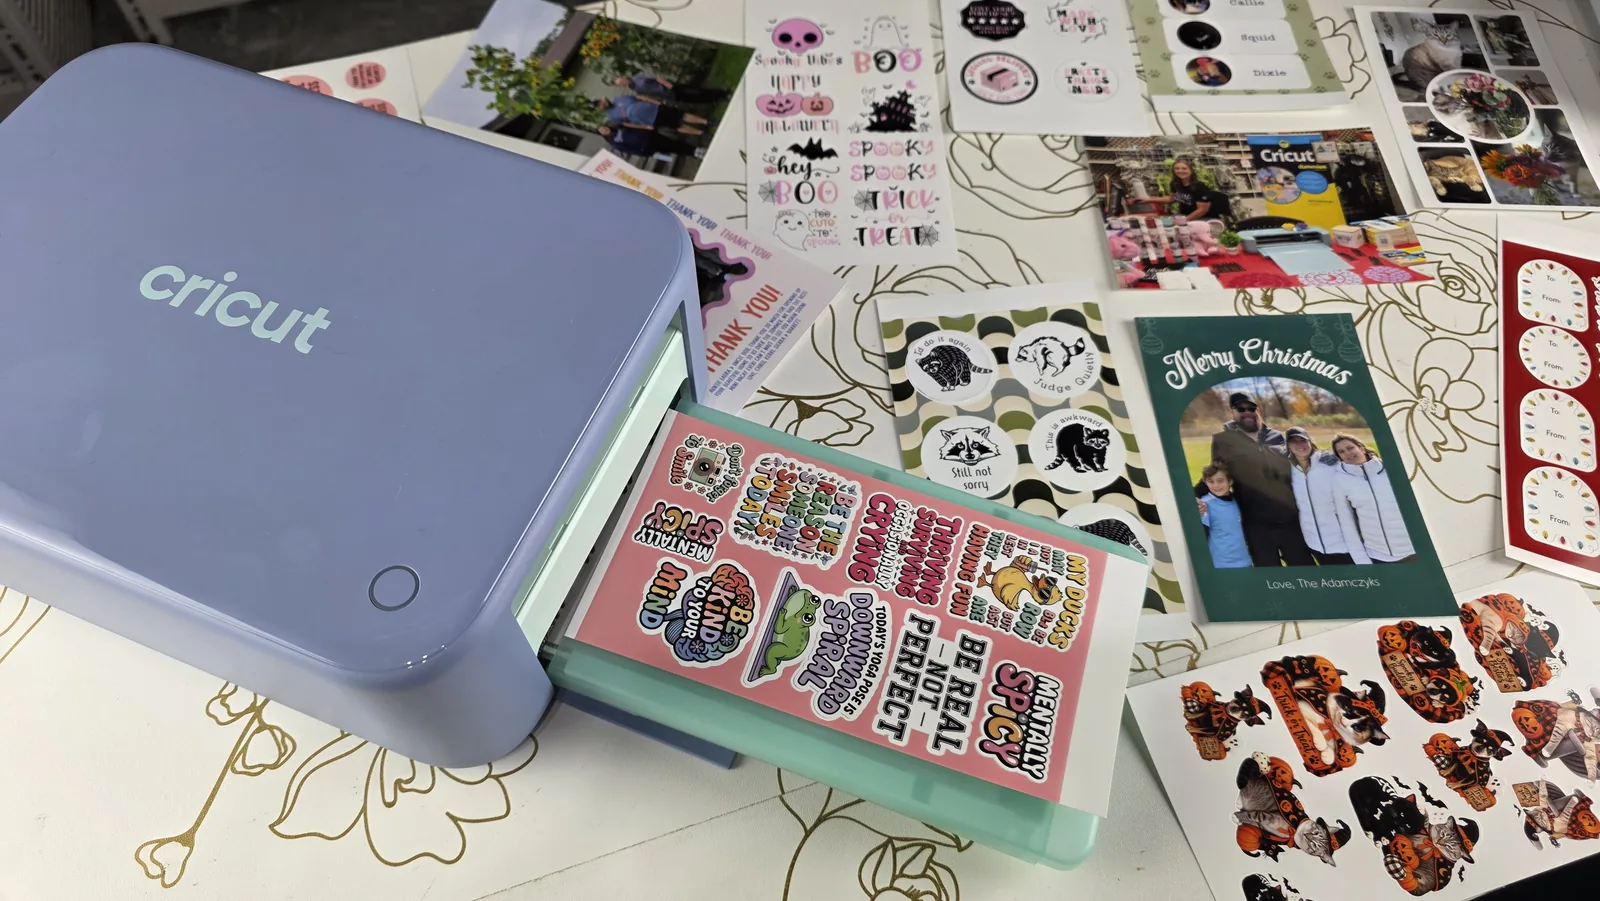
That is also the only kind of cut the new Cricut StickerPix Print + Cut makes. It kiss cuts every sheet and never cuts through the backing, so if you want individual die cut stickers, you will still need your regular Cricut.
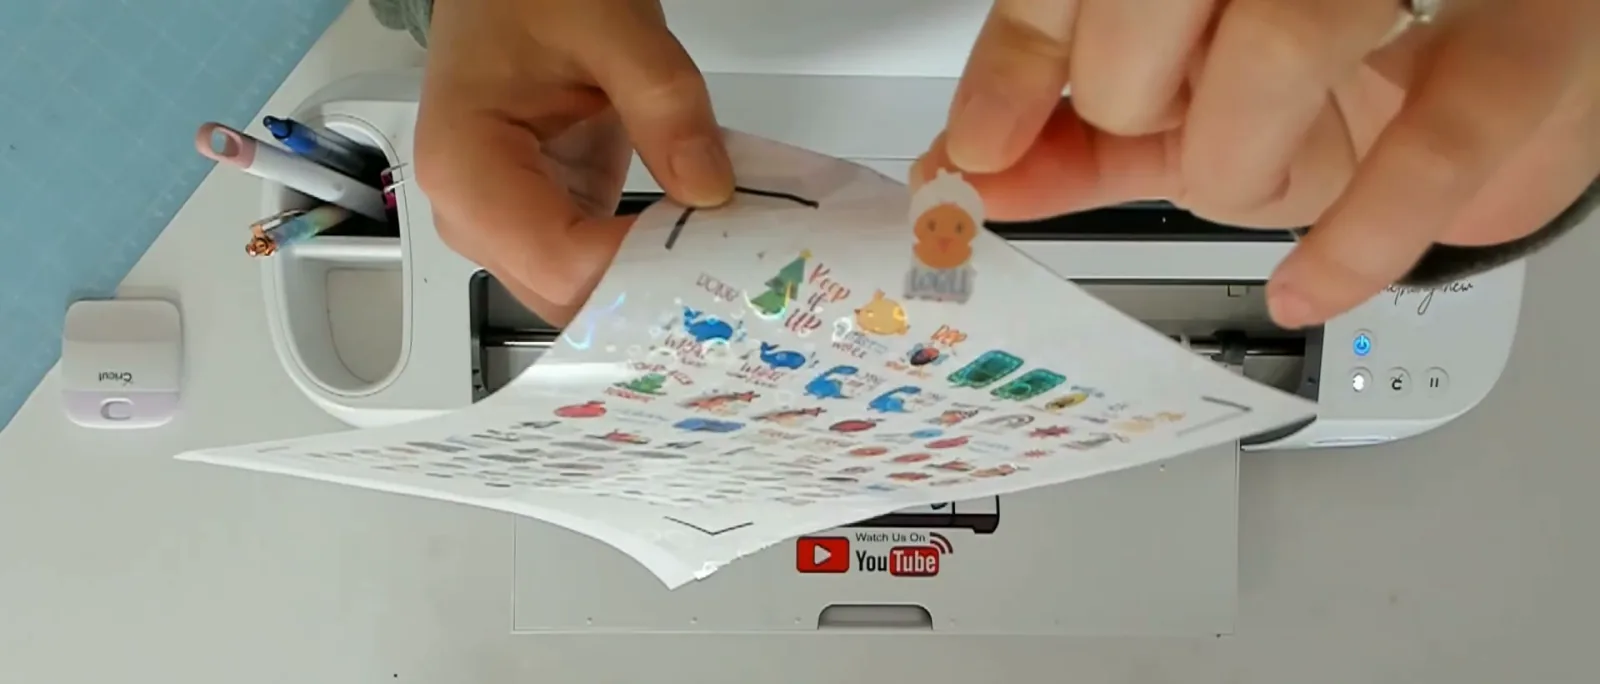
This is what you want for planner stickers, labels, and sticker packs. Customers love them because they can pick one sticker at a time without the others falling out of the pack.
Kiss cutting is also more forgiving. If your cut is slightly too deep, you nick the backing but the sheet usually still holds together.
One thing to know: you do have to weed a kiss cut sheet if you want clean edges around each sticker. That means peeling away the leftover material between the shapes.
What Is a Die Cut Sticker
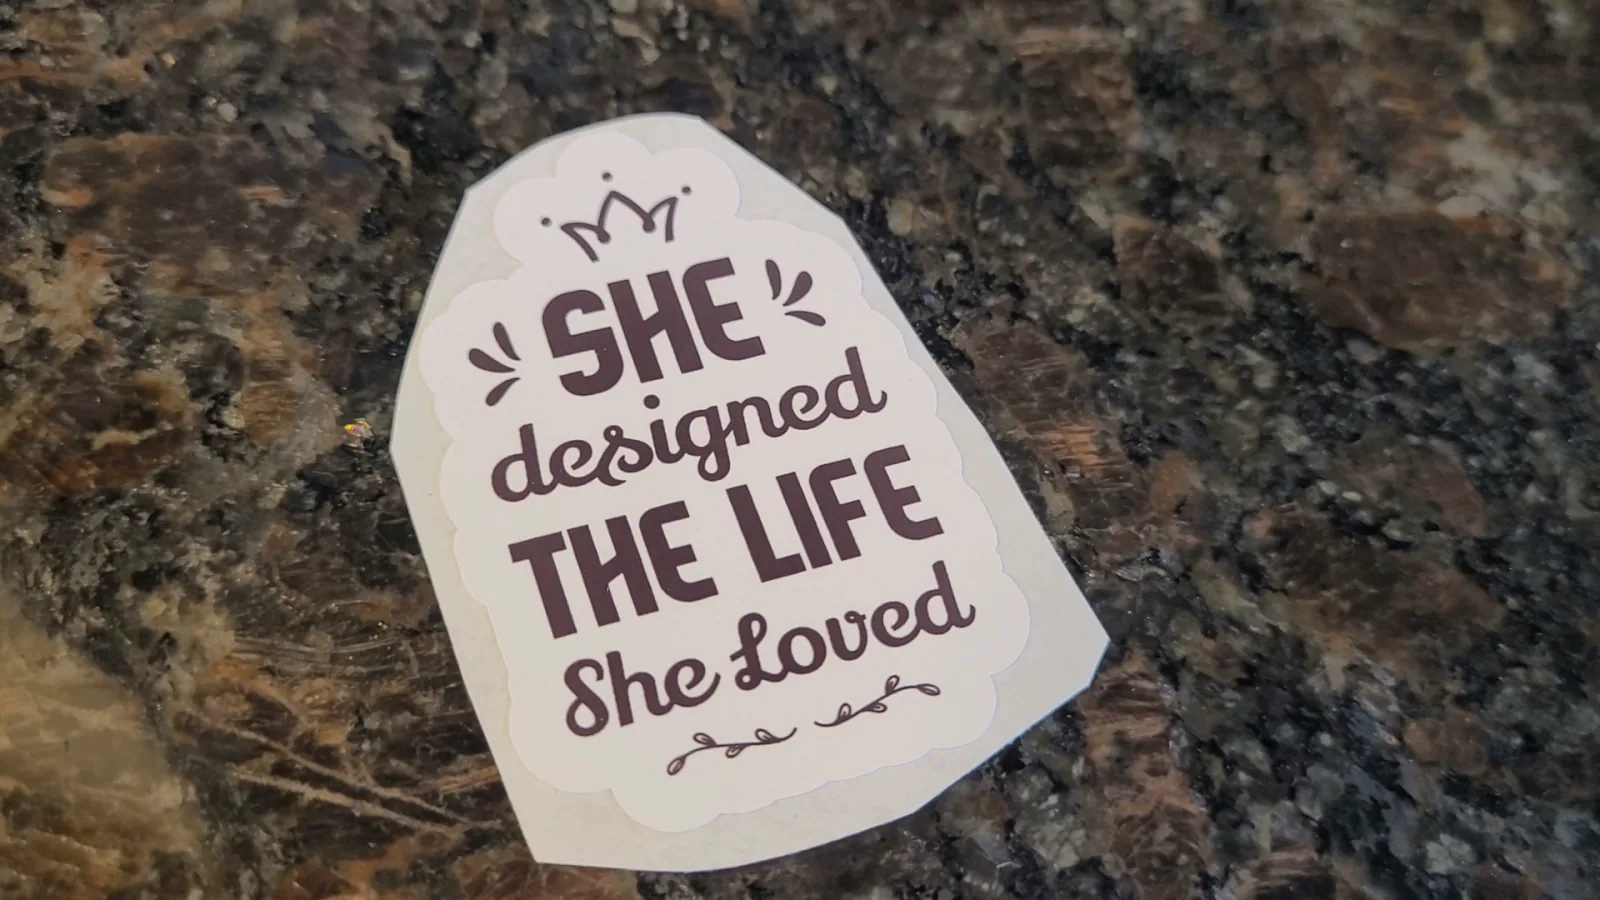
A die cut goes all the way through both layers. When the mat comes out of the machine, every sticker is a separate little piece with its own backing.
This is what most people picture when they think of a sticker they would buy on its own. Laptop stickers, water bottle stickers, and the stickers people hand out at craft fairs are almost always die cut.
The big advantage is that there is no weeding. The extra material around your shapes lifts off in one piece and your stickers are done.
The trade off is handling. Fifty individual stickers are fifty things to sort, count, and package.
The Exact Settings for Each Cut
This is the part almost nobody covers. Most articles comparing kiss cut and die cut stickers are written by print shops that take your file and mail you a box. They have never sat at a Cricut watching what the blade actually does to the backing.
Here are the four settings I actually use, depending on what you are cutting and which result you want.
| What you are cutting | For a kiss cut | For a die cut |
|---|---|---|
| Plain printable vinyl or sticker paper | Washi Sheet | Printable Vinyl (Specialty) with pressure set to More |
| Sticker paper with holographic laminate on top | Holographic Vinyl | Glitter Vinyl |
A few notes on why those specific choices.
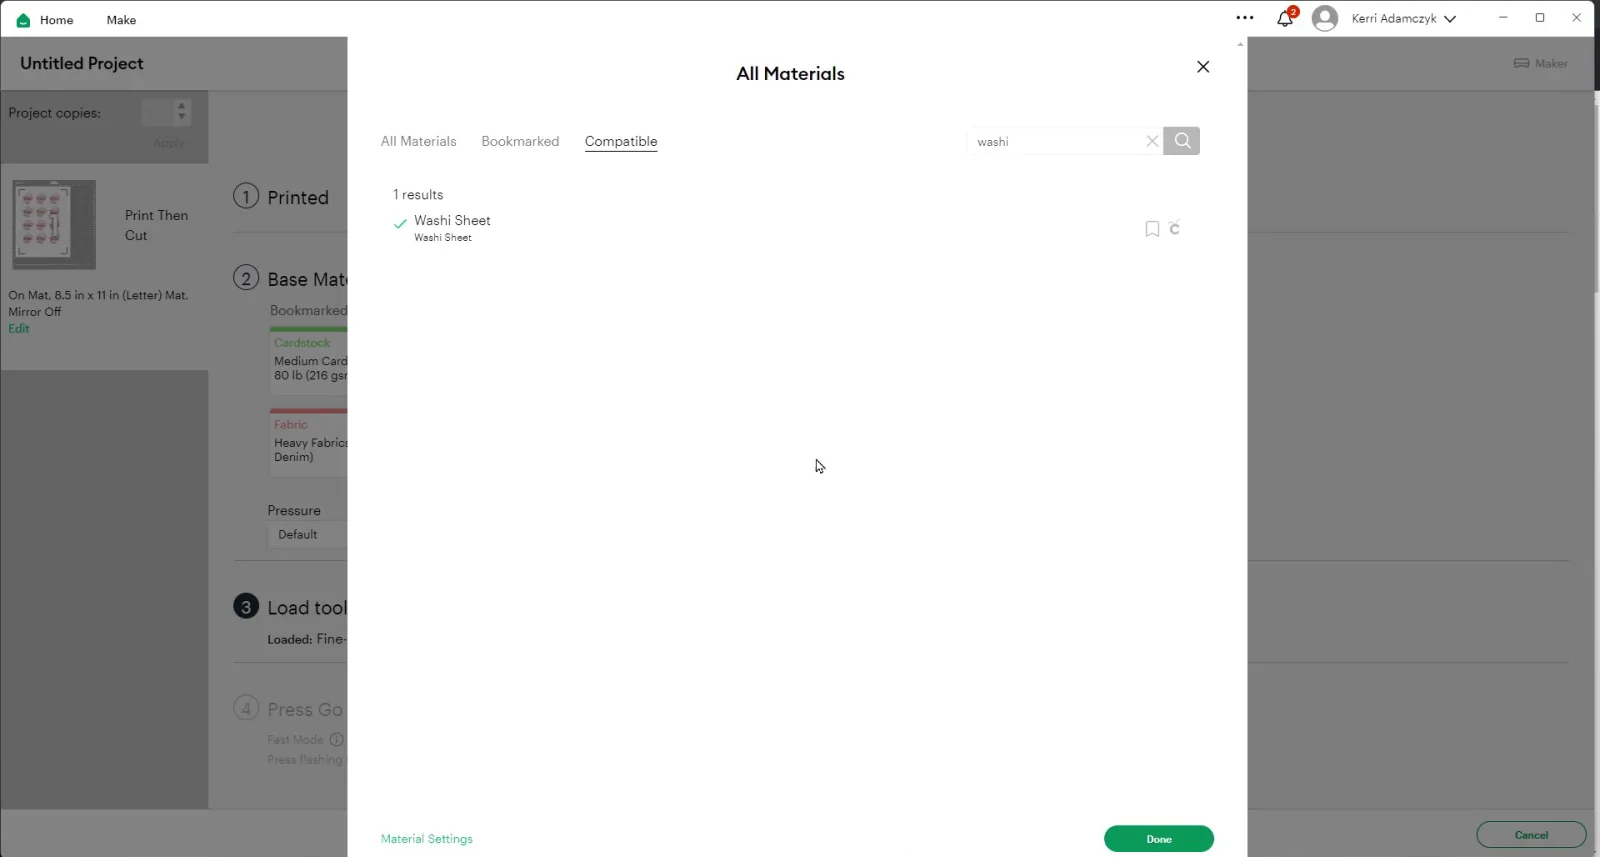
Washi Sheet is lighter than people expect, and that is exactly the point. It cuts the printed layer and stops before the backing. If your kiss cuts keep going too deep, this is almost always the fix.
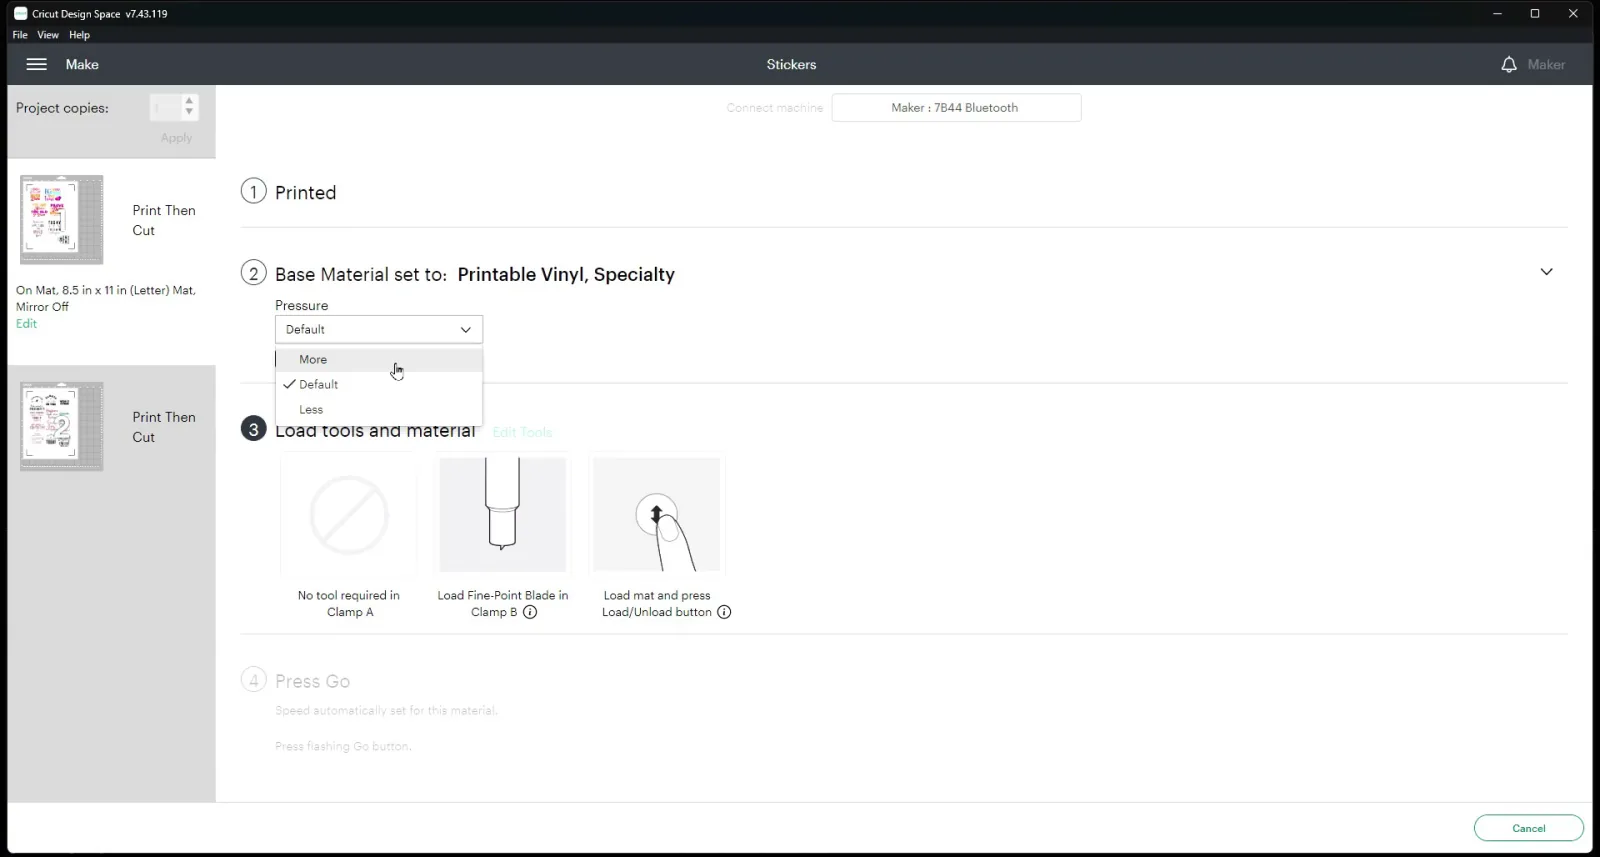
For die cutting plain paper, I do not switch to a heavier material. I search “printable vinyl” in Browse All Materials, choose the first result labeled Specialty, and then change the pressure to More. That one pressure change is what makes it cut all the way through, every time.
The laminate settings are not mine, they are TeckWrap's. Once you add a laminate sheet you are asking the blade through an extra layer, so the material setting has to account for it. Holographic Vinyl gives you the kiss cut. Glitter Vinyl is what TeckWrap recommends when you want it cut clean through.
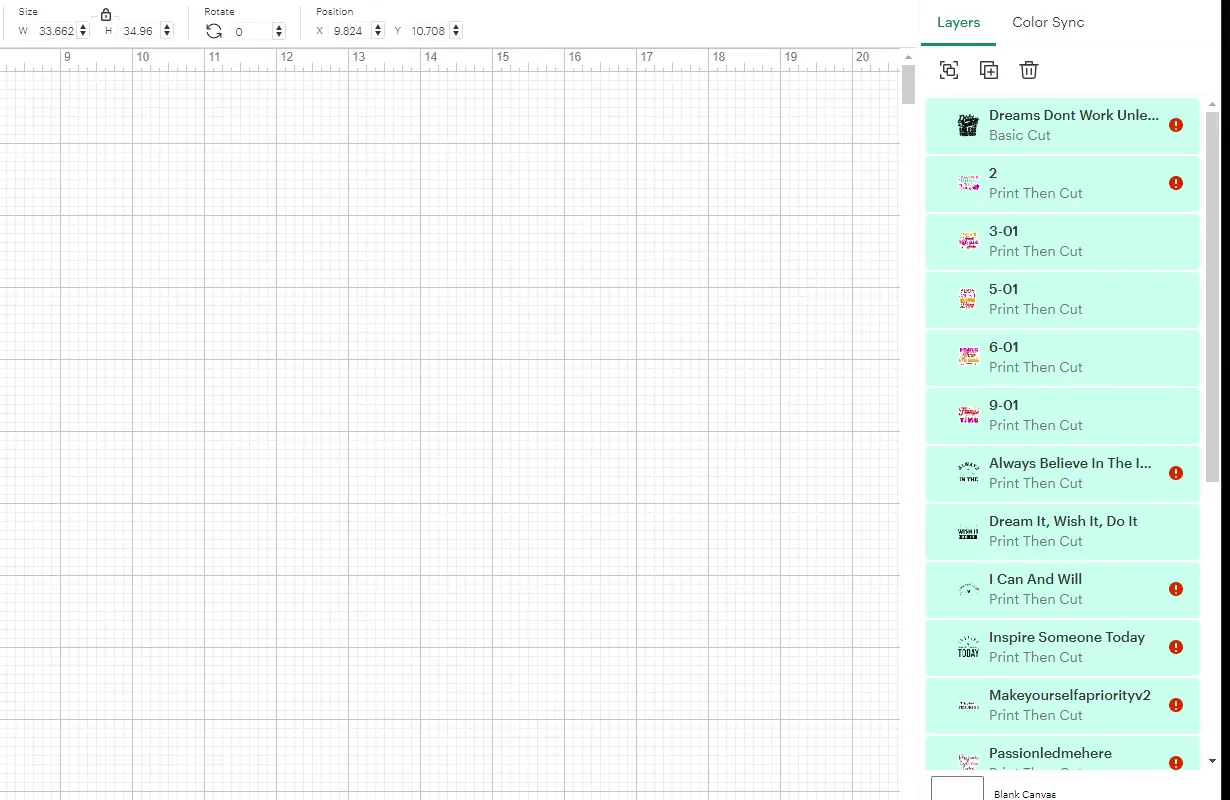
One sizing thing worth knowing before you print. Print Then Cut caps your printable area at 6.78 by 8.75 inches on a standard 8.5 by 11 sheet. If Design Space throws a red exclamation point saying your image is too large, that limit is why. Click auto resize and it will shrink the working area to fit.
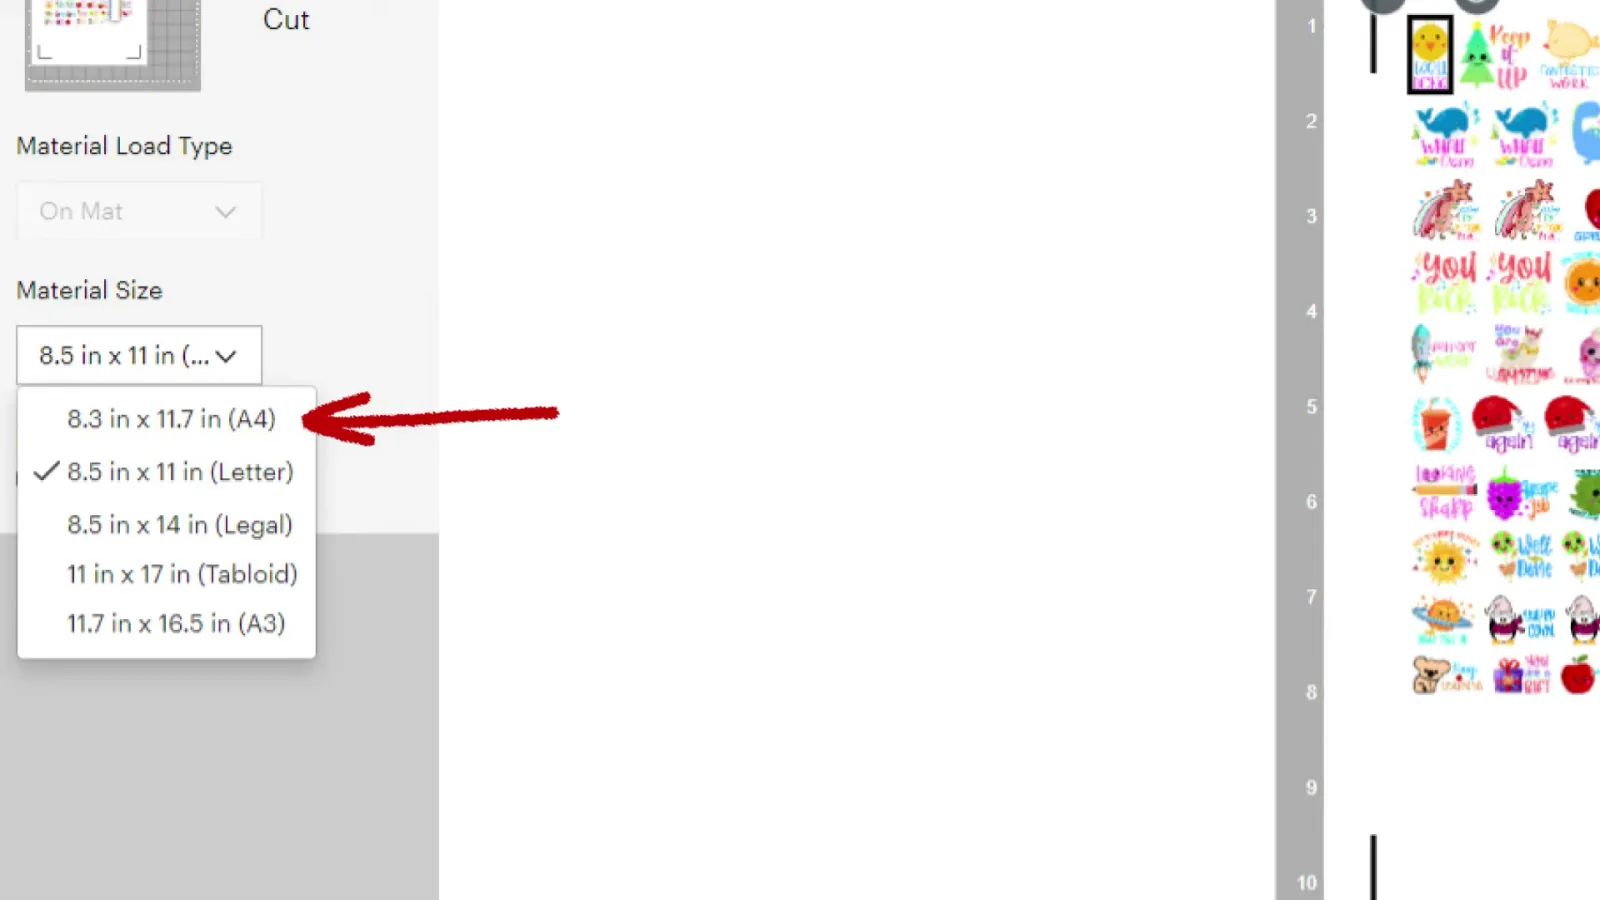
If your paper is the slightly larger 8.3 by 11.7 inch size, which some TeckWrap sheets are, change the material size to match and you get noticeably more room. More stickers per sheet, or bigger ones, for the same paper cost.
Which Cut Should You Use
Here is how I decide.
Choose kiss cut when:
- You are making planner stickers or label sheets
- You want to sell sticker packs at one price point
- You are shipping flat in a regular envelope
- Your designs are small and there are a lot of them on one page
Choose die cut when:
- You are selling stickers individually
- You are handing them out at a craft fair or putting them in orders as a freebie
- The sticker is large enough to stand on its own, roughly two inches or bigger
- You do not want to spend time weeding
A quick money note. Kiss cut sheets are usually faster to make and easier to ship, so the profit per hour tends to be better. Die cut singles feel more premium and can carry a higher price each, but you spend the difference in packaging time. If you are just starting out, kiss cut sheets are the easier sell.
How to Set Up Each Cut in Design Space
Both cuts start the same way. You print your design at home, then let the machine read the black registration box around it so it knows exactly where to cut. If that whole process is new to you, start with my full walkthrough on making stickers with Print Then Cut and come back here.
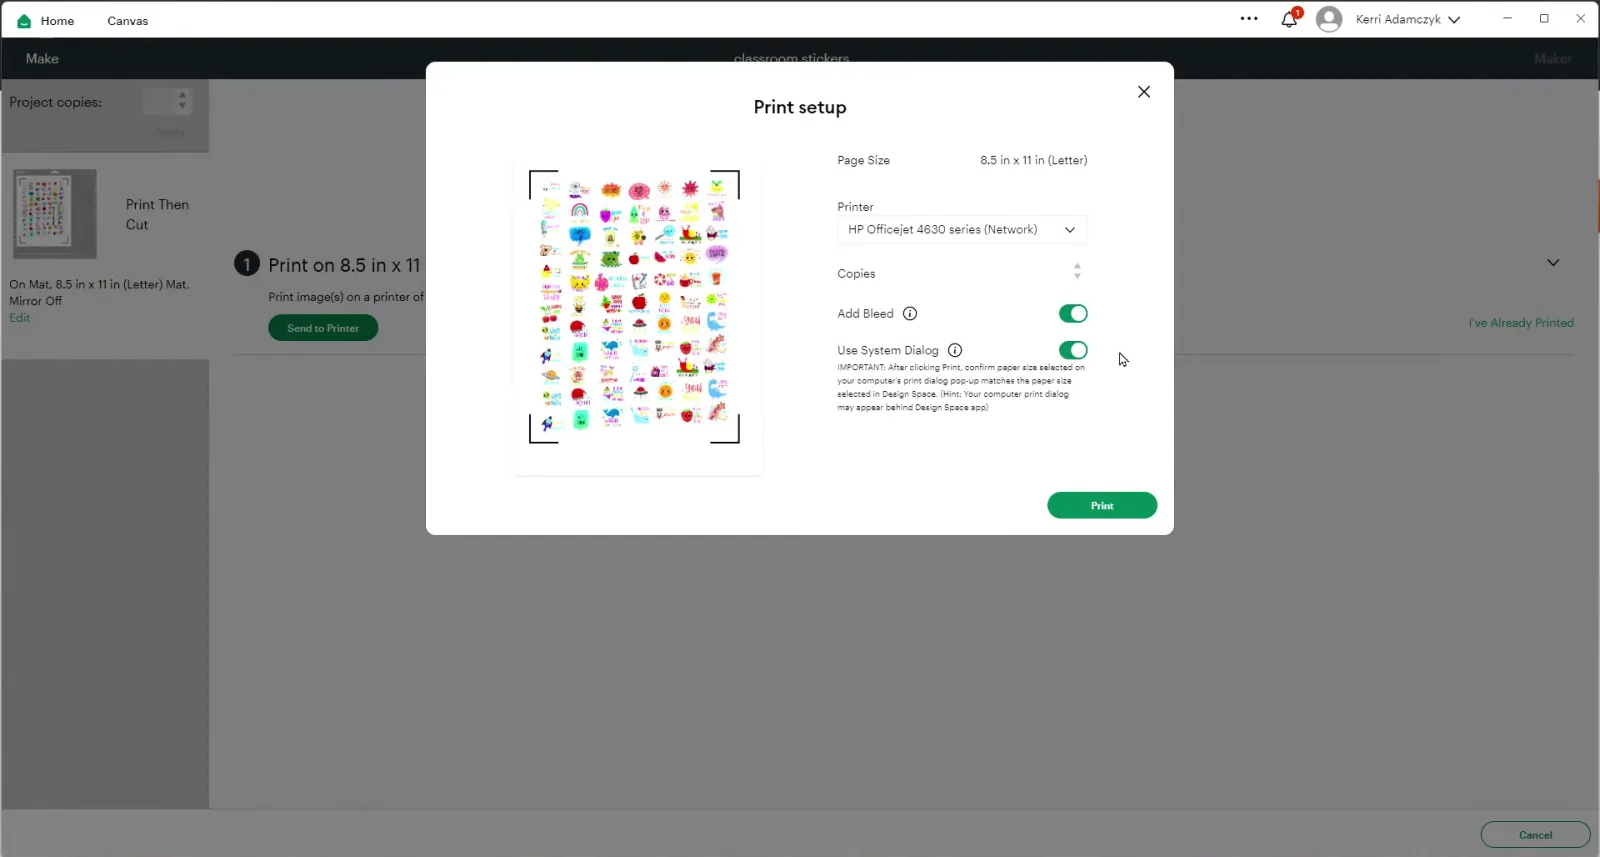
Once your design is printed, the difference comes down to two choices.
1. Pick your cut style. If you use the Create Sticker tool, Design Space asks you directly whether you want a kiss cut or a die cut. Choose it there and the offset around your shapes is handled for you.
2. Pick the right material setting. This is the part that actually controls how deep the blade goes, and it is where most people go wrong. Use the table above, and remember that the setting is not listed under popular materials. You have to go to Browse All Materials and search for it by name.
3. Start with a LightGrip mat, or a well used StandardGrip. This matters more for die cutting than most people realize.
A brand new StandardGrip holds on hard. When you go to lift fifty small die cut stickers off it, some of them will tear before they let go. The blue LightGrip holds your sheet steady without fighting you on the way off.
A StandardGrip you have been using for a while is fine too. They lose a bit of their tack with every project, and a broken in one behaves much closer to a LightGrip. It is really only the fresh out of the packet mats that cause trouble. If you are not sure which mat is which, I compare all four Cricut mat grips here.
If your mat has gone the other way and your paper shifts mid cut, that is when you move up, not before.
Then stick your printed sheet in the upper left corner of the mat, printed side up, slide it under the two tabs, and press the blinking double arrow to load. Press the blinking Cricut button to start the cut.
Getting them off the mat matters more than you would think. For die cuts, slide your spatula underneath the backing, not between the sticker and its backing. Get that wrong and you will peel the sticker right off the backing you just spent a cut making. Bending the mat gently first helps loosen everything.
Watch how I set up sticker cuts for a small business:
What About Waterproof and Laminated Stickers
If you are adding a laminate sheet on top to make your stickers waterproof, your material setting has to change. You are now asking the blade to get through one more layer.
Holographic Vinyl gives you the kiss cut. Glitter Vinyl is what TeckWrap recommends when you want a true die cut through the laminate, the sticker, and the backing.
Here is the mistake that cost me the most material. Cut your laminate film so it sits inside the registration marks, not over them. If the film covers those black corner lines, your machine can struggle to read them. Sometimes it cuts fine anyway, and sometimes the cut lands completely off and ruins the sticker paper and the film in one go. I lost sheets to this before I worked out the pattern.
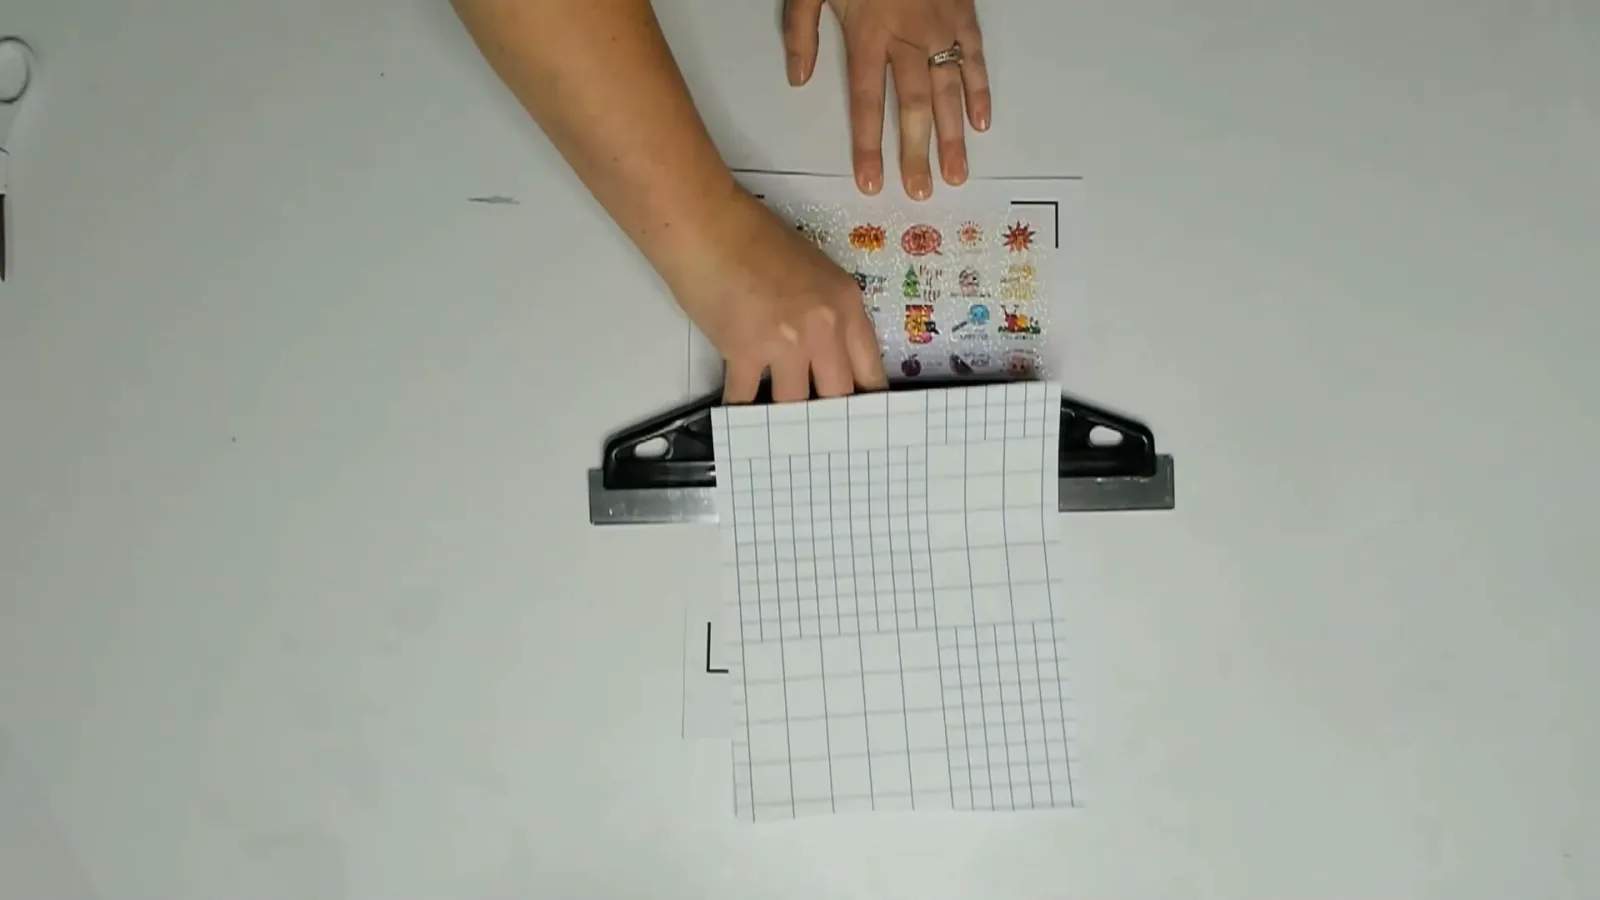
The same mat rule applies here, and a brand new StandardGrip is the worst possible choice. The film sticks hard to a fresh mat, and peeling it back off tears the film. I learned that one the expensive way.
Use a big scraper, not the little Cricut one. Laminate film behaves like a giant sheet of packing tape, and a small scraper makes wrinkles almost unavoidable. The Dollar Tree painting shield is the tool that finally solved this for me. One steady swipe and the film goes down flat.
For the full laminating technique, including the fold and swipe method that stops bubbles, see my guide to making waterproof stickers.
Tips and Troubleshooting
Your machine cuts across the stickers instead of around them. This is almost always a design problem, not a settings problem. Your shapes need an offset or outline around them so there is something to cut along. Without it, the machine cuts the artwork itself.
The blade is not cutting through on a die cut. Move up a material setting rather than adding passes. Extra passes on printable vinyl can tear the edges because the blade tracks slightly differently the second time around.
Your kiss cut went too deep. Drop to a lighter setting. Washi Tape is lighter than most people expect, which is exactly why it works.
The machine cannot read the registration marks. Check first that nothing is covering those black corner lines. A laminate sheet trimmed slightly too big is the most common culprit, and it is the one that ruins both layers at once. After that, bright even light with no shadow across the sheet solves most of the rest.
Your printer keeps jamming on holographic paper. It is noticeably thicker than standard printable vinyl. Mine refused to pull a holographic sheet all the way through four separate times, printing only part of the design. That is the paper, not your settings. I ran five brands through the same test and wrote up which sticker papers actually behaved.
Pro tip: Cut one test row before you commit a full sheet. Sticker paper is not cheap, and a two minute test has saved me more full sheets than I can count.
Frequently Asked Questions
What is the difference between kiss cut and die cut stickers? A kiss cut cuts only the top sticker layer and leaves the backing sheet intact, so the stickers stay together. A die cut cuts through both the sticker and the backing, so each one comes out separate.
How do I cut my stickers out individually instead of on a sheet? Choose die cut in the Create Sticker tool, then on the Make screen search Browse All Materials for printable vinyl, pick the first result labeled Specialty, and change the pressure to More. That pressure change is what gets the blade through the backing.
Do die cut stickers still have a backing? Yes. Each sticker keeps its own piece of backing. That is why you slide your spatula under the backing when lifting them off the mat, so the two do not separate.
Which is better for selling stickers? Both sell well, they just sell differently. Kiss cut sheets work best as multi sticker packs at one price. Die cut singles work best for individual laptop and water bottle stickers, and for freebies in customer orders.
Why is my Cricut cutting the stickers instead of around them? Your design needs an offset or outline around each shape. Without one, the machine has no cut line to follow except the artwork itself.
What setting should I use for kiss cut stickers? Washi Sheet. Search for it under Browse All Materials, since it is not in the popular materials list. It cuts the printed layer cleanly without reaching the backing.
Can you kiss cut and die cut on the same sheet? Not in one pass, because the material setting controls the whole cut. If you need both, print and cut them as two separate jobs.
Ready to Make Your Own
Now it is your turn. Grab a sheet of printable sticker paper, print one small test row, and try it both ways. Seeing the difference in your own hands makes the choice obvious.
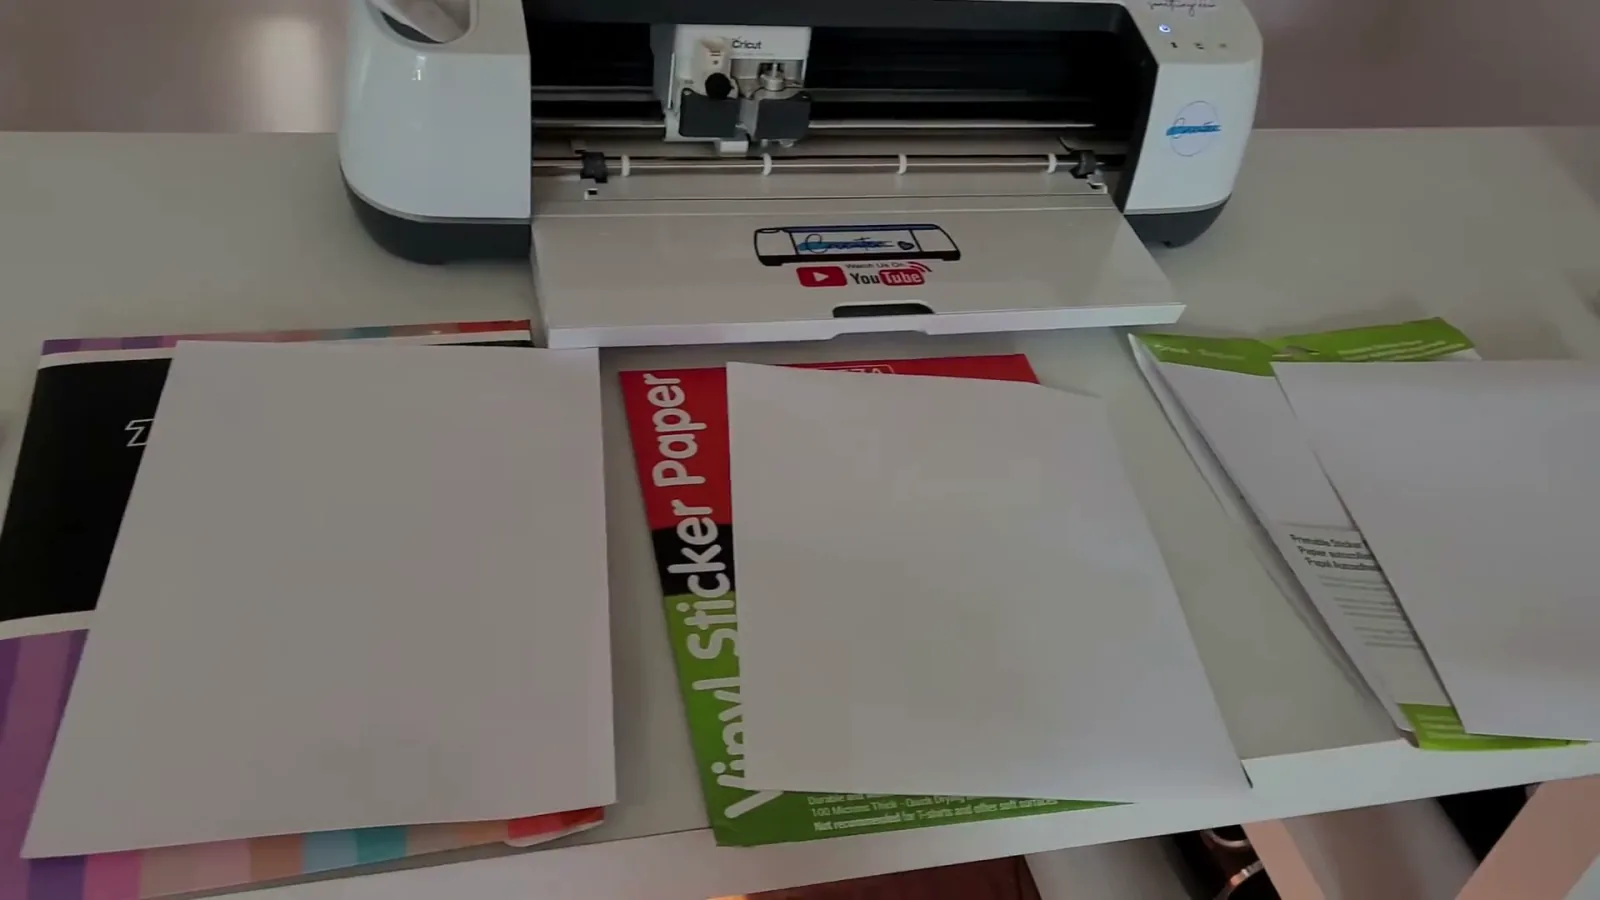
When I tested five brands side by side, JOYEZA Premium Printable Vinyl came out as my favorite. It printed bright and crisp, and at roughly 51 cents a sheet it was also the best value in the test. TECKWRAP printable sticker vinyl costs a little more per sheet but comes in the larger size, so you fit more stickers on each one.
Cricut Printable Vinyl and Cricut printable sticker paper are both solid, easy to find options. The TECKWRAP holographic paper looks incredible, just be ready for it to fight your printer a little.
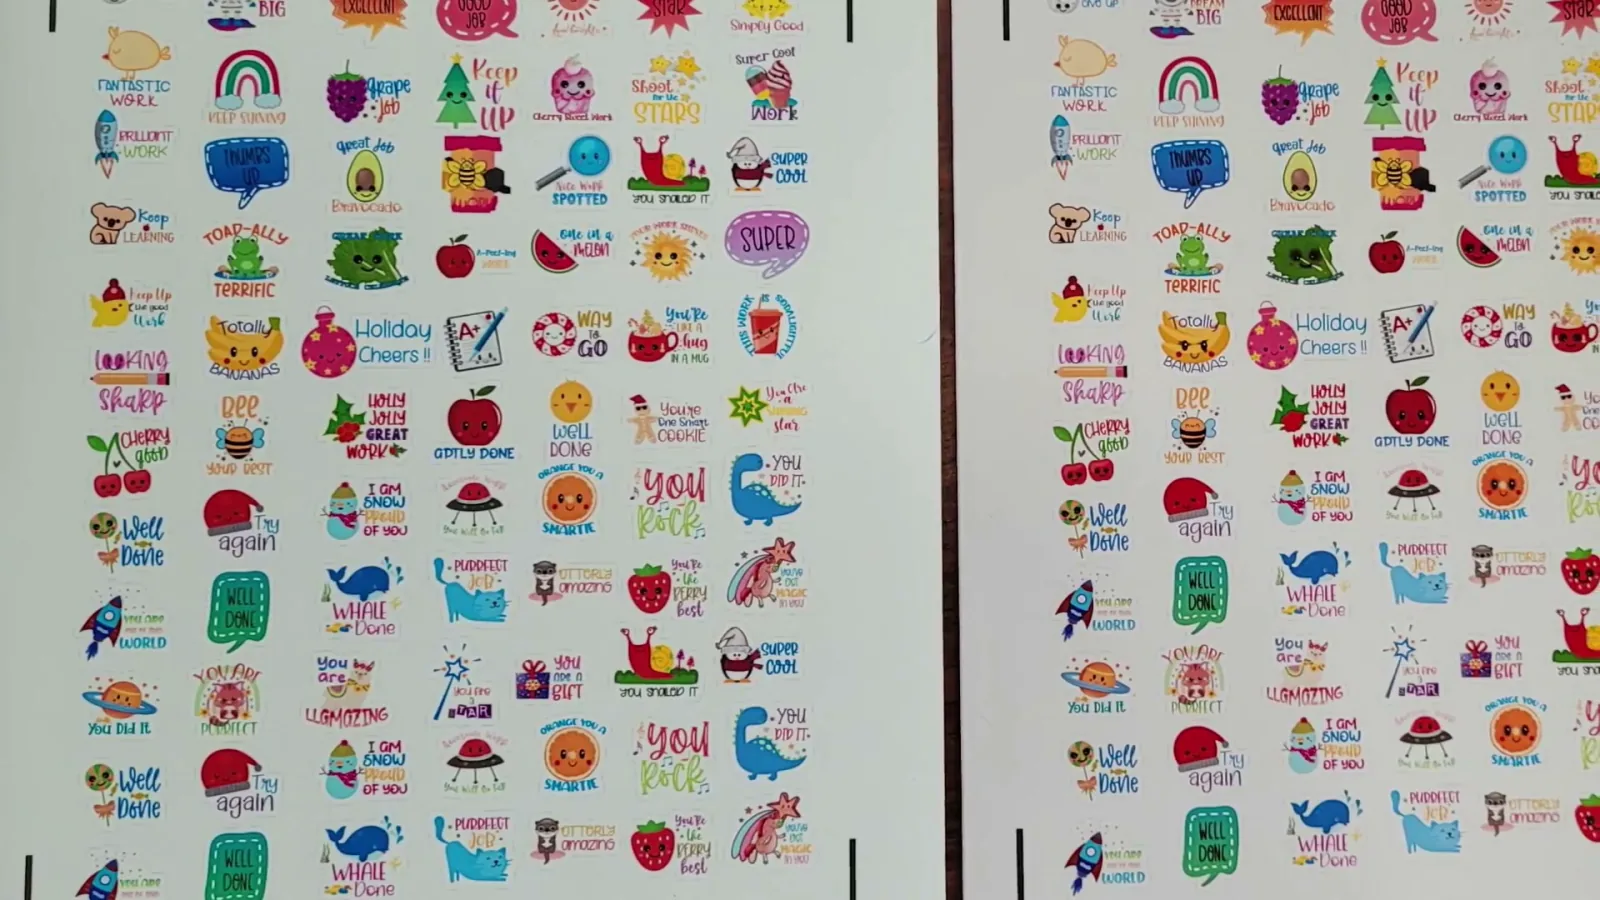
Need designs to start with? I pull most of my sticker sets from Creative Fabrica, which includes a commercial license so you can sell what you make.
Made some stickers you love? Come share them with me. I would love to see what you create, and your questions are where most of my tutorials come from in the first place.
Related Guides
- How to Make Stickers with Cricut Print Then Cut – the full printing and cutting walkthrough
- Best Printable Sticker Paper – I tested five brands so you do not have to
- How to Make Waterproof Stickers – laminating sheets and what actually survives a dishwasher
- How to Make Stickers with a Laser – the same job on a laser cutter instead