
Introduction
Time: 8 to 10 minutes per tumbler | Cost: Under $10 per blank | Difficulty: Intermediate
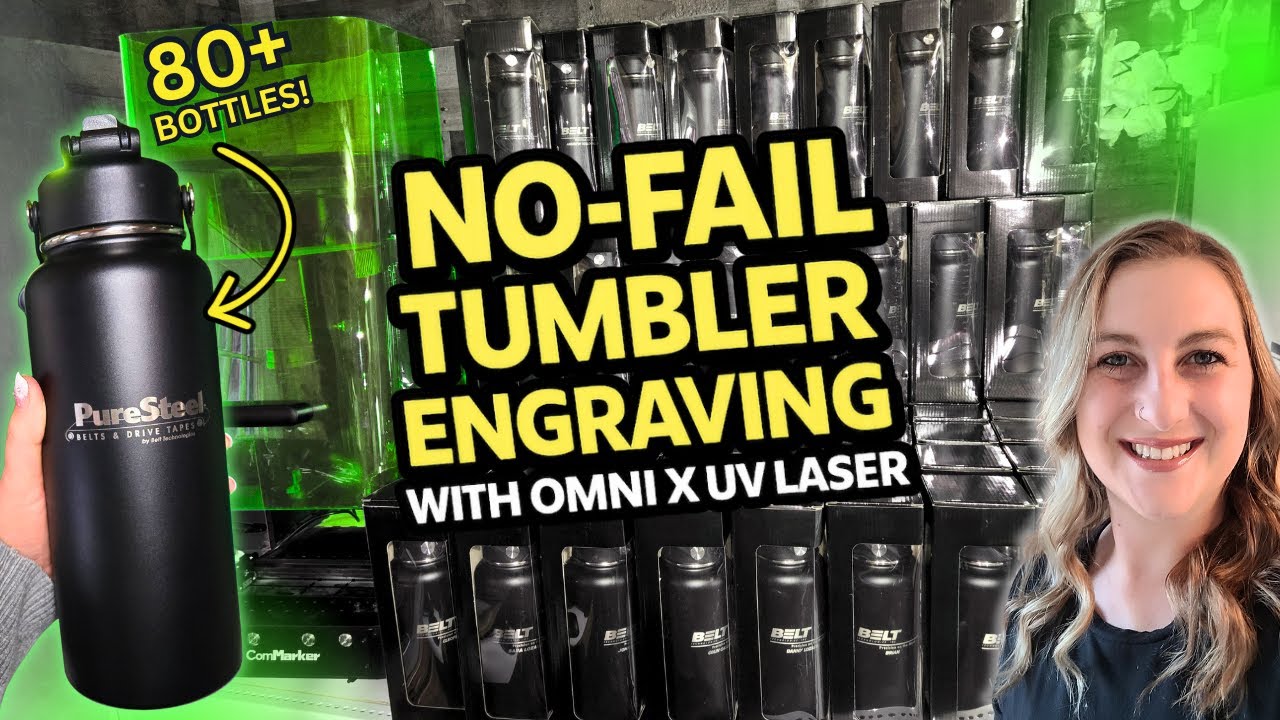
I just landed my biggest laser engraving order ever. 81 tumblers, double-sided logos, one deadline.
That is exciting and a little bit terrifying. With laser engraving you do not really get second chances. Mess one up and it goes straight in the trash.
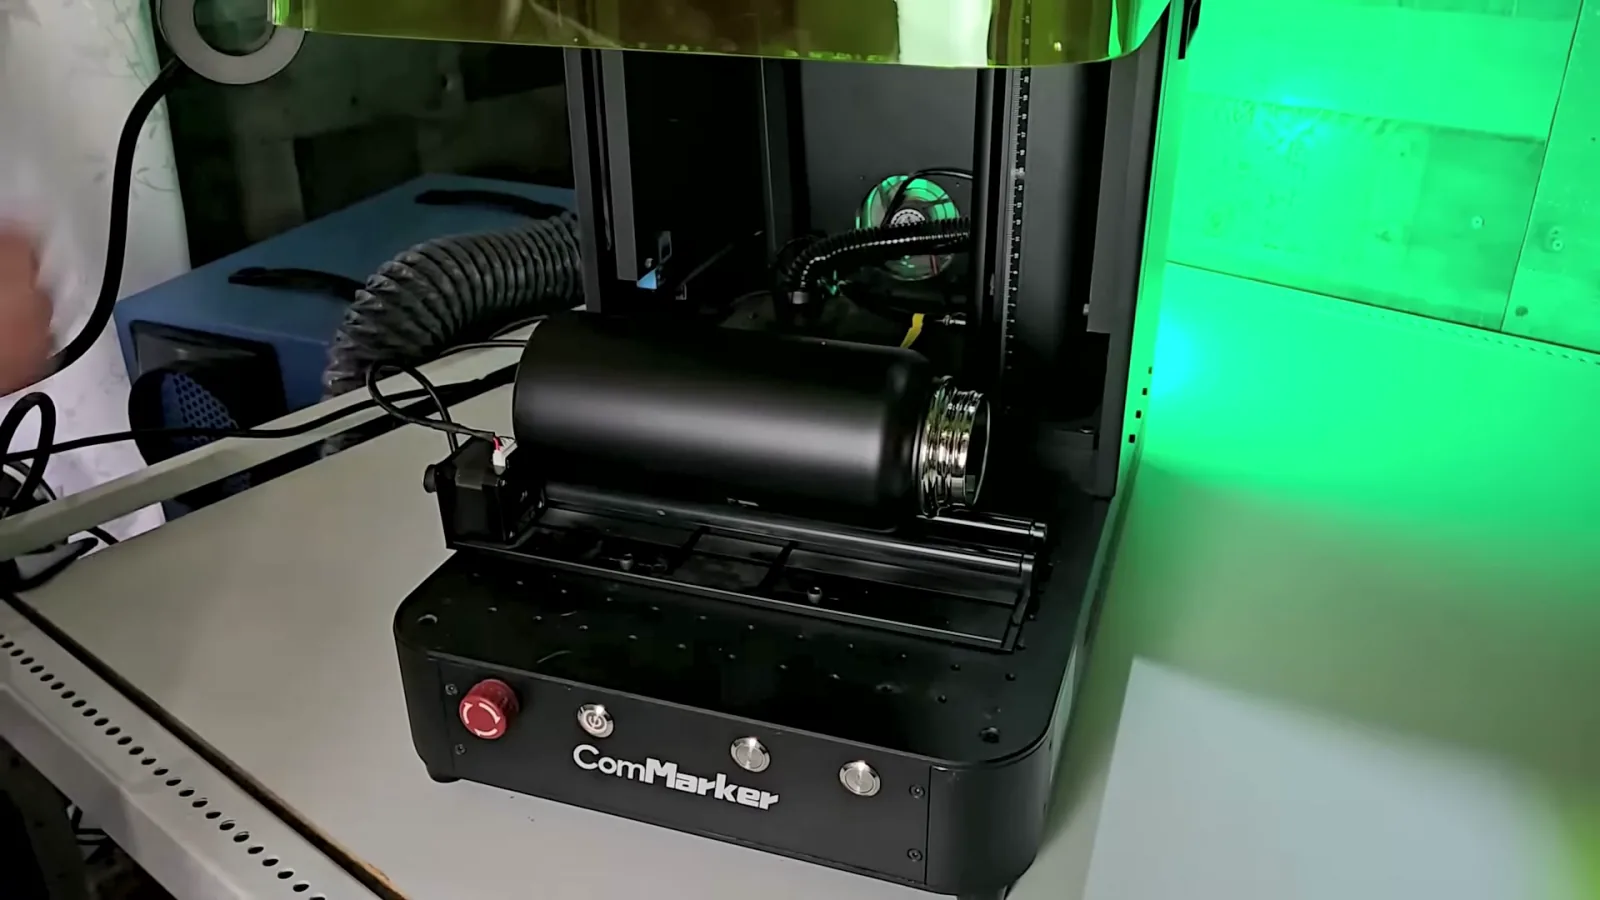
So today I am walking you through exactly how I pulled it off. I used the ComMarker Omni X 5W UV laser paired with the R5 rotary in roller mode, which is my favorite setup for straight-sided bottles because nothing shifts between cups.
If you have never engraved a tumbler before, start with my beginner tumbler engraving guide first. This post picks up where that one ends, when you need to do it 81 times in a row without a single mistake.
This post contains affiliate links. If you buy through them, I may earn a small commission at no extra cost to you. MakerFlo also sponsored the video this tutorial is based on and sent me the bottles you see here. All the settings, numbers and opinions are my own.
 11:03
11:03
Watch the full tutorial
How to Engrave Tumblers with the ComMarker Omni X Roller Rotary
We're using 32oz MakerFlo Hydro Bottles, which are incredible for high-profit batch production. I'll also cover pricing margins, post-processing cleanup tricks, and my marketing strategies using QR code branding and MakerFlo Sell Sheets to land commercial clients!
Key Takeaways
- Start at 400 mm/s, 50 kHz frequency, 1 microsecond pulse width, one pass. That gives me a clean bright mark on black powder-coated stainless, but powder coats vary between brands and production runs, so always test one blank before running a batch.
- Rotate the design to match how the bottle sits in the machine. My stepper motor is on the left of the bed so the cup points right, which means 270 degrees. Load yours the other way round and it is 90.
- For double-sided logos, divide the circumference by four. A 91 mm tumbler gives you about 286 mm around, so the two Y positions are +71.47 mm and -71.47 mm.
- Budget 4 to 5 minutes per side. That is 8 to 10 minutes for a double-sided tumbler, so 81 of them is a multi-day job.
- Blanks cost under $10 and sell for $25 to $40. I sell mine at $30, plus $10 more for name engraving.
Quick Links / Table of Contents
- Key Takeaways
- What You'll Need
- Why These Bottles for Batch Work
- Step-by-Step Instructions
- Tips & Troubleshooting
- What I Actually Made on This Order
- FAQ
- Downloads & Design Files
- Call to Action & Community Invite
- More Projects You'll Love
What You'll Need
- ComMarker Omni X 5W UV Laser – use code cricuter for 5% off
- ComMarker R5 Rotary Roller – included or available as an add-on
- MakerFlo 32oz Hydro Bottles – under $10 each by the case
- MakerFlo Product Sell Sheets – free, for Canva mockups
- ComMarker Studio software – free with the laser
- Magic Erasers – for cleaning laser residue
- Canva – free, for mockups and sticker designs
- Cricut machine and printable sticker paper – optional, for branded QR stickers
Some of the links above are affiliate links. If you buy through them I earn a small commission at no extra cost to you, and it helps me keep making these tutorials.
Why These Bottles for Batch Work
I buy my tumblers from MakerFlo, and for a bulk order the packaging matters as much as the blank.
Their 32oz Hydro bottles arrive in color-matched gift boxes with a clear display window, so the customer sees the engraving the second they open the shipper. They look ready to sell without me doing anything extra.
The bottles themselves are leak-proof with a dual-use lid, so you can sip through a straw or chug through the spout. The part I care about most for engraving is that there is no handle on the side. Nothing to unscrew, no tabs to bend back, which saves real time when you are loading 81 of them.
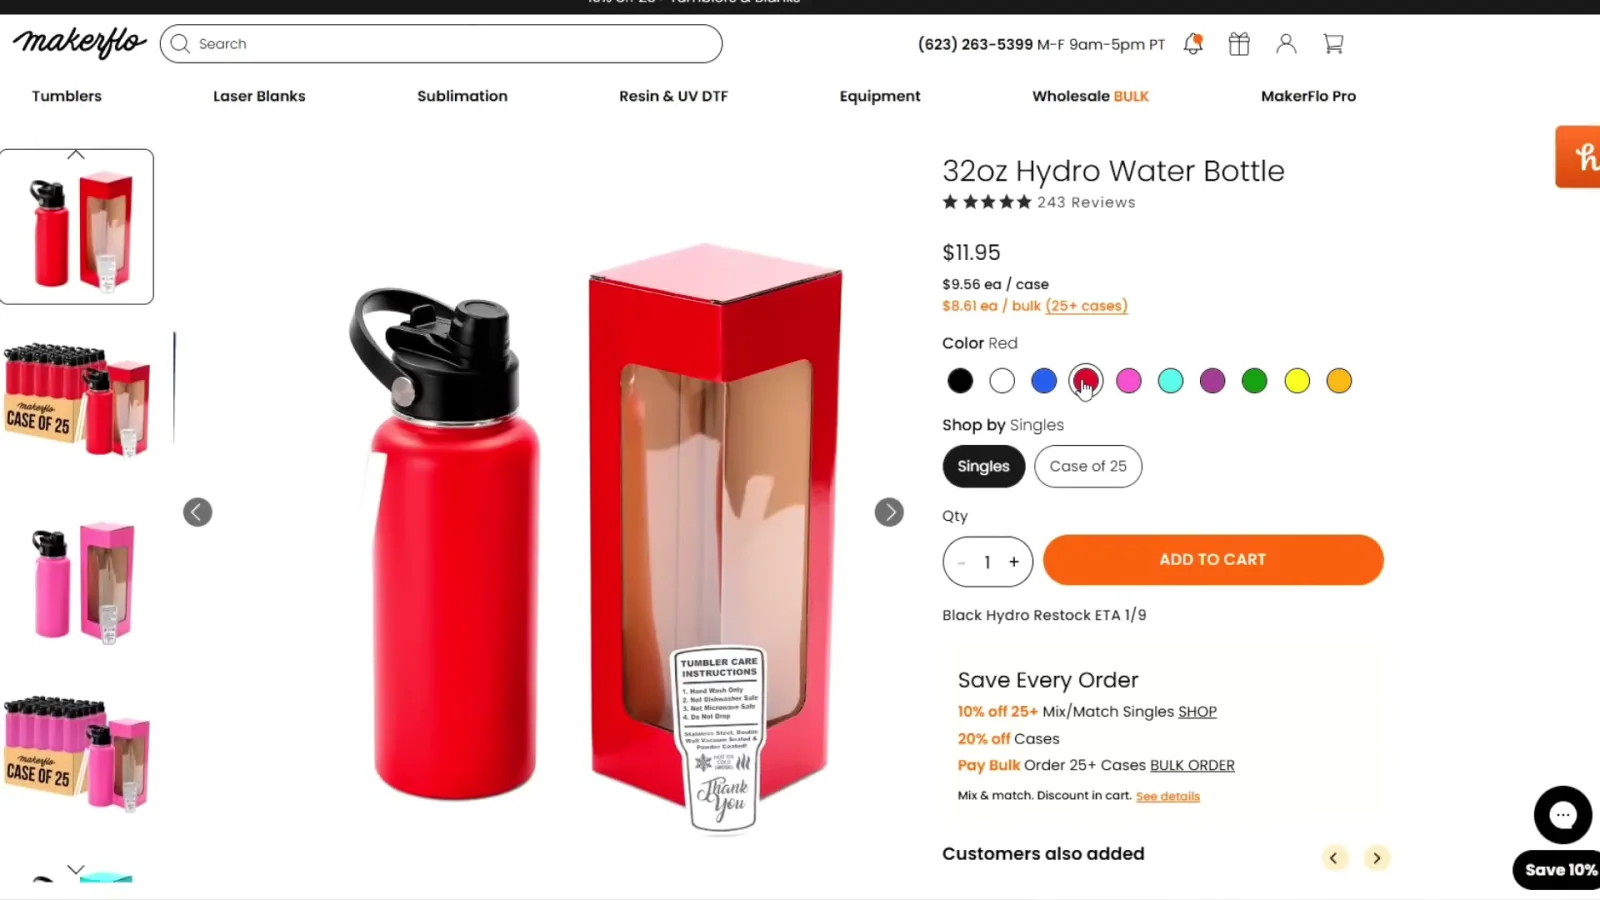
If you are stocking up, MakerFlo's Build-a-Bundle deal takes 10% off when you order 25 or more blanks. It applies automatically in the cart and you can mix and match, so laser blanks and sublimation blanks count toward the same 25.
Step-by-Step Instructions
Step 1: Power Up the ComMarker Omni X
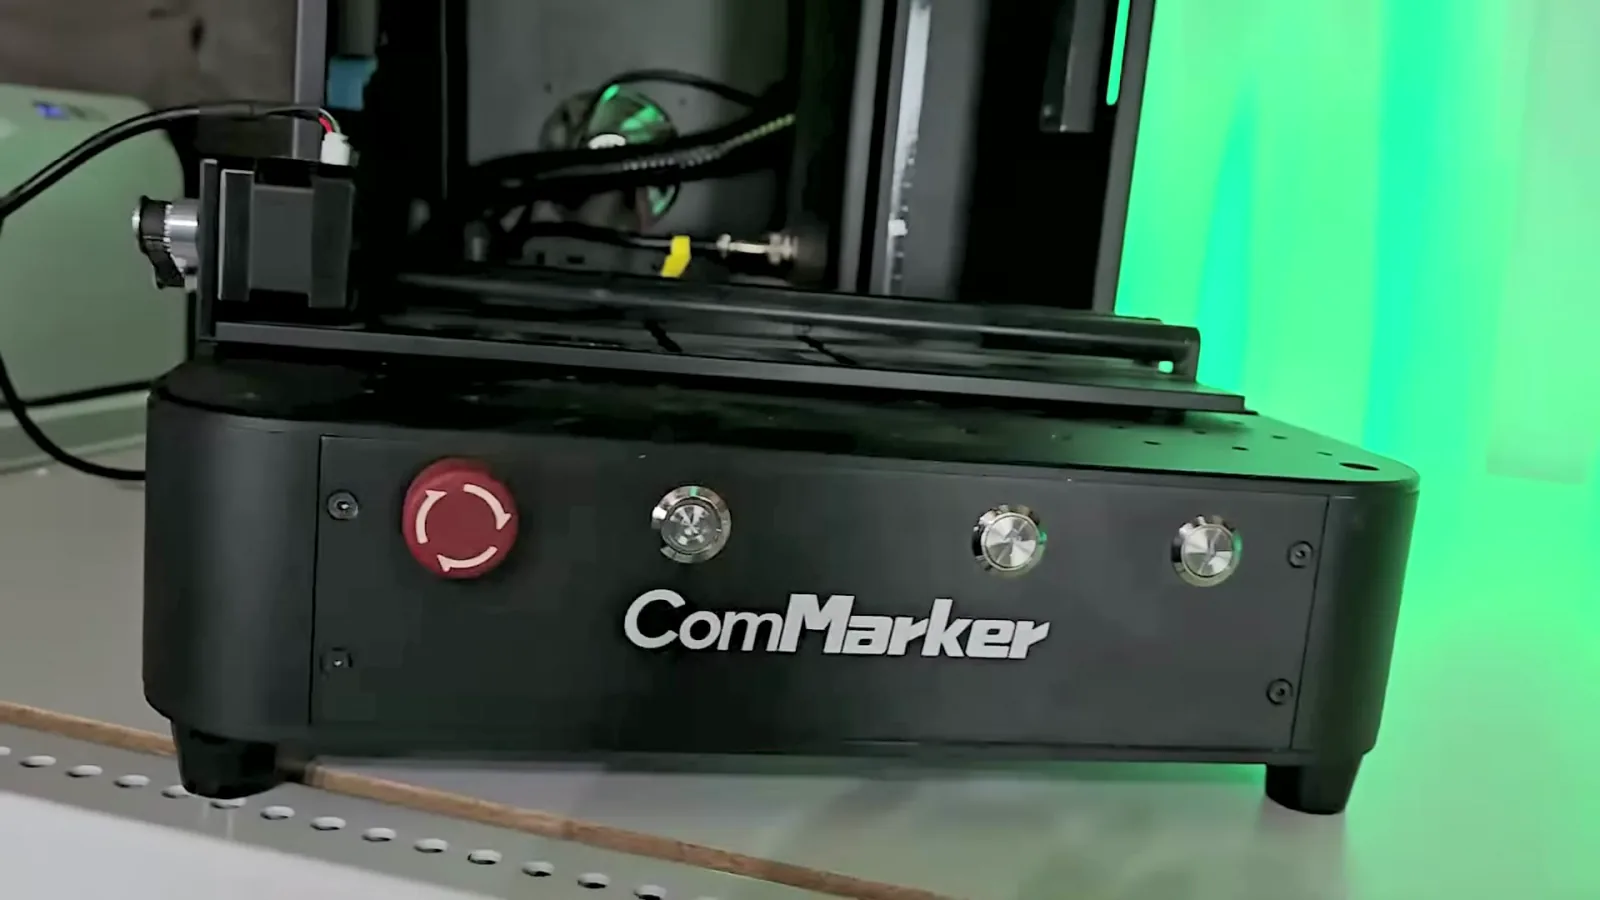
Twist the red E-stop button clockwise to release it. Then press and hold the main power button until it lights up.
Get your workspace clear before you start. A big batch needs somewhere to put the finished cups.
Step 2: Connect and Secure the R5 Rotary Roller
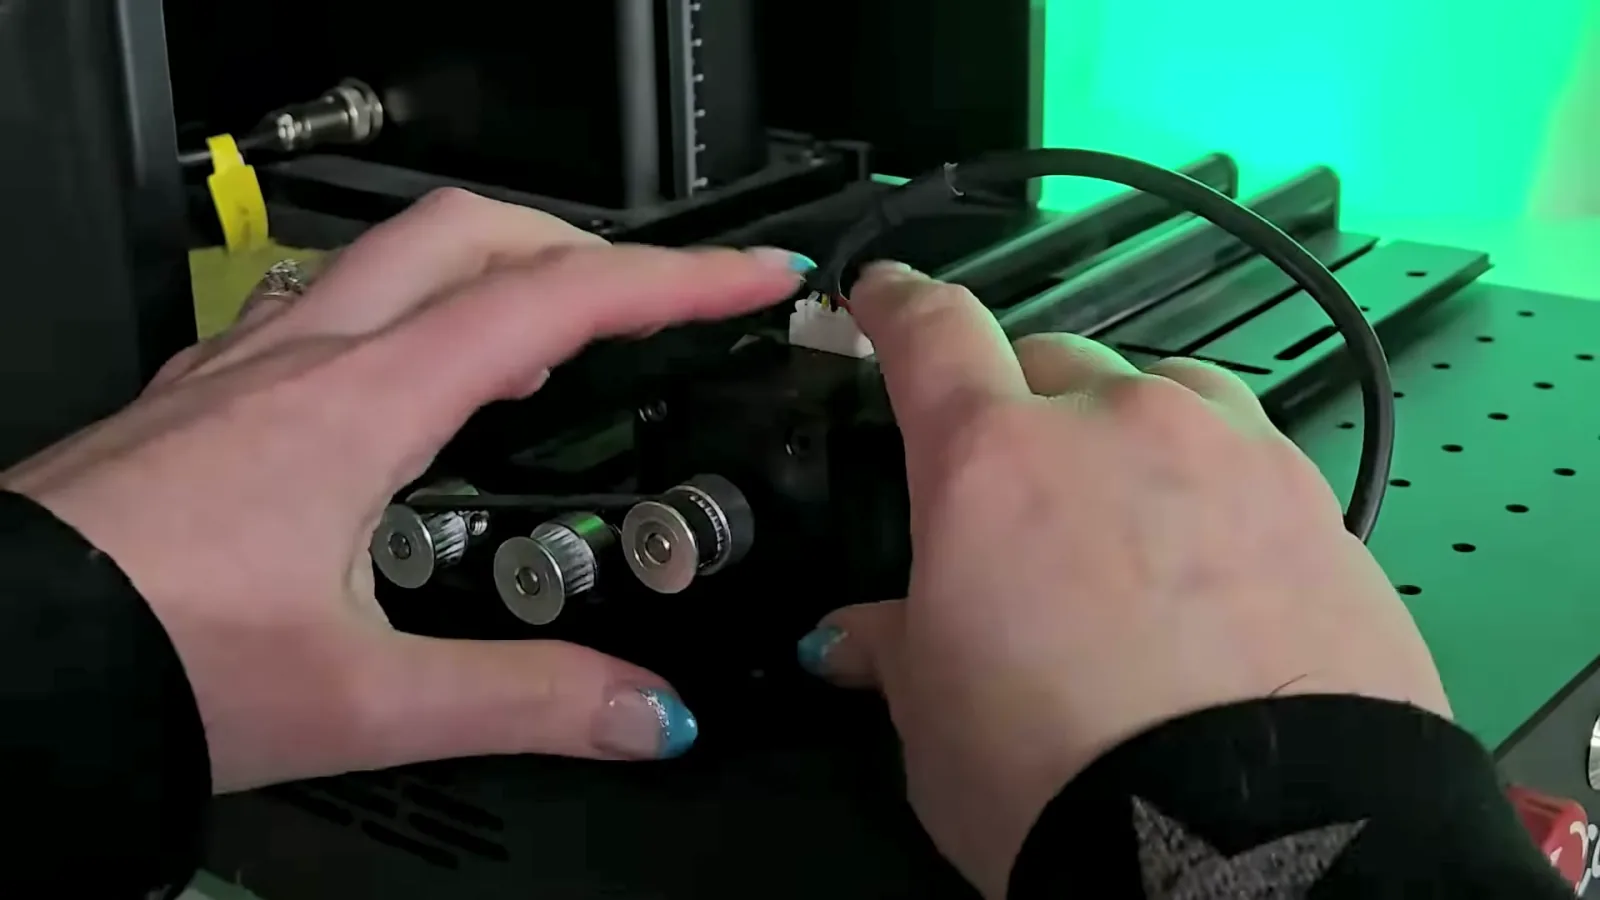
Plug one end of the rotary cable into the top of the R5 roller. Line the other end up carefully with the rotary port on the back of the machine.
Now tighten the screws on the rotary base so it cannot move. When you are loading 81 different bottles, nothing can be allowed to shift.
I also like to position the rotary so the autofocus dot lands on the highest point of the cup. That gives me the best focus across the curve.
Step 3: Position Your Tumbler
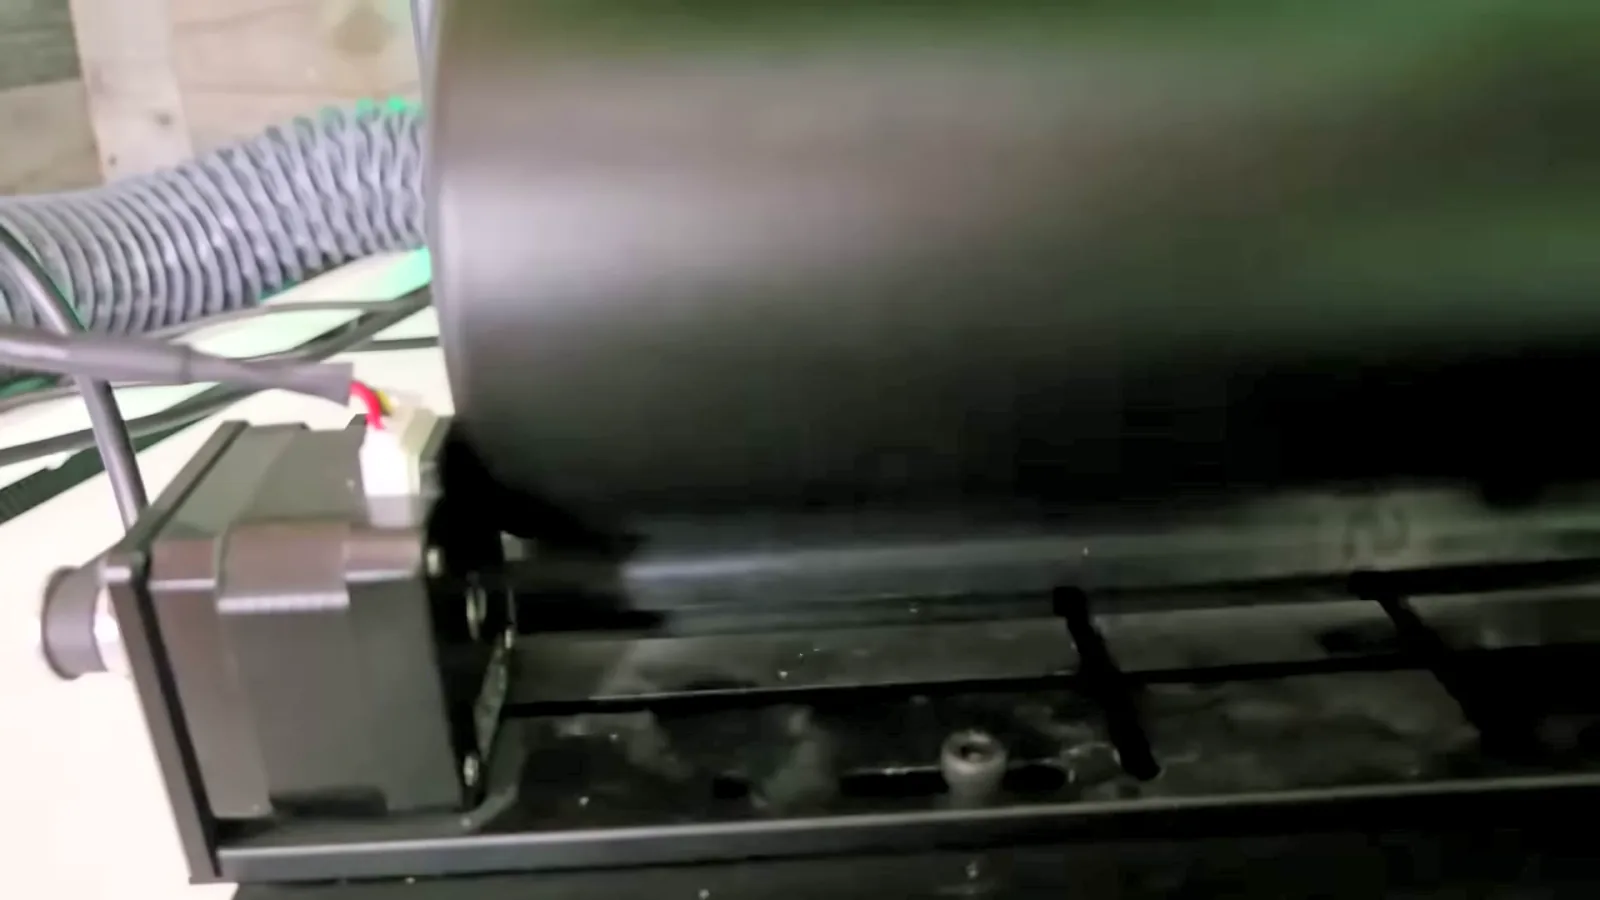
Set the tumbler on the roller so it sits straight, and butt the bottom of the bottle right up against the roller motor.
Do this exactly the same way every single time. That one habit is what keeps the engraving landing in the same spot on all 81 cups.
Step 4: Import and Size Your Design
Plug in the USB cable and open ComMarker Studio. Click Create on the left, then click the Vector button to add your first image.
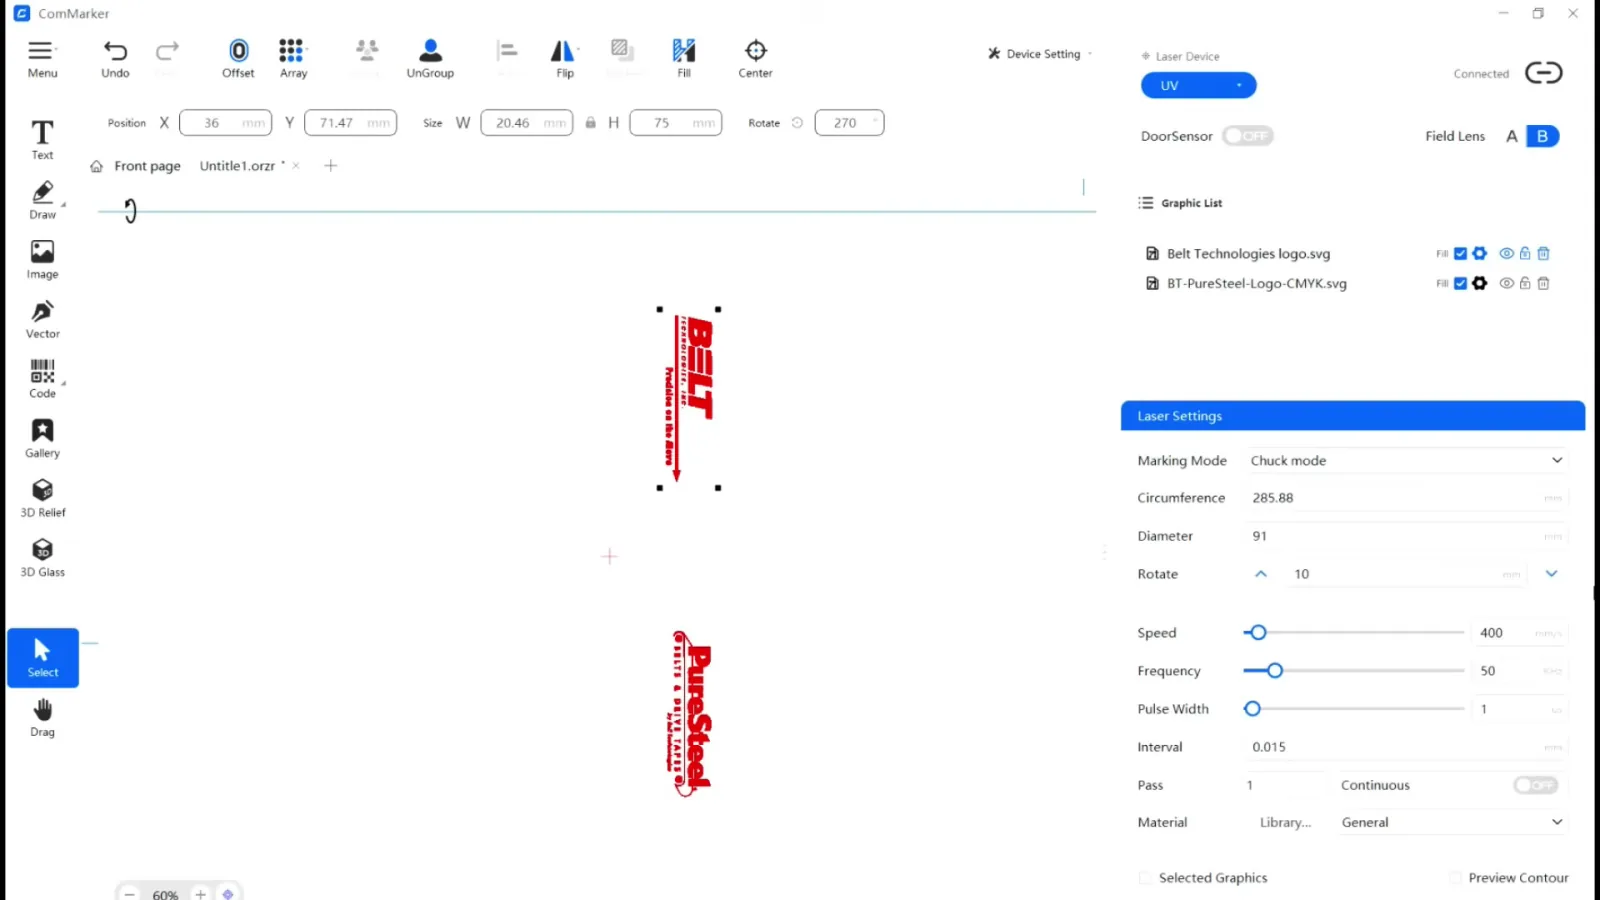
Click the lock button to keep the aspect ratio before you resize. I set my width to 75 mm and let the height follow automatically.
Step 5: Rotate the Design to Match the Machine
This is the step people get wrong, so it is worth slowing down for.
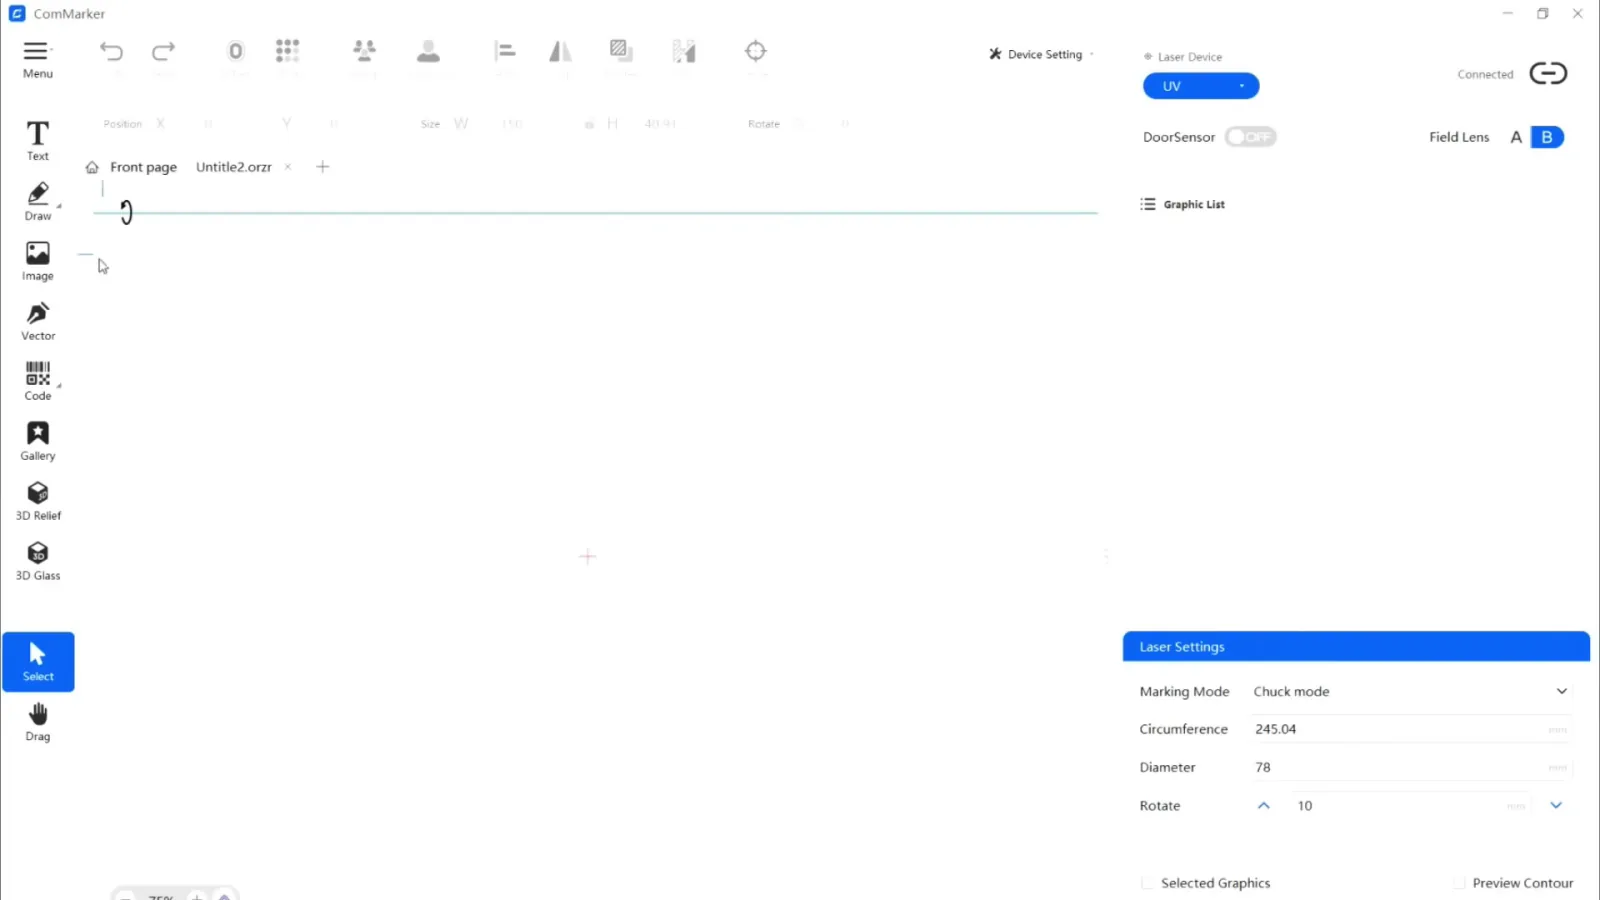
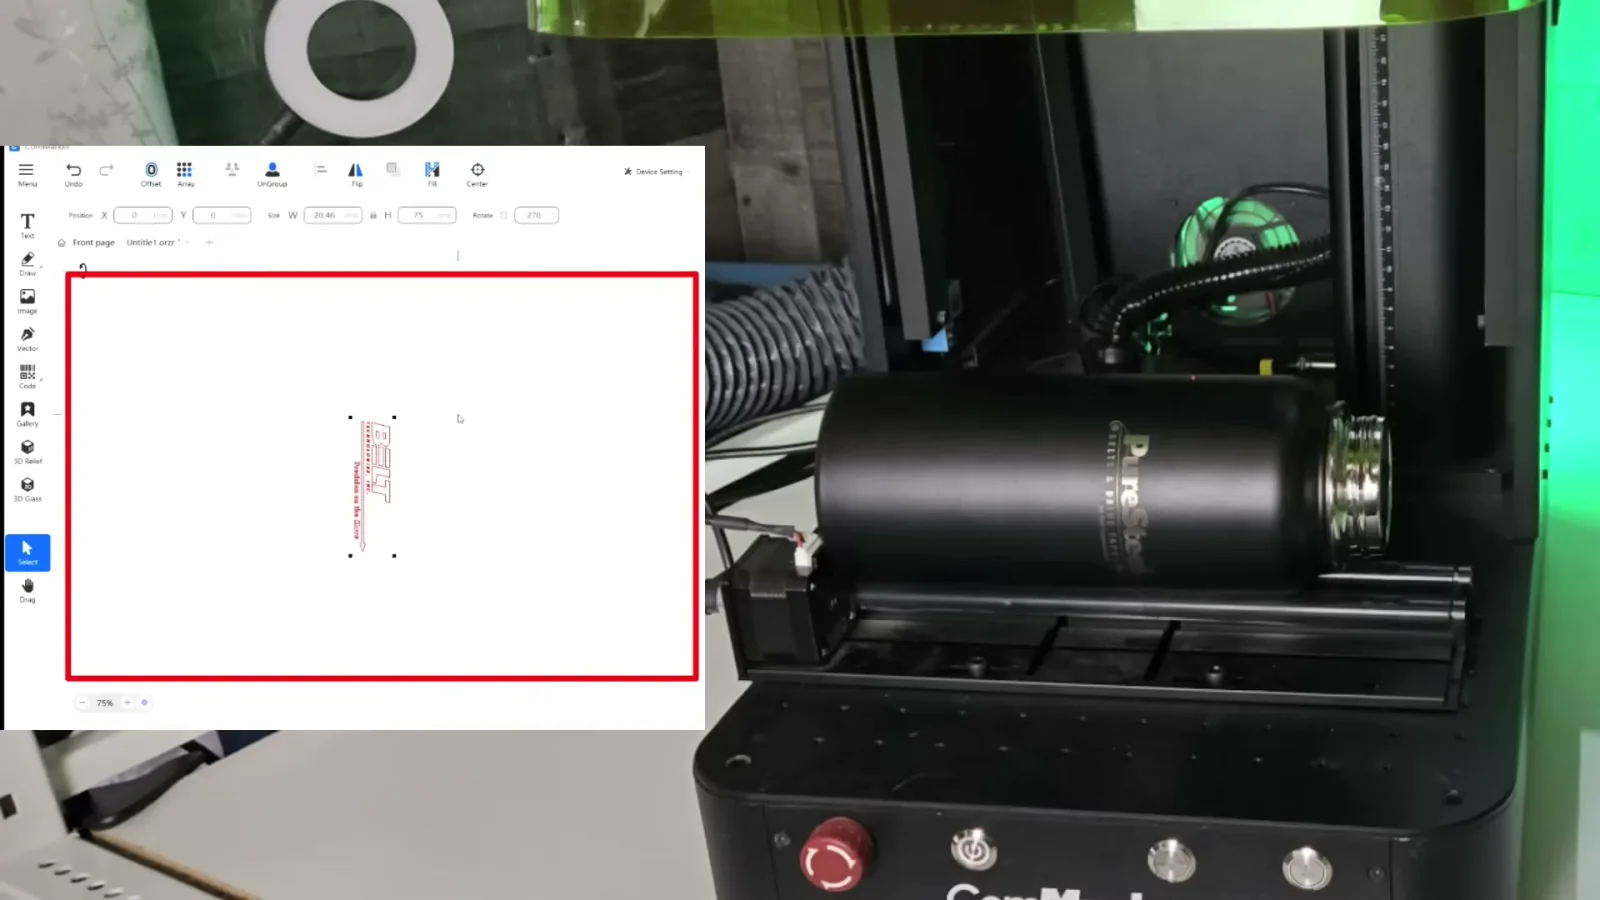
ComMarker Studio's canvas mirrors what you see when you look at the machine. Think of it as a sheet of paper wrapped around the bottle. My roller rotary sits with the stepper motor on the left side of the laser bed, so the top of my bottle points to the right. That means my design turns clockwise, 270 degrees, to land the right way up.
Load your bottles the other way round, with the top pointing left, and you rotate 90 degrees instead. So do not just copy my number. Look at the machine, look at the canvas, and match them. You can watch me work through this at 4:58 in the video.
Now import the second half of the logo the same way: vector, lock the ratio, 75 mm wide, same rotation.
Step 6: Do the Math for Double-Sided Logos
I wanted my two logos directly opposite each other, sitting about two thirds of the way up the tumbler. Here is the math.
- Enter the diameter of the cup, 91 mm, to set your canvas. That gives you a circumference of about 286 mm, which becomes the height of the canvas.
- Divide 286 by 2 to get about 143 mm.
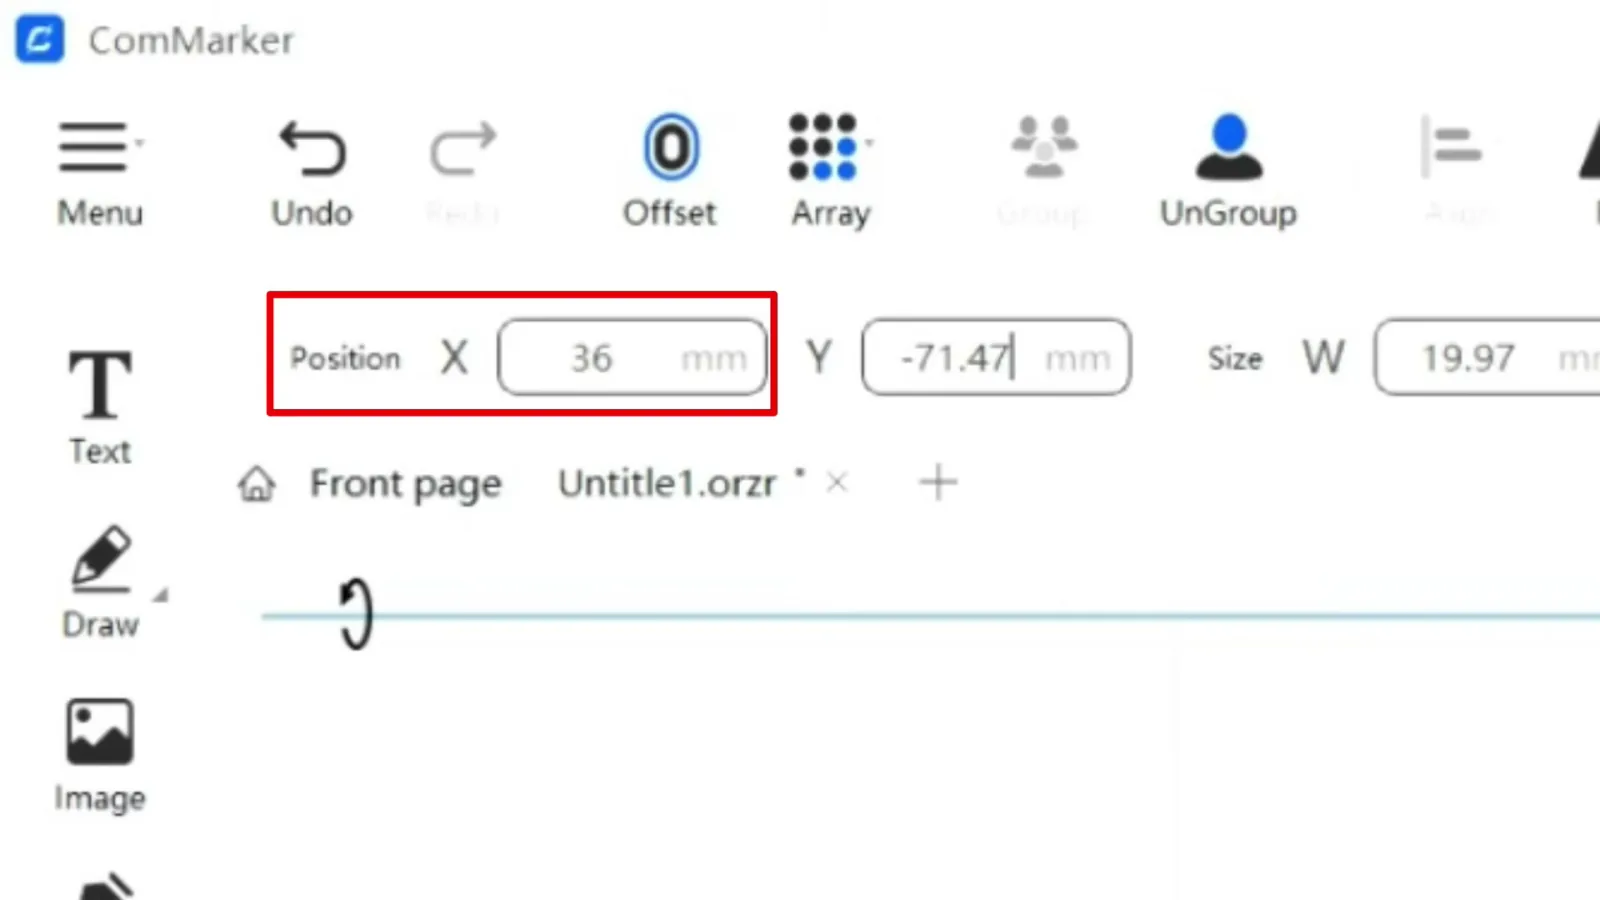
- Divide that by 2 again for your first Y position: 71.47 mm.
- Set the second logo's Y position to -71.47 mm and it lands perfectly opposite.
- Set the X position to 36 mm on both, just to keep them aligned for now. You will fine-tune it at the preview.
Tip: On a rotary setup, X moves the design up and down the tumbler. Y moves it around the outside of the cup. That trips up almost everyone the first time.
Step 7: Enter Your Laser Settings
Select both designs. In the graphic list on the right, tick the Fill checkbox, then click the gear icon to open the fill settings. Set line spacing to 0.015 and leave everything else at default.
For a clean, bright mark on black powder-coated stainless steel, these are the settings I use:
- Speed: 400 mm/s
- Frequency: 50 kHz
- Pulse Width: 1 microsecond
- Passes: 1
Apply the same settings to the second logo.
These numbers have worked on these MakerFlo bottles and on plenty of other stainless blanks I have run. But powder coats are not all the same, and they vary between brands and even between production runs from the same supplier. Any time you engrave a material for the first time, run one test blank at these settings before you commit to the batch.
Step 8: Autofocus, Preview, Then Run
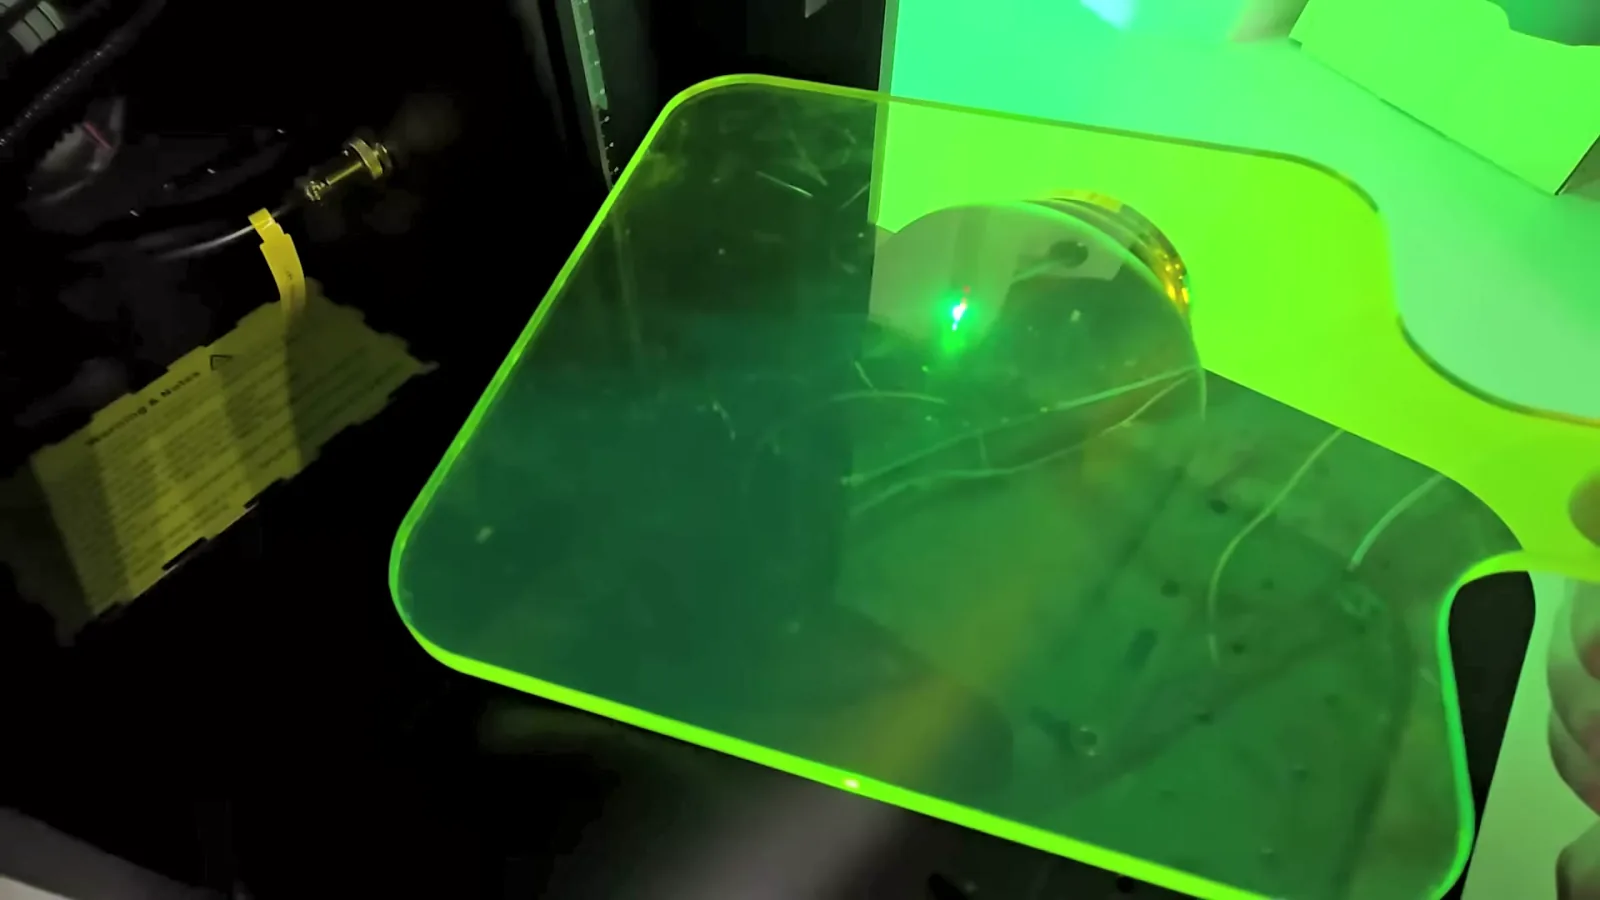
Click Focus to autofocus the laser. Then click Preview and the Omni X draws a box around exactly where the design will land.
Adjust the X position to slide the design up or down the cup until it looks right. When you are happy, hit Start.
Each side takes about 4 to 5 minutes.
Step 9: Clean Off the Residue
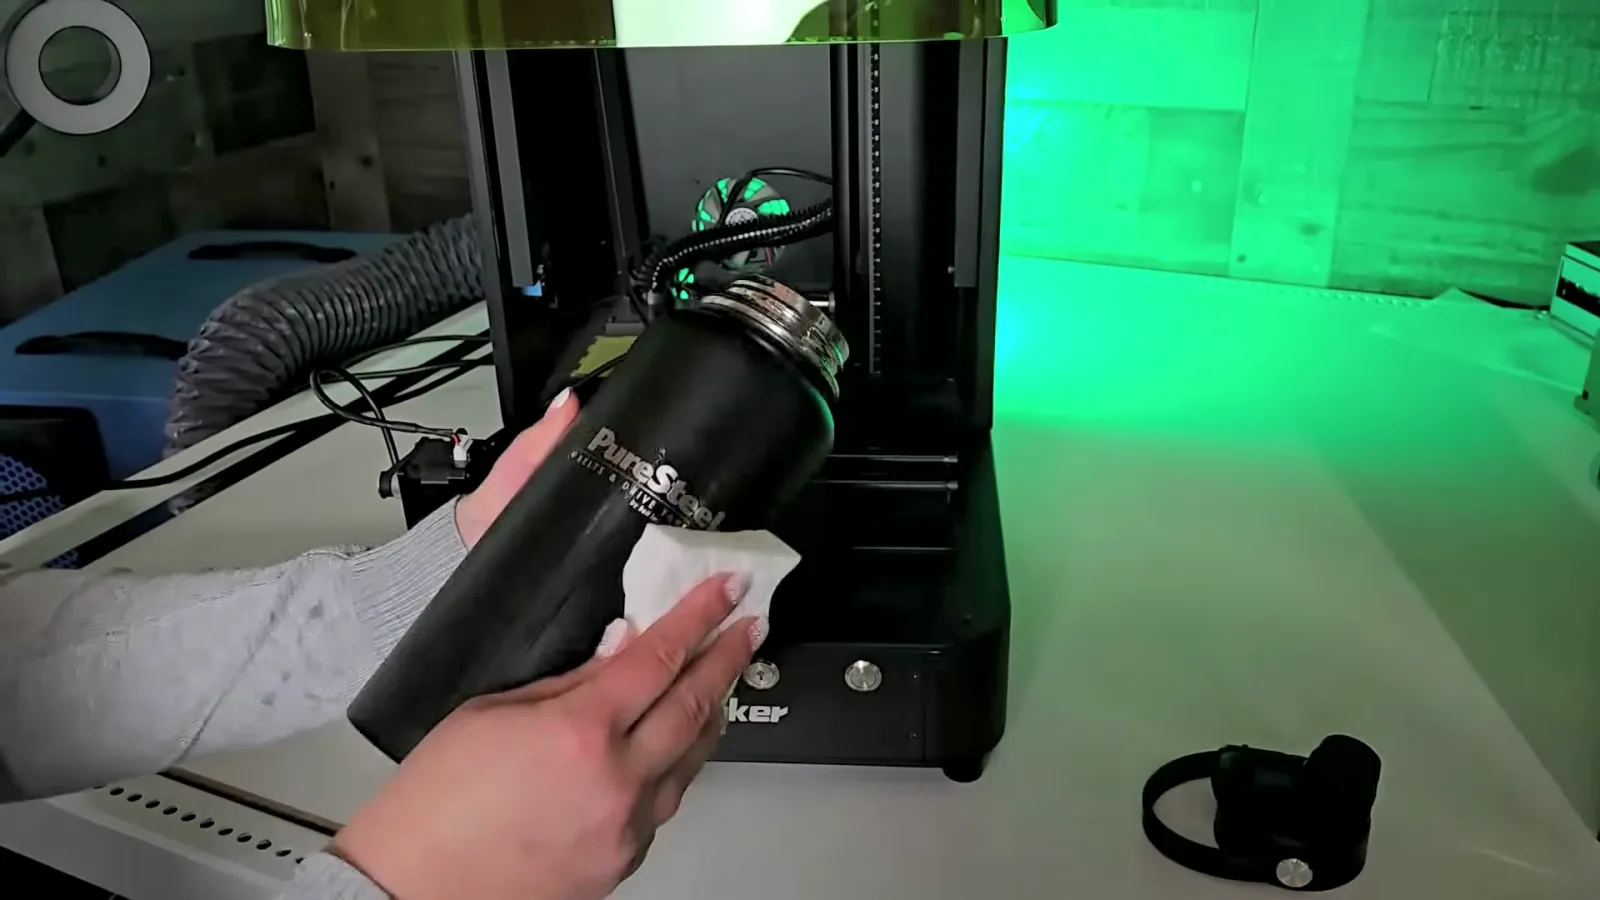
When it finishes you will probably see a little smokiness or residue on the surface. That is completely normal and it comes straight off.
Grab a Magic Eraser, get it slightly damp, and wring it out really well. Give the engraving a quick scrub and the haze disappears, leaving bright crisp steel underneath.
Step 10: Add Custom Branding (Optional)
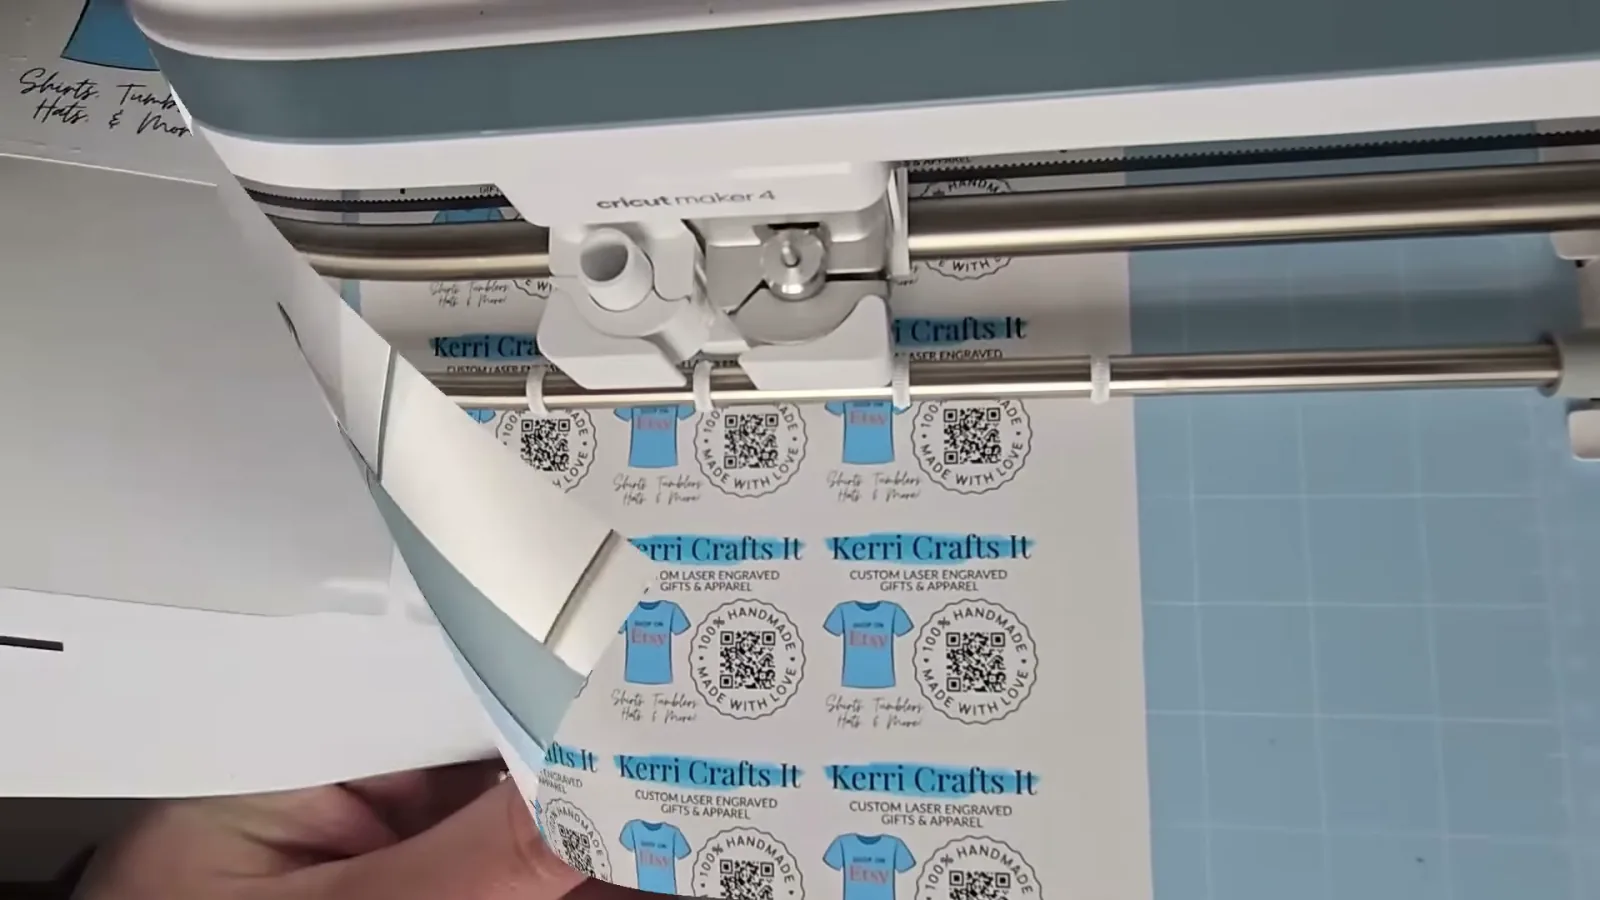
To finish, I designed simple stickers in Canva with my logo and a QR code pointing at my Etsy shop, then printed and cut them on my Cricut.
One goes inside the top of every gift box. It looks professional and it puts my shop in front of 81 potential new customers from a single order.
I cover Print Then Cut in detail in my book, Cricut For Dummies.
Tips & Troubleshooting
- Consistency beats speed. Butt every tumbler against the roller motor the same way and your engraving lands identically every time. This matters more than any setting.
- Never skip the preview. Framing takes a few seconds and it has saved me from ruining more than one blank.
- Wring the Magic Eraser out properly. You want it slightly damp, not wet. Soaking a powder-coated bottle is not doing it any favors.
- Test your blanks before you commit to a batch. Powder coats vary between suppliers and even between runs. Here is why I always test blanks before selling.
- Buy by the case for the margin. Under $10 a bottle against a $25 to $40 sale price is what makes a bulk order worth doing.
- Use sell sheets to land bigger orders. Drop a customer's logo onto a MakerFlo sell sheet in Canva, add your pricing and contact details, and you have a professional quote to pitch to a business.
What I Actually Made on This Order
The client was thrilled, and financially this was a big win.
I also started selling the same bottles at my gym for $30 each, plus $10 extra if they want a name engraved. With materials under $10, that is about $20 profit per bottle.
I sold out of my first 100 pretty much immediately. If you want help working out your own numbers, I walk through it in my pricing guide.
FAQ
Q: What type of tumblers work best with the R5 rotary roller?
A: Straight-sided tumblers like the MakerFlo 32oz Hydro bottles, because they sit completely flat and stable on the rollers. Tapered tumblers are trickier since they want to walk sideways while they spin.
Q: Can I engrave other materials with the ComMarker Omni X?
A: Yes, and it is genuinely impressive on glass, acrylic and leather, including 3D subsurface engraving inside glass. I go through all of that in my full ComMarker Omni X review.
Q: Should I rotate my design 270 degrees or 90?
A: Whichever one matches how your bottle sits in the rotary. The canvas in ComMarker Studio mirrors the machine, so check which way the top of the cup is pointing. Mine points right because my stepper motor sits on the left of the bed, so I use 270. If yours points left, use 90. Get it backwards and the design engraves upside down.
Q: How long does it take to engrave one tumbler?
A: About 4 to 5 minutes per side, so 8 to 10 minutes for a double-sided design. For 81 tumblers, plan on a solid multi-day session.
Q: How much should I charge for laser engraved tumblers?
A: I sell mine for $25 to $40 depending on the design, and $30 is my standard at the gym with $10 more for a name. With blanks under $10 that leaves $15 to $30 profit per bottle.
Downloads & Design Files
- Creative Fabrica – unlimited downloads for $3.99/month, commercial license included
- SVG and other vector files import straight into ComMarker Studio, so anything you already use for cutting will work here
Call to Action & Community Invite
Now it is your turn. Whether this is your first tumbler order or your eighty-first, I would love to see what you make.
Tag @KerriCraftsIt on Instagram or post your projects in the Kerri Crafts It Facebook Group. If you want a separate tutorial on making the branded QR code stickers, say so in the comments on the video and I will film one.



