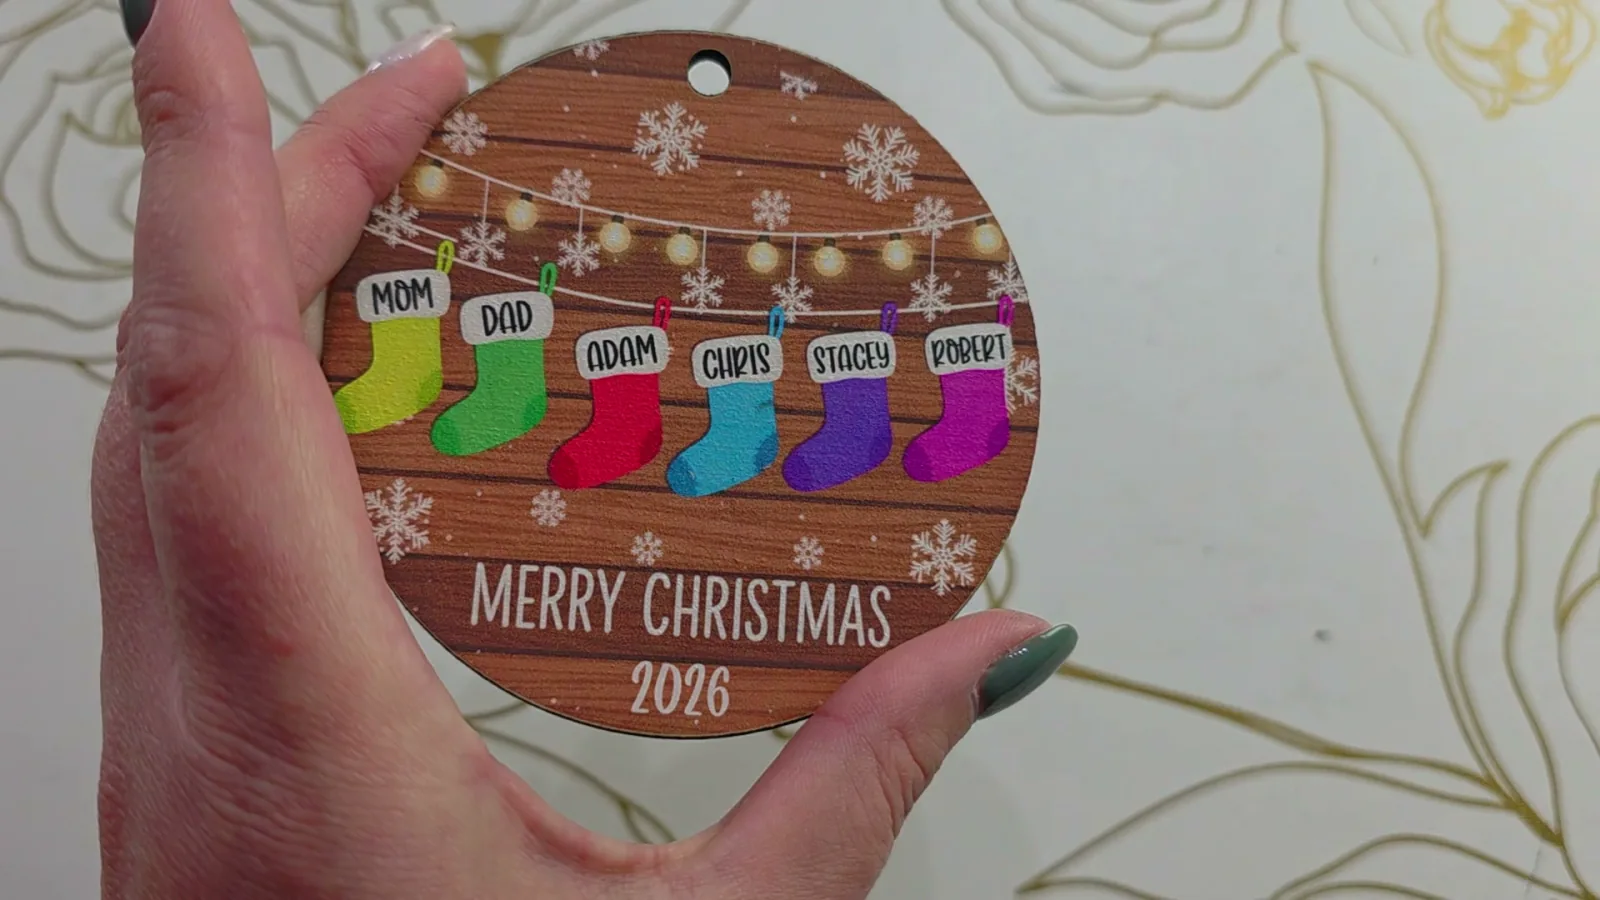
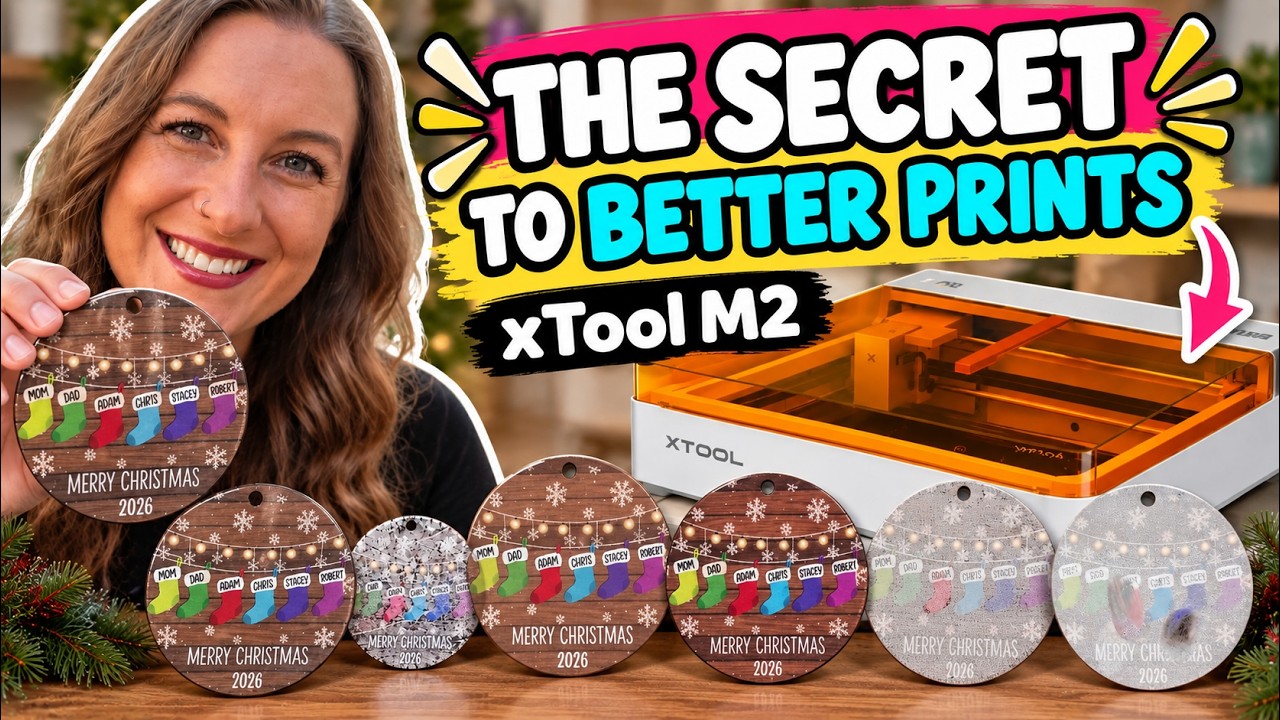
If you've tried to print on wood with the xTool M2, you've probably noticed the colors come out dull and muted. I wanted to fix that before I started making and selling things like round wood signs, ornaments and photo gifts, so I printed the same Christmas ornament on eight different surfaces and compared them side by side.
Some of the results really surprised me. I expected the smooth white surfaces to win, and that definitely wasn't always the case. Below you'll find the exact setup in xTool Studio, every test result, and the two surfaces I'd actually use again.
This post contains affiliate links. If you buy through them, I may earn a small commission at no extra cost to you.
Key Takeaways
- White inkAID on basswood is the best way to print on wood with the xTool M2. Two coats gave me sharp details, bright colors and white areas that actually look white, and the ornament still cuts out fast.
- The M2 has no white ink, so every white part of your design takes on the color of the surface. On bare basswood that means the whites look like wood and the colors look washed out.
- Making the surface white is not enough. Spray-painted basswood, uncoated white MDF and an uncoated sublimation blank all printed streaky or smeary, and the uncoated blank was still smearing hours later.
- For batches, pre-cut sublimation blanks with white inkAID print in 1 minute 28 seconds each. I paid $12.99 for 35 blanks, which works out to about 37 cents per blank.
- Seal your finished prints. The ink can smear if it gets wet, so I finish mine with a clear acrylic enamel spray applied in light coats.
Quick Links
- Key Takeaways
- What You'll Need
- How I Tested the xTool M2
- Setting Up a Print Then Cut Project in xTool Studio
- Printing and Cutting on the xTool M2
- The Results: 8 Surfaces Tested
- Results at a Glance
- Which Surface I'd Actually Use
- Seal Your Prints
- FAQ
 17:06
17:06
Watch the full tutorial
xTool M2 Print Then Cut: How to Get the BEST Prints! (8 Materials Tested)
Want better print quality from your xTool M2? I tested 8 different materials and surface preparations with the xTool M2 Color Craft laser to find out which ones give you the brightest, sharpest prints.
What You'll Need
- xTool M2 Color Craft laser – with the inkjet module and the 10W laser module
- 3mm basswood sheets – the surface I tested four different ways
- White Matte inkAID – white starts at $39.95 per pint
- Clear Gloss inkAID (Type II) – clear starts at $35.95 per pint
- inkAID Sample Kit – a smaller way to try it before buying a full bottle
- 35 pre-cut sublimation ornament blanks – I paid $12.99 for the pack
- Christmas Stocking Family Ornament PNG – the Creative Fabrica design I used for every test
- A foam brush for the inkAID
- Rust-Oleum Stops Rust Spray Paint, Gloss Crystal Clear – to seal your prints
- Painter's tape to hold the sheet down
Some of the links above are affiliate links. If you buy through them I earn a small commission at no extra cost to you, and it helps me keep making these tutorials.
Want to save on inkAID? Use code XTM2FB10 for 10% off your first purchase of a pint, quart or gallon of White Matte, Clear Gloss Type II or Iridescent Pearl. The sample kit has its own code, XTM2FB5, for 5% off your first kit.
inkAID provided the products I used in this video, and the inkAID links above are affiliate links.
How I Tested the xTool M2
I printed the exact same family Christmas ornament on every surface so the colors would be as fair a comparison as possible. I picked a design with lots of colors and fine details, so it would show what each surface does to the print.
Here are the eight tests:
- Bare basswood
- Spray-painted basswood
- Basswood with clear inkAID
- Basswood with white inkAID
- White acrylic with white inkAID
- White MDF with no coating
- Sublimation ornament blank with inkAID
- Sublimation ornament blank without inkAID
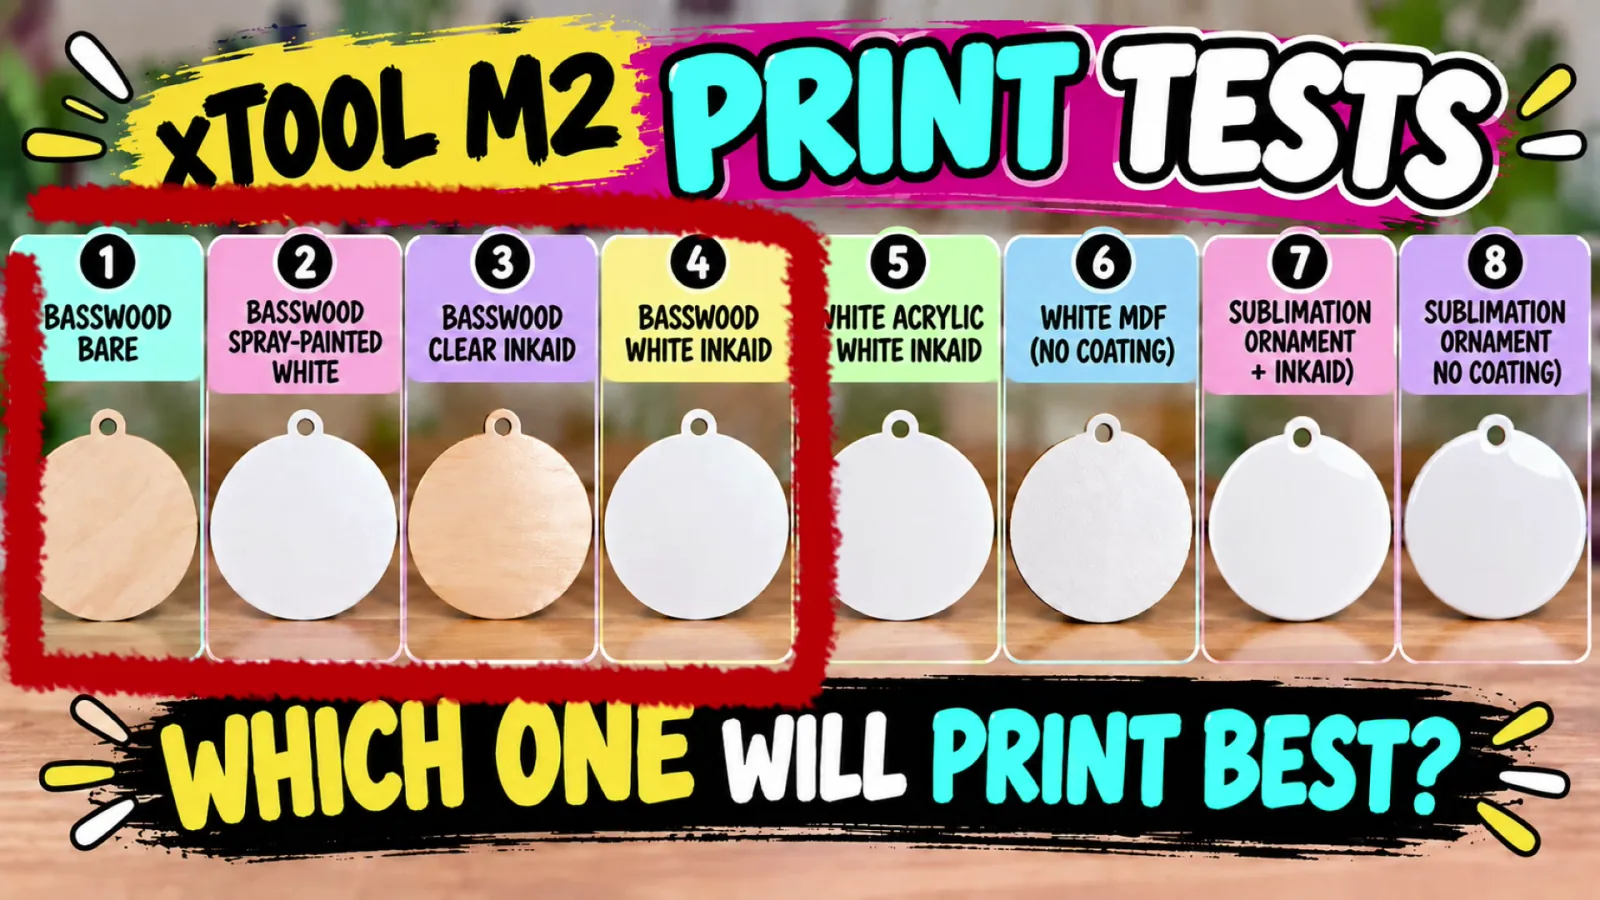
I had the same guess most of you probably have. I figured the plain sublimation blank or the white MDF would print best, since they're both smooth and white and shouldn't need any extra coating. Keep that in mind as you read the results.
Setting Up a Print Then Cut Project in xTool Studio
Every test used the same file, so you only need to build this once. These are the steps I followed in xTool Studio.
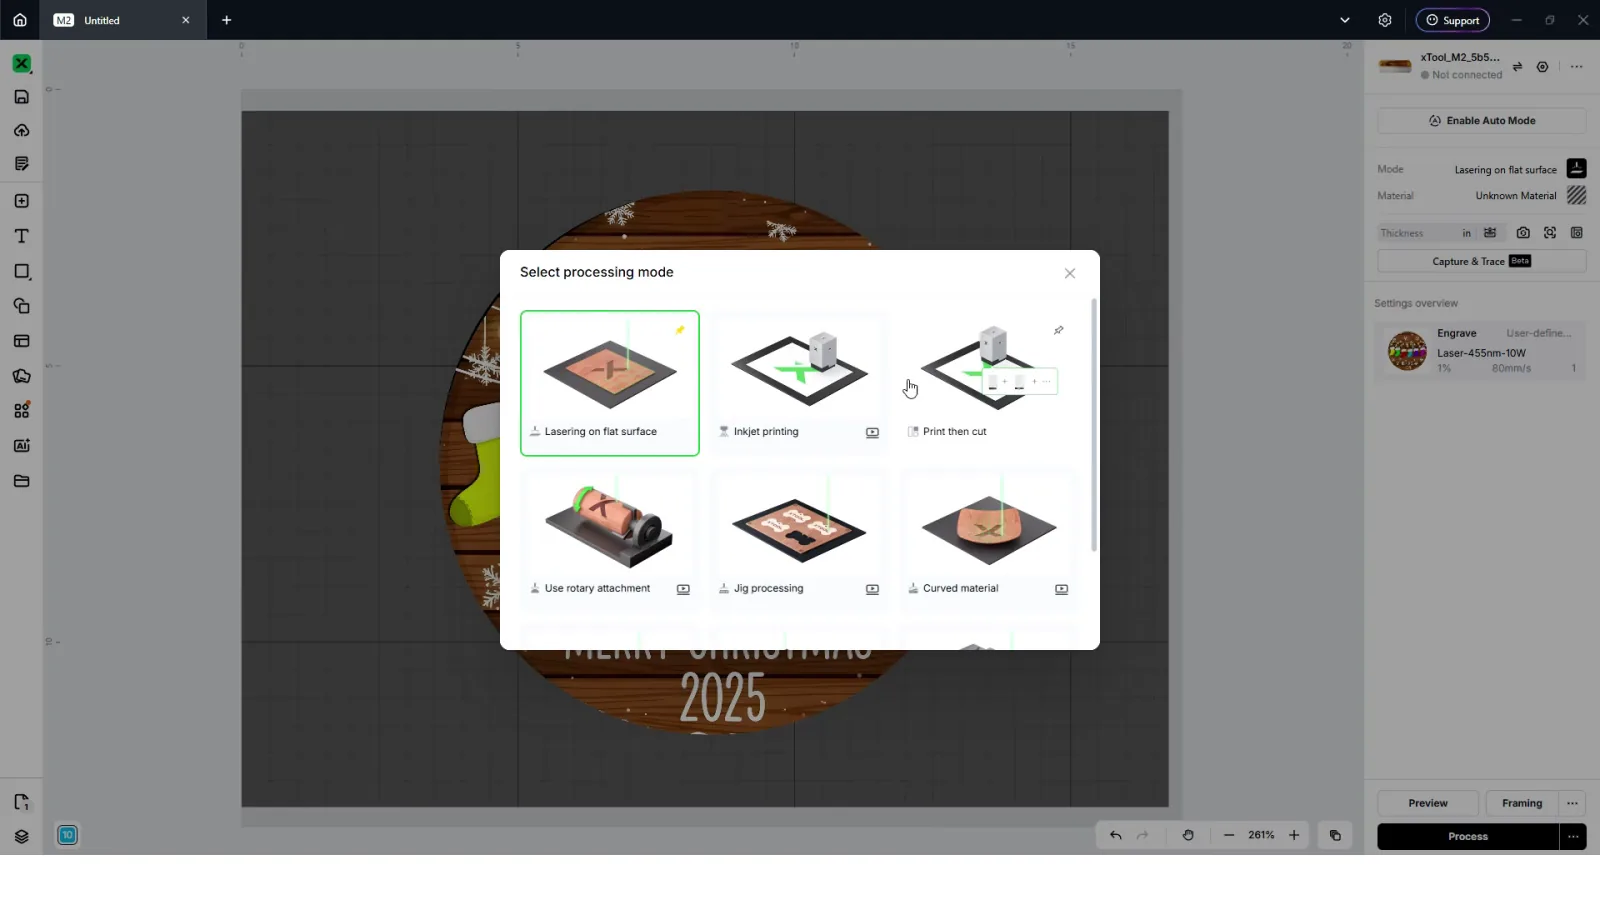
Import the design and choose the mode
- Click Import, select your file and click Open.
- Click Mode and select Print then Cut.
Add your text
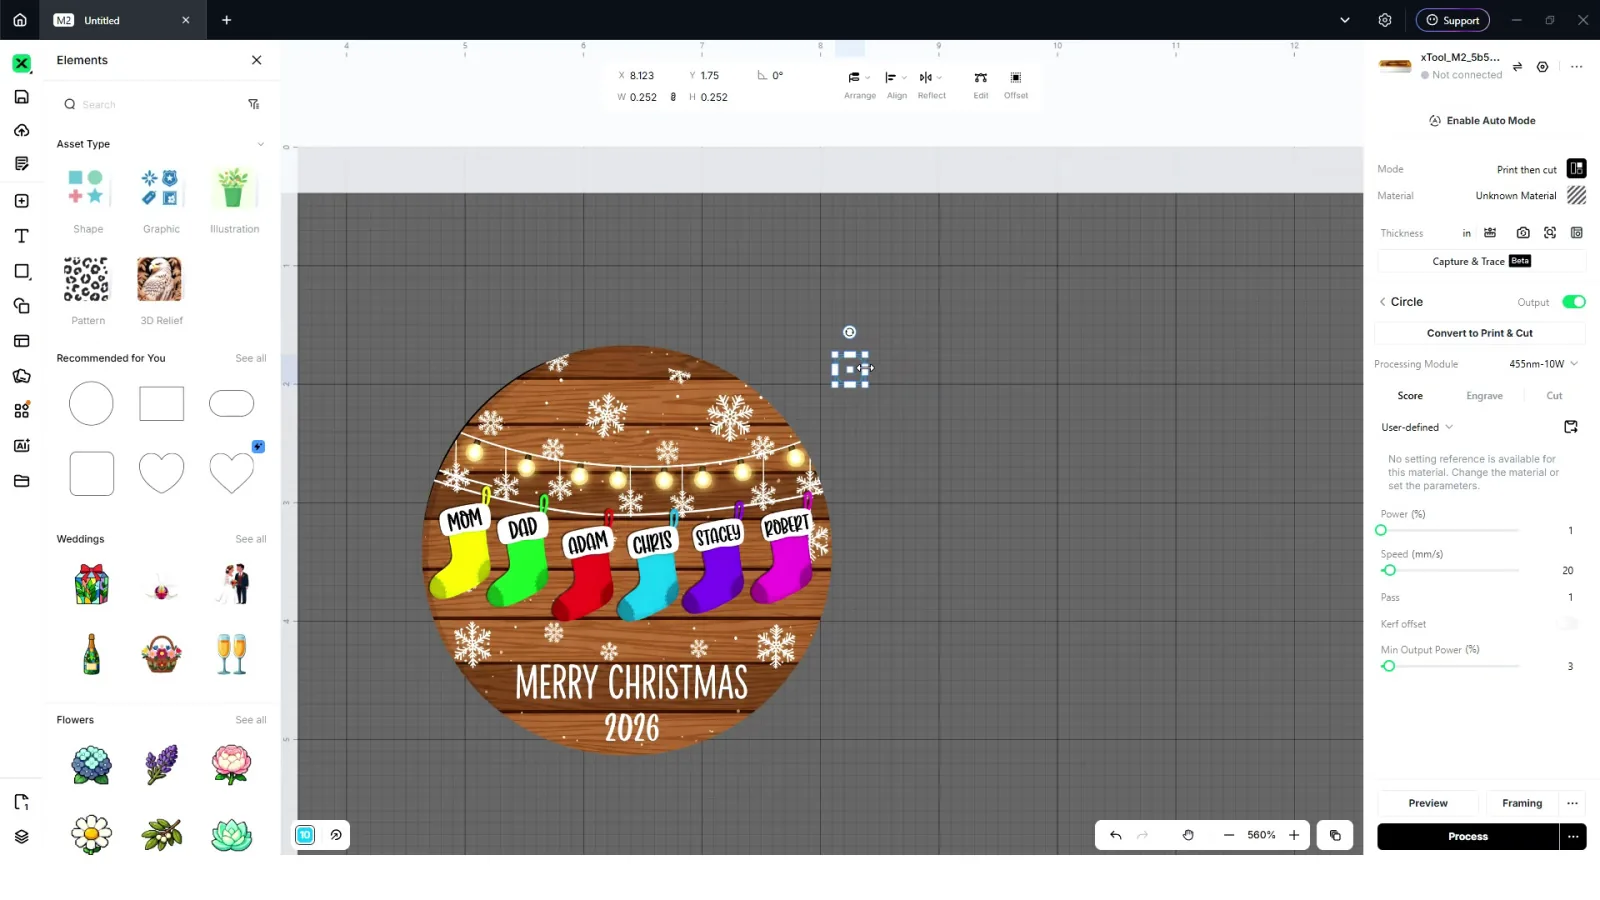
- Click the Text tool, click on your canvas and type a name.
- On the right side, change the processing module to Printer.
- Resize and position the text over the stockings. Zoom in to get a closer look.
- Duplicate the name for each family member and type the next one.
- When everything looks good, highlight the whole design and set the processing module to Printer.
- To change the text color, click the text and use Fill at the top.
Remove something from a PNG with Magic Eraser
My design said 2025 and I wanted 2026. Since it's a PNG, you can't just select the date and delete it, but xTool Studio has a fix.
- Click your design, then click Edit.
- On the left, click Magic Eraser and drag it over the date.
- Click Remove, then Generate.
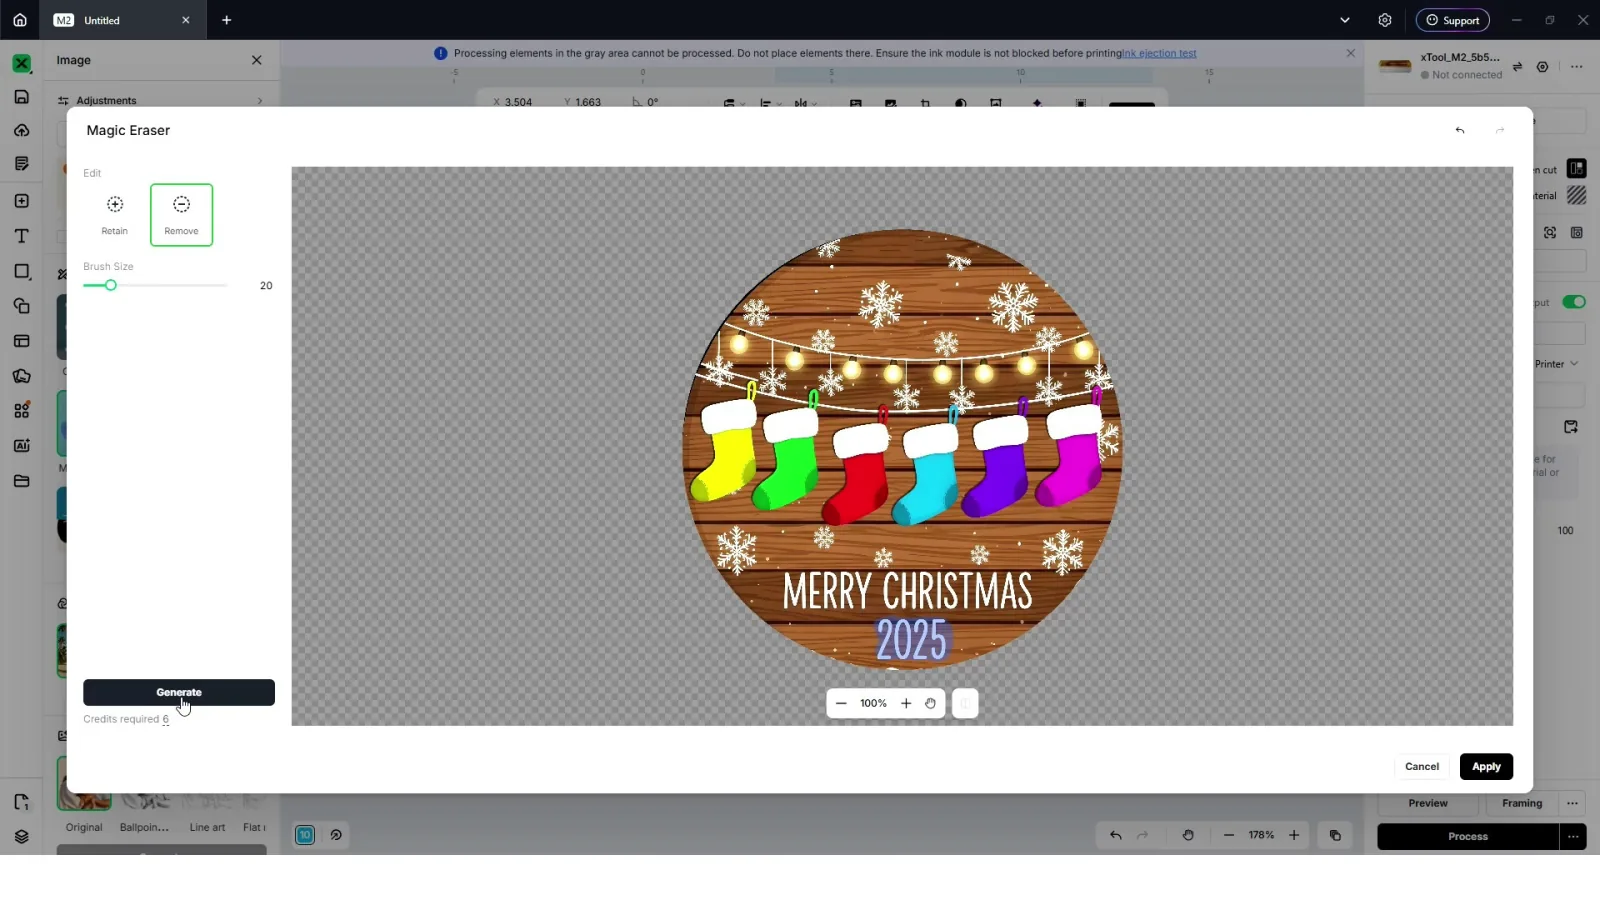
This costs 6 credits. xTool uses credits for some of its AI tools, a bit like tokens you spend each time you generate something, and Studio asks you to log in so it can check your balance. If you have Canva Pro, you can do the same thing with Canva's magic eraser and import the finished image back into xTool, so you don't have to spend credits on this step.
Then use the text tool again to add the new date, set it to Printer, and shrink everything down to about 3.5 inches.
Add your cut lines
- Click Shapes and select the circle. This first circle is the hole for the string. Shrink it to about 0.20 and center it at the top.
- Set the processing module to 455nm-10W and choose Cut.
- Click Material, find 3mm basswood and click Apply.
- Add a second circle and resize it to the exact size of your ornament. Use the same 455nm-10W module, Cut and 3mm basswood settings.
Printing and Cutting on the xTool M2
This is where I swapped modules. The inkjet module prints first, then you switch back to the laser to cut.
- Make sure the printer module is installed. I had my 10 watt laser in, so I unplugged it and pulled it straight out. The inkjet module has a little color mark on top. Plug it into the side and pop it in.
- Tape a sheet of basswood down inside the laser bed.
- Click the camera tool to refresh the background so you can see your material in the bed.
- Drag your design to where you want it.
- Click the ruler tool so the machine can measure how thick your material is. Click the middle of your design and the module moves over and touches down.
- Click Process. Studio tells you the printing module is needed. Confirm it's installed and click Start.
- When the print finishes, click Next. Studio asks you to switch to the 10 watt laser module. Unplug the inkjet module, pull it out, pop the 10 watt in and plug it in.
- Close the lid, click Start and push the button on the machine.
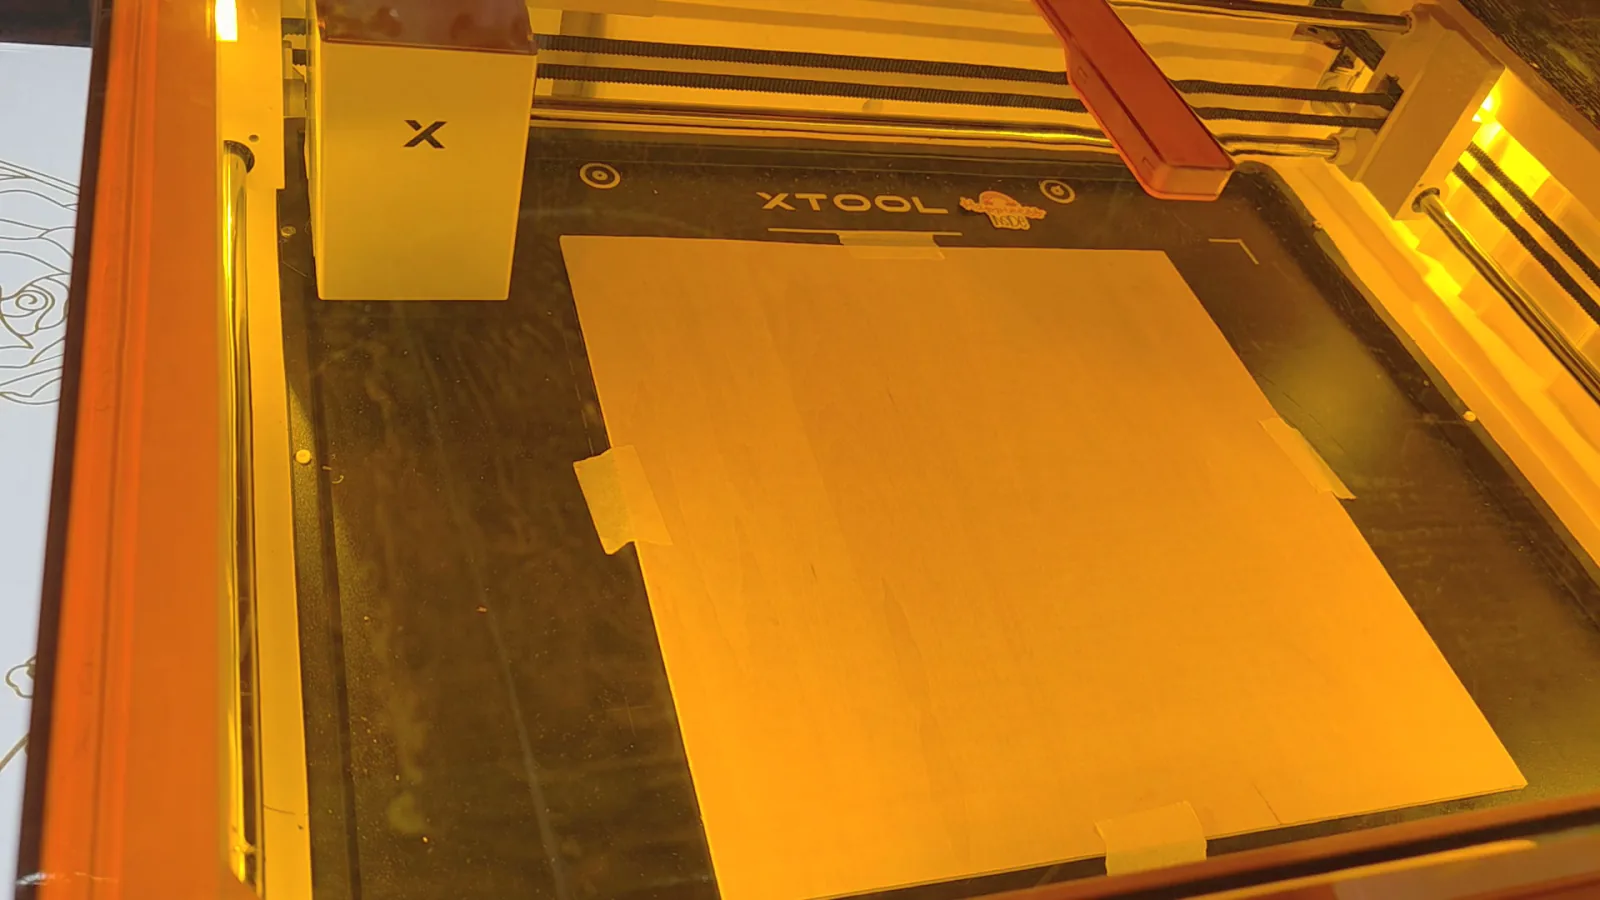
On bare basswood the print took 1 minute 36 seconds and the cut took 1 minute 18 seconds.
The Results: 8 Surfaces Tested
Test 1: Bare Basswood
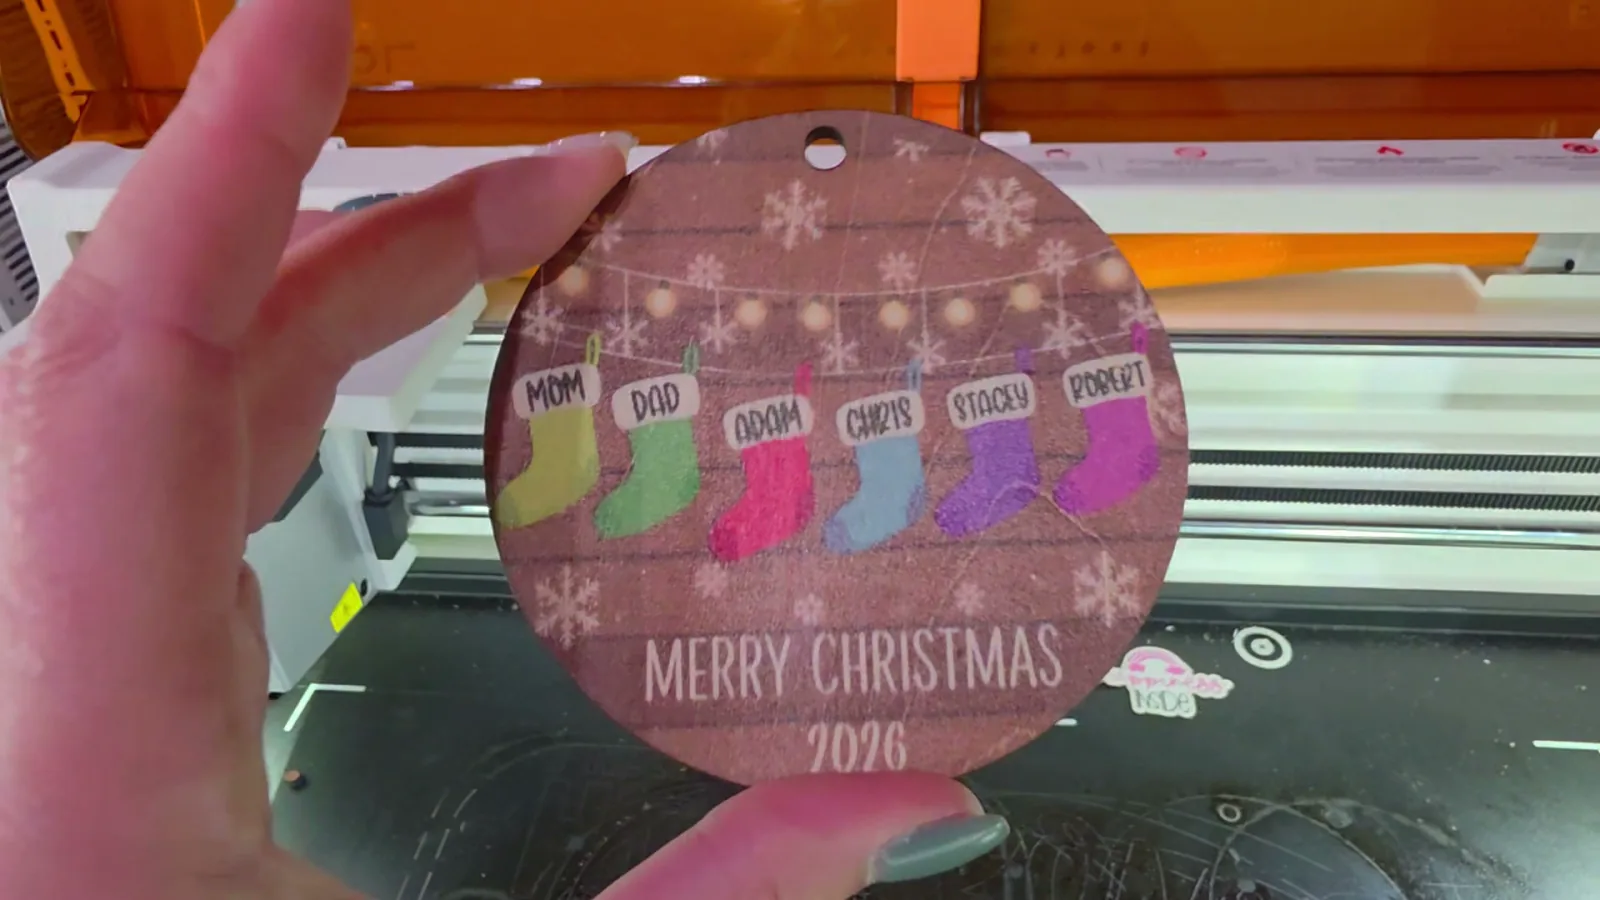
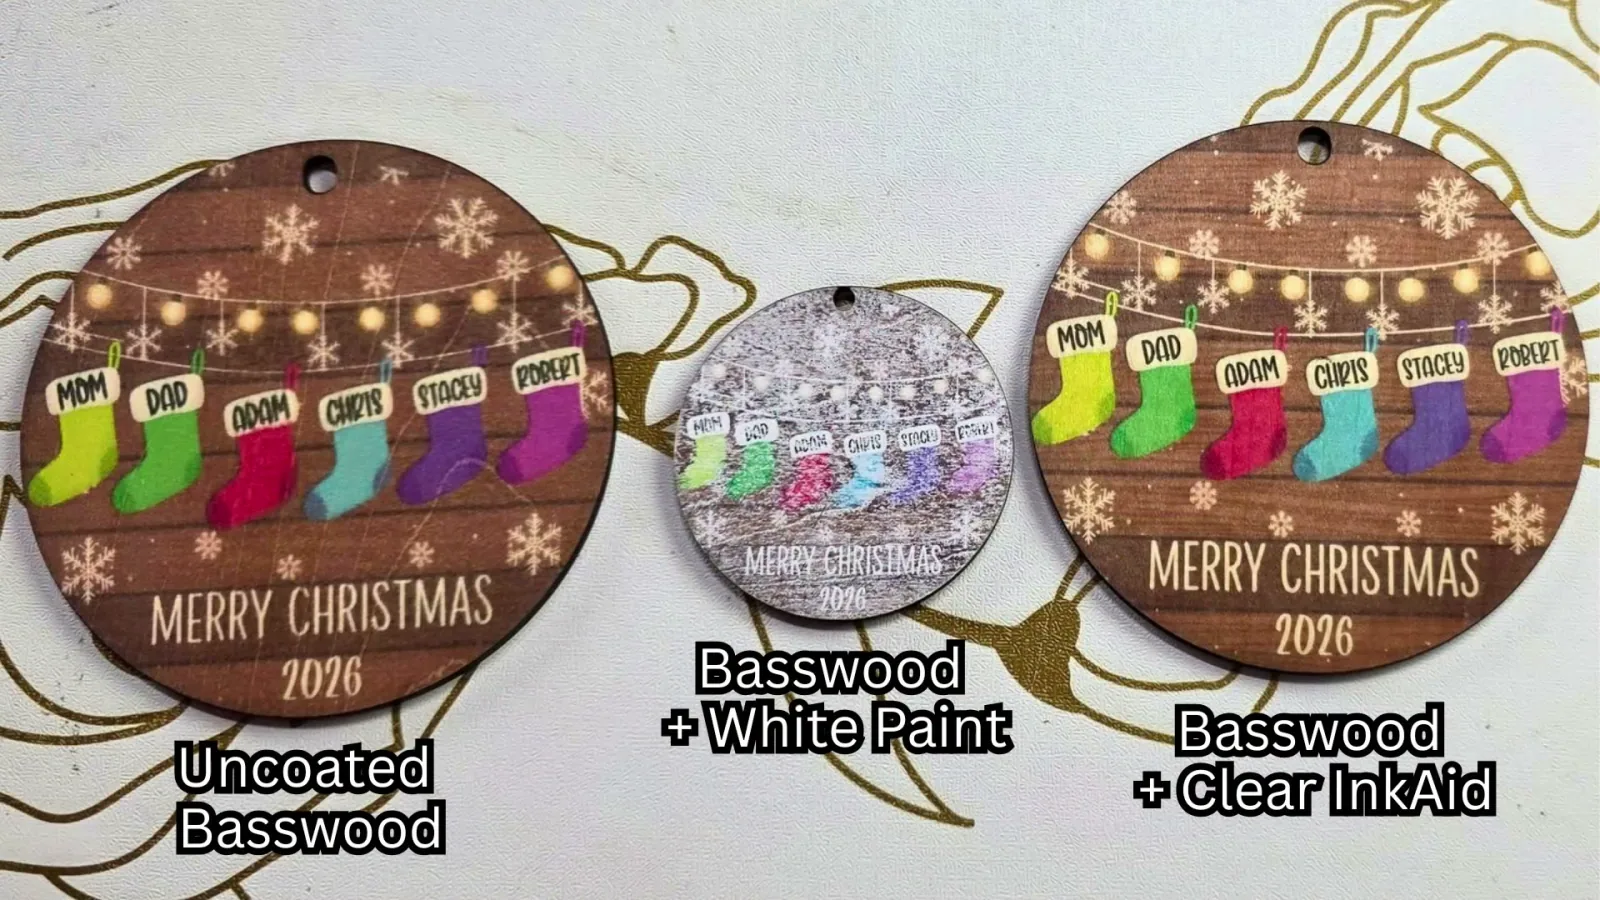
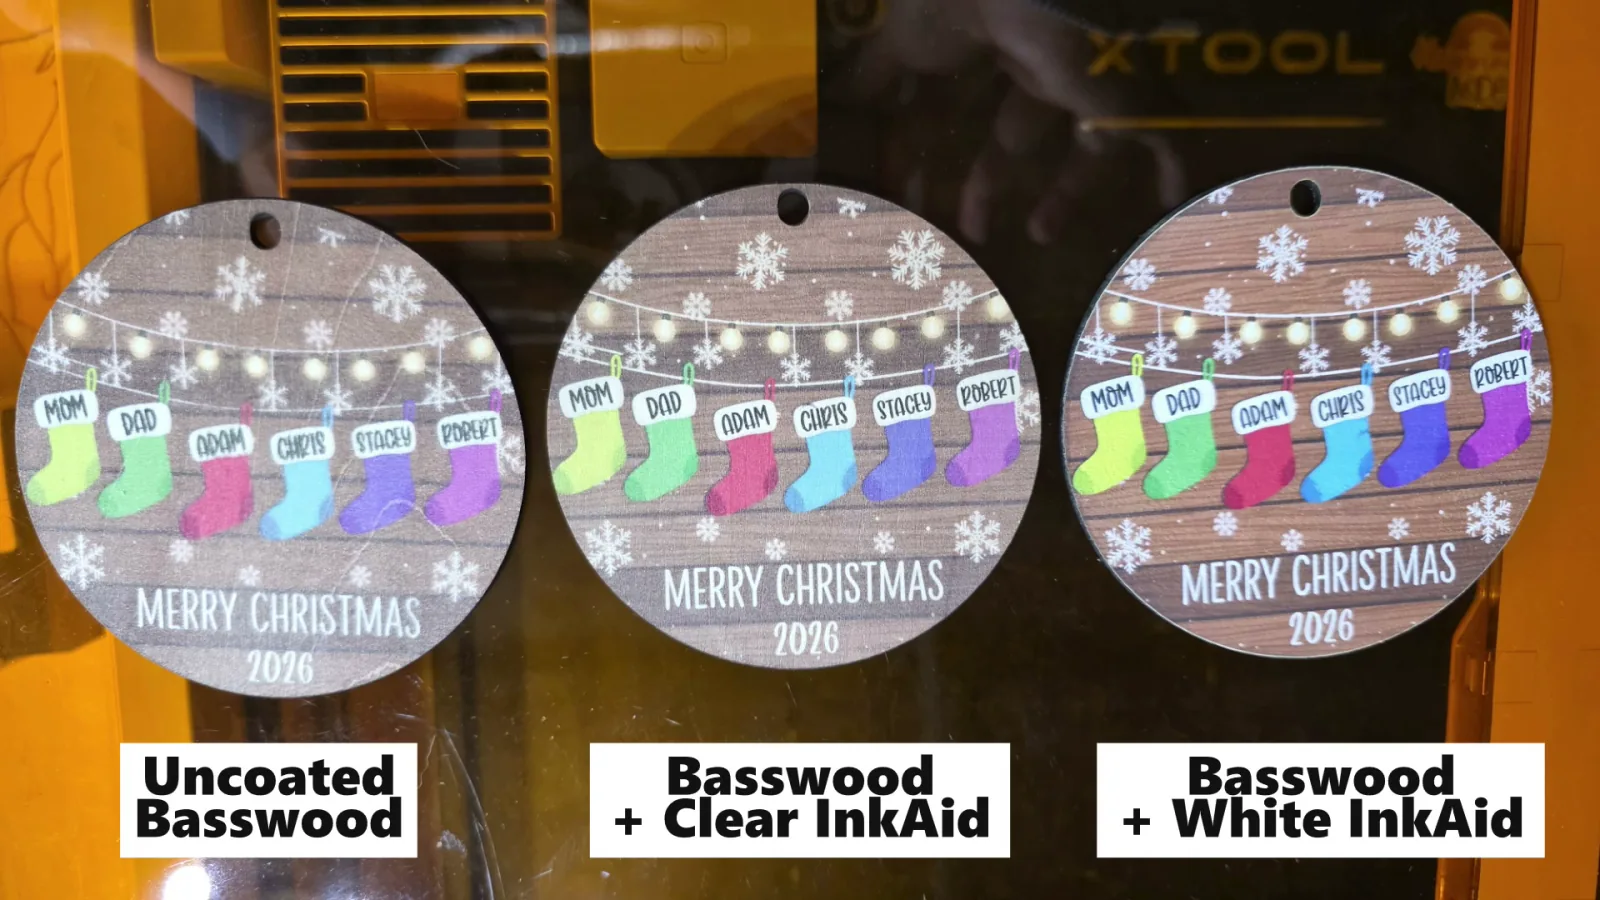
This is the baseline everything else gets compared to. The colors are pretty muted and some of the smaller details look blurry. The white parts of the design take on the color of the wood. It's not the bright print I was looking for, but it gives us something to compare against.
Test 2: Spray-Painted Basswood
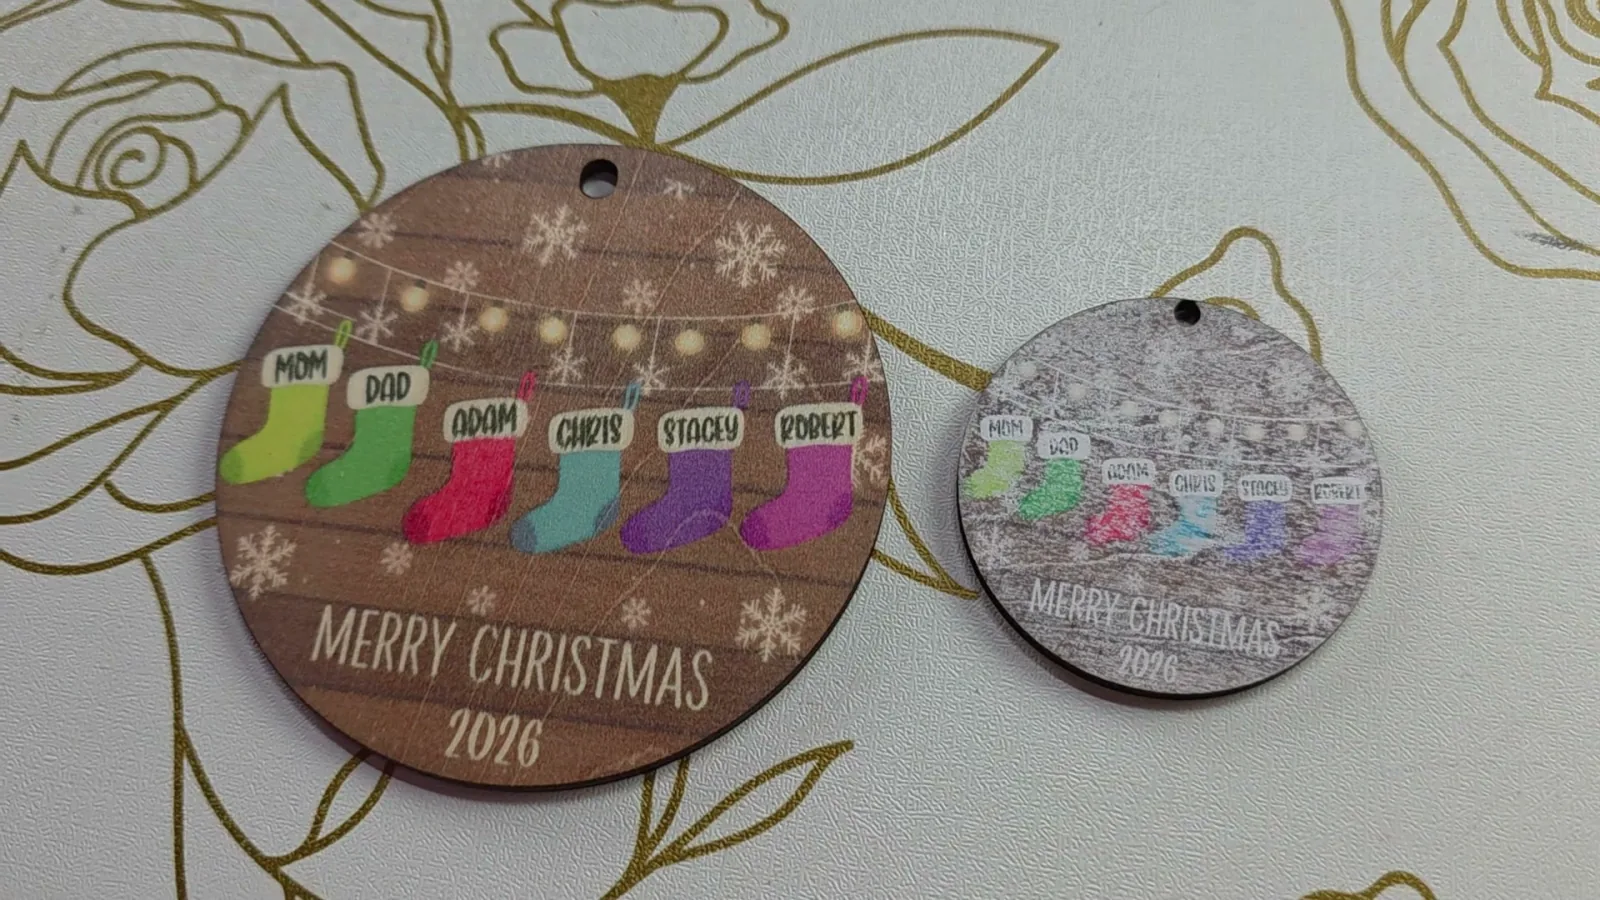
I really wanted this one to work, because spray paint is cheap, easy to find and easy to use. I did it on a piece of white spray-painted scrap wood, which is why this ornament is smaller than the rest.
It looks horrible. The colors are splotchy and the ink almost looks like it's sitting wet on top of the paint. I honestly like the bare wood print better. Just making the wood white did not solve the problem.
Test 3: Basswood with Clear inkAID
inkAID is a coating that helps surfaces take inkjet prints, and it comes in white and clear. The company sent me a bottle of each to test. For this test I mixed the clear inkAID really well, brushed on two coats with about an hour between them, and let it dry completely before printing.
That made a big difference. The print is much sharper than on bare wood and the colors don't look as washed out. Because the coating is clear, though, the white parts of the design are still the natural color of the basswood.
Test 4: Basswood with White inkAID
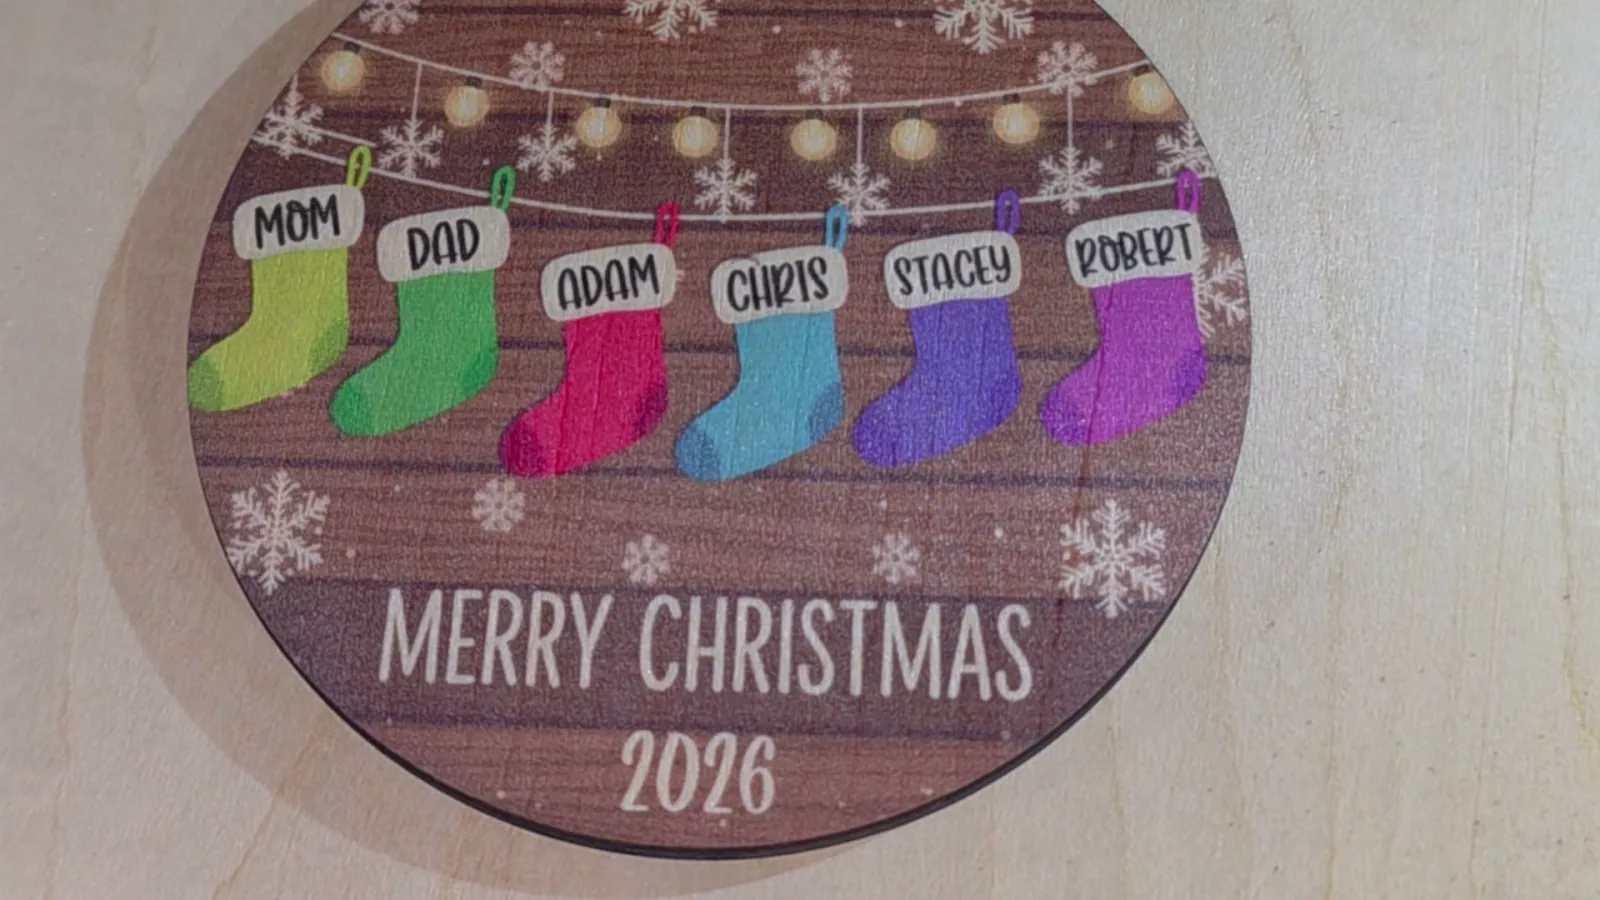
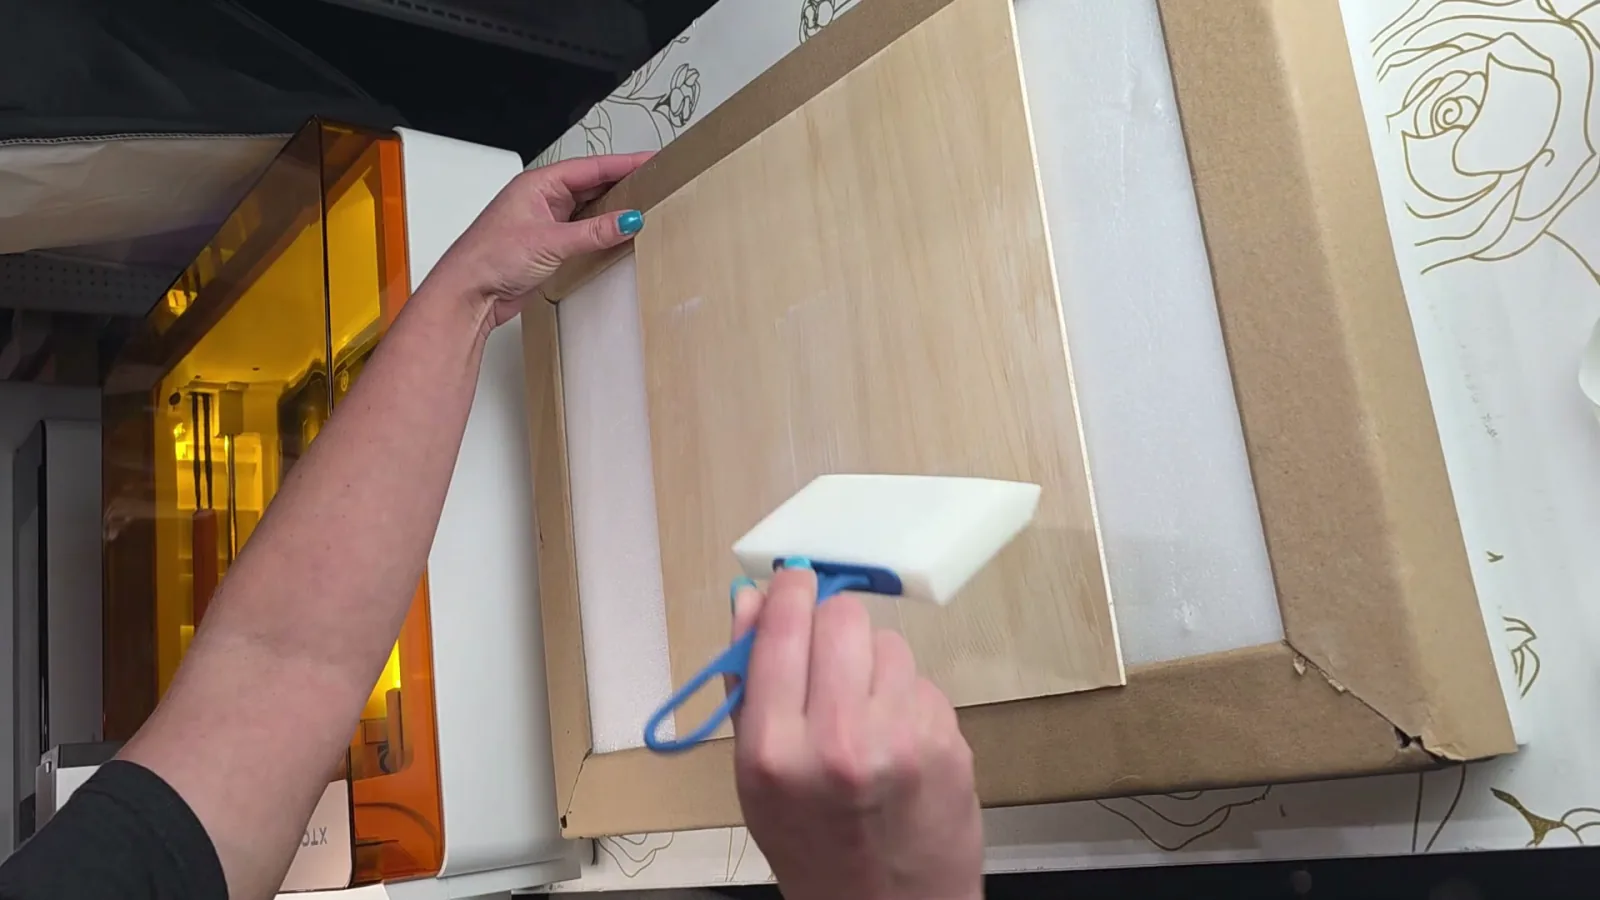
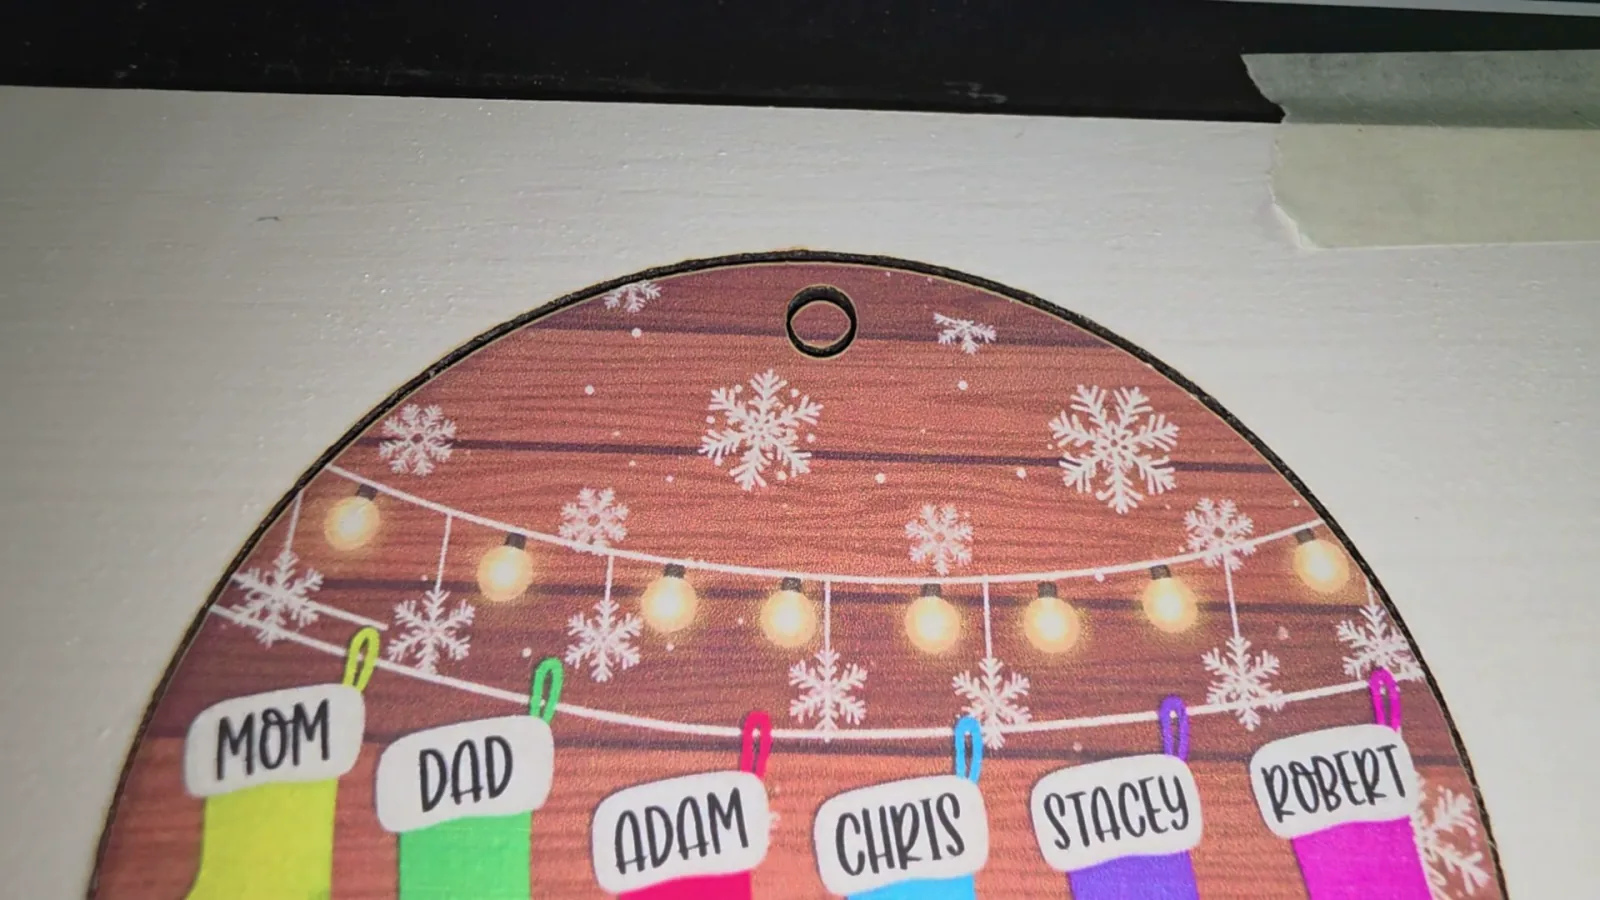
Same basswood, this time coated with White Matte inkAID. The wood really soaks this stuff up, so I added a little extra to get an even coat across the whole surface. It goes on looking almost clear and turns white as it dries. The first time I saw that, I thought something was wrong, but it's supposed to do that.
This is what I was hoping for. The details are sharp, the colors are brighter and the white parts of the design actually look white. Clear inkAID improved the print quality, but white inkAID made the entire design look so much brighter.
Test 5: White Acrylic with White inkAID
I was skeptical about this one because white acrylic can be tricky for a diode laser. Darker acrylics absorb the laser well, but lighter colors are harder for a diode to cut. I coated the acrylic in white inkAID, let it dry completely and gave it a go.
The colors are vibrant and the details might be the sharpest of anything I tested. The downside is how long it took. The whole job took about 30 minutes and the laser needed around five passes to get through. I also don't love the finished edges. On the wood ornament the cut edge blends in, but on this one the bright white edge really stands out.
I'm impressed the M2 could cut white acrylic at all, and judged only on the front of the print this one is hard to beat. But with the cost of the acrylic, the cutting time and the edges, I wouldn't choose it for a batch of ornaments.
Test 6: White MDF with No Coating
This was one of my predictions for the best print, because it already has a smooth white surface. I didn't add paint or inkAID. I wanted to see it right out of the package.
Well, that is disappointing. It looks streaky and splotchy, almost like the ink is sitting wet on the surface, like the spray-painted basswood but worse. The M2 estimated 29 minutes for the cut. After about 10 minutes I stopped the job because the print already looked bad, and when I took it out the laser had actually already cut all the way through. Three days later it was still smeary.
I didn't try coating the MDF with inkAID. I think it would improve the print, but the MDF costs more than my basswood and takes longer to cut. If I'm going to coat a sheet before printing, I'd rather use basswood, which I already know looks good and cuts fast.
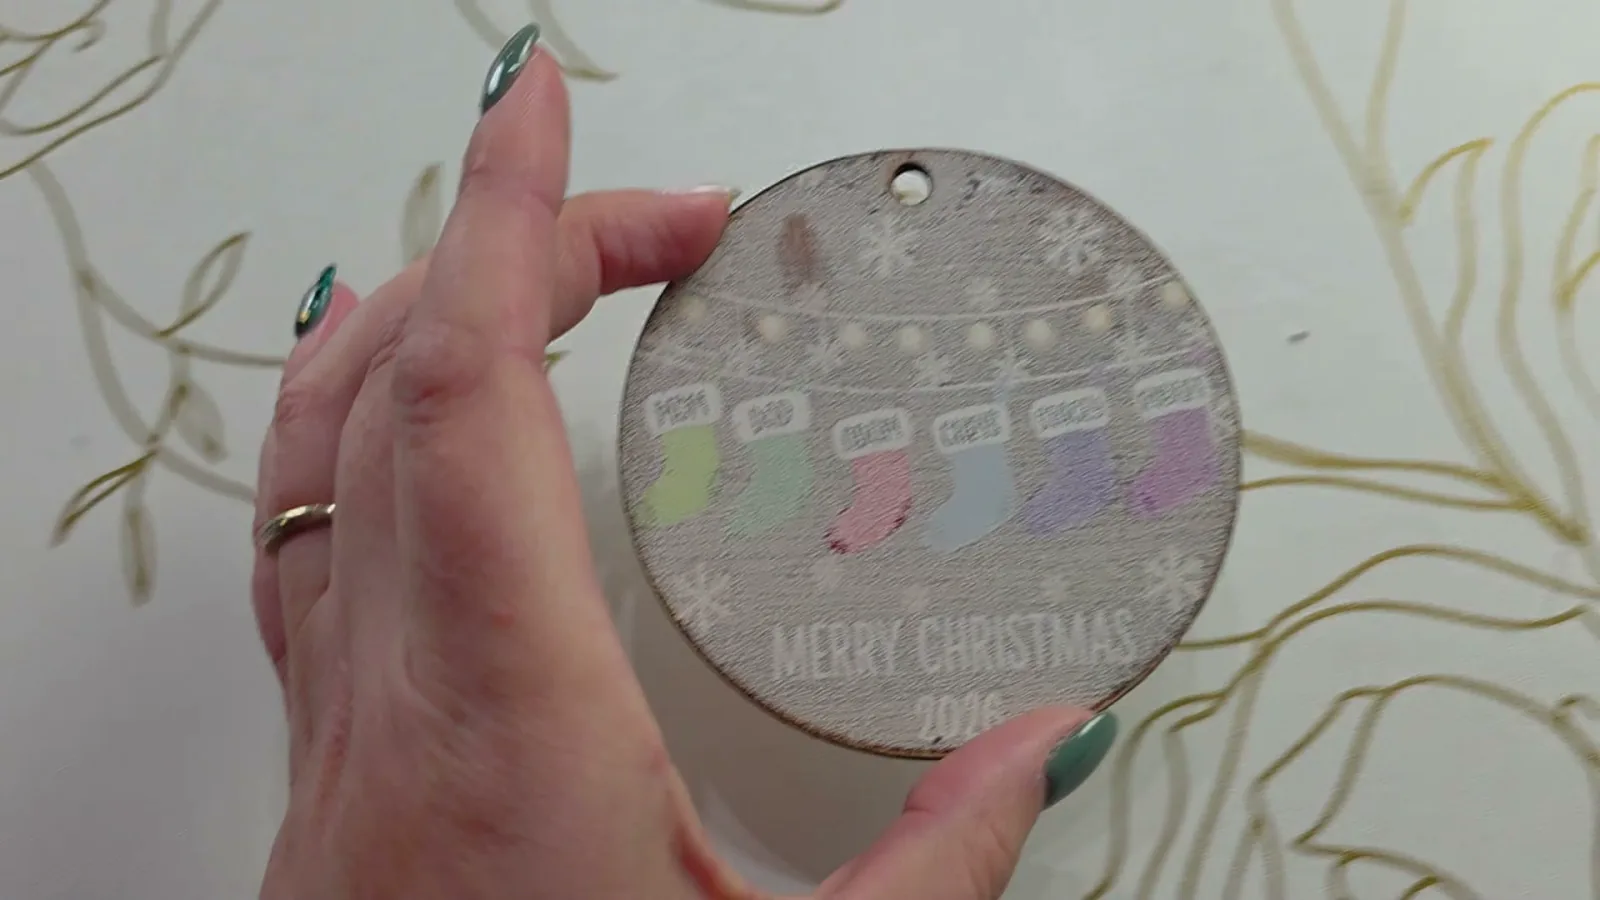
Test 7: Sublimation Ornament Blank with inkAID
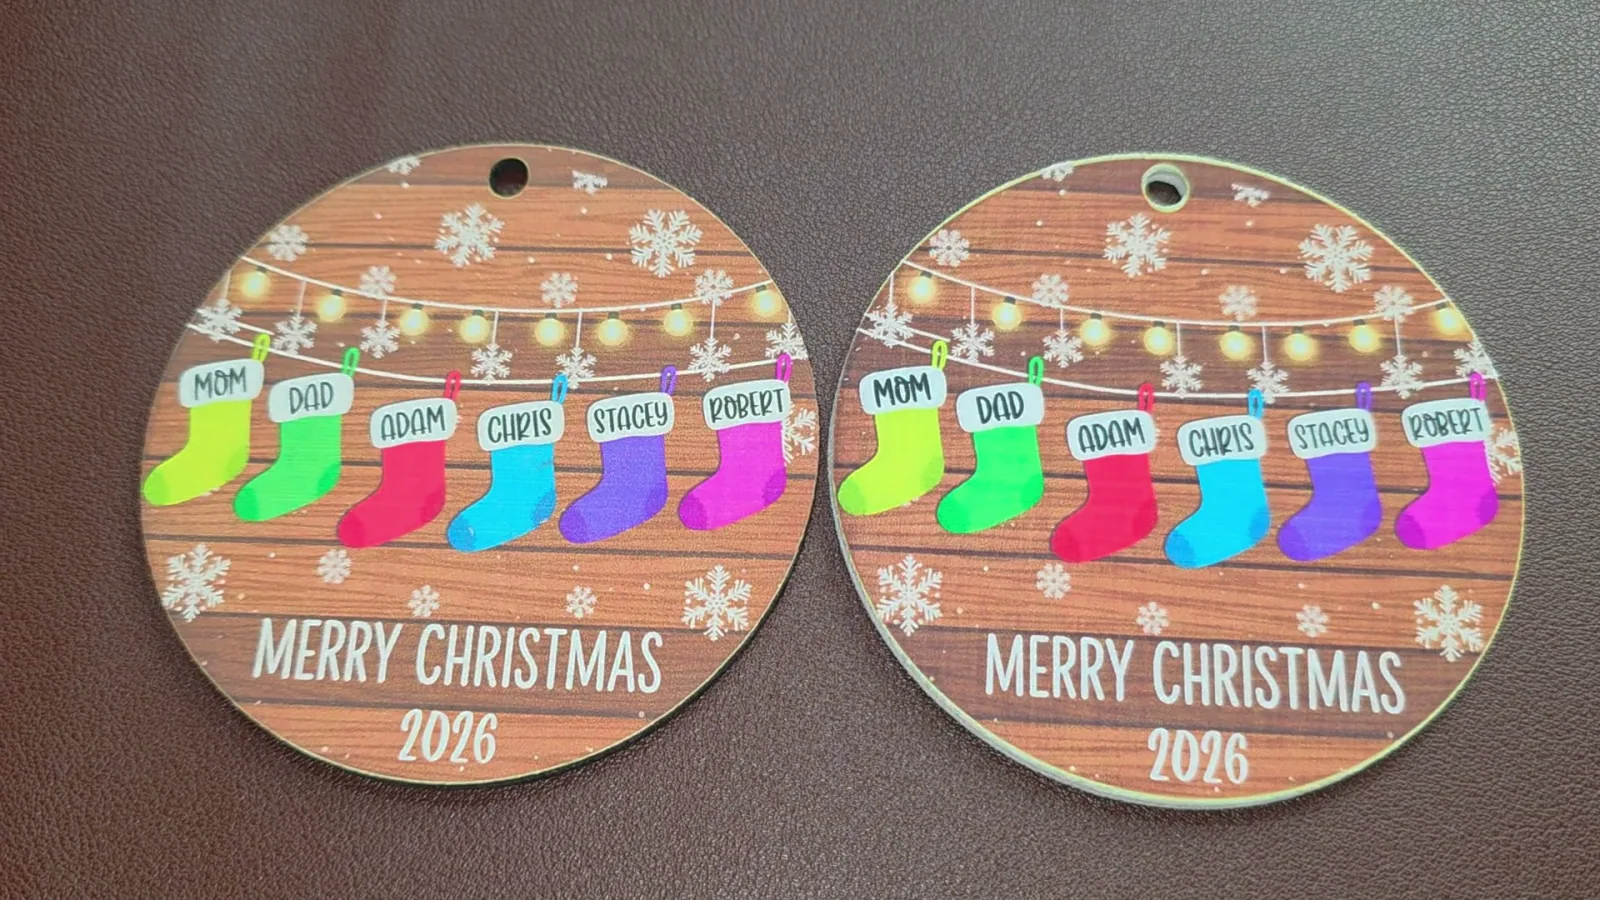
I still had high hopes for the pre-cut sublimation ornament blanks. These are the same kind of blanks you'd use for sublimation (my guide to what sublimation is explains that process), but here I'm printing on them with the M2's inkjet instead. First up is the one I coated with inkAID. This looks fantastic. The colors are bright, the details are sharp, and I didn't have to wait for the laser to cut anything because the blank is already cut. It took just 1 minute 28 seconds to print, which is a big advantage if you want to make a whole batch of personalized ornaments.
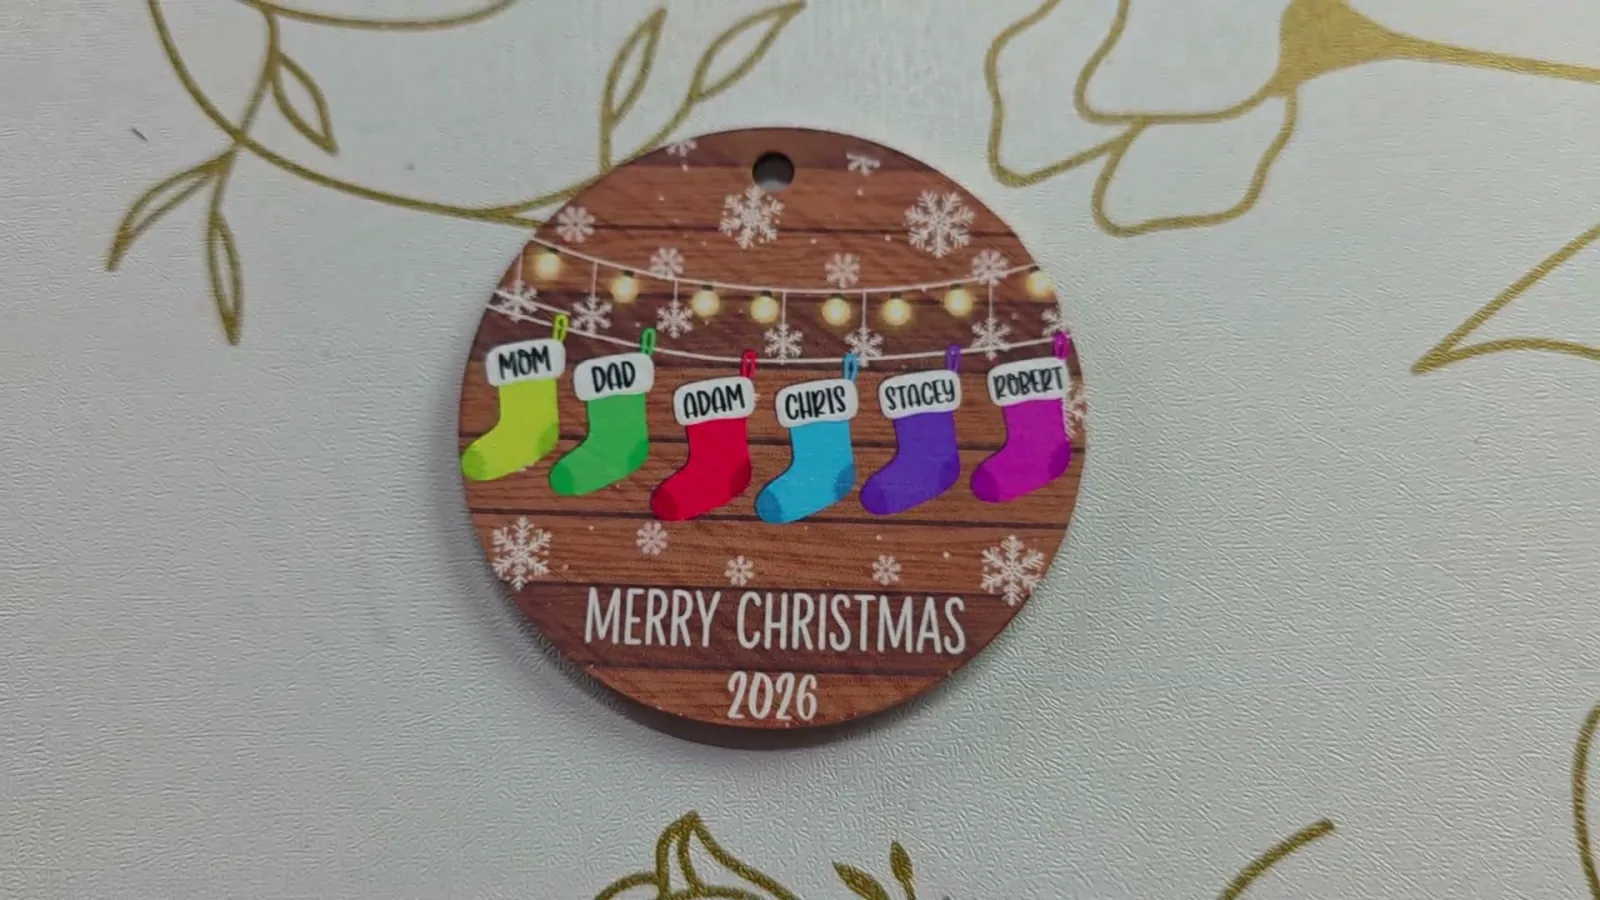
Test 8: Sublimation Ornament Blank without inkAID
This is the one I was most excited about. It's already smooth, shiny and white, and I honestly thought I could take it out of the package and print right on it.
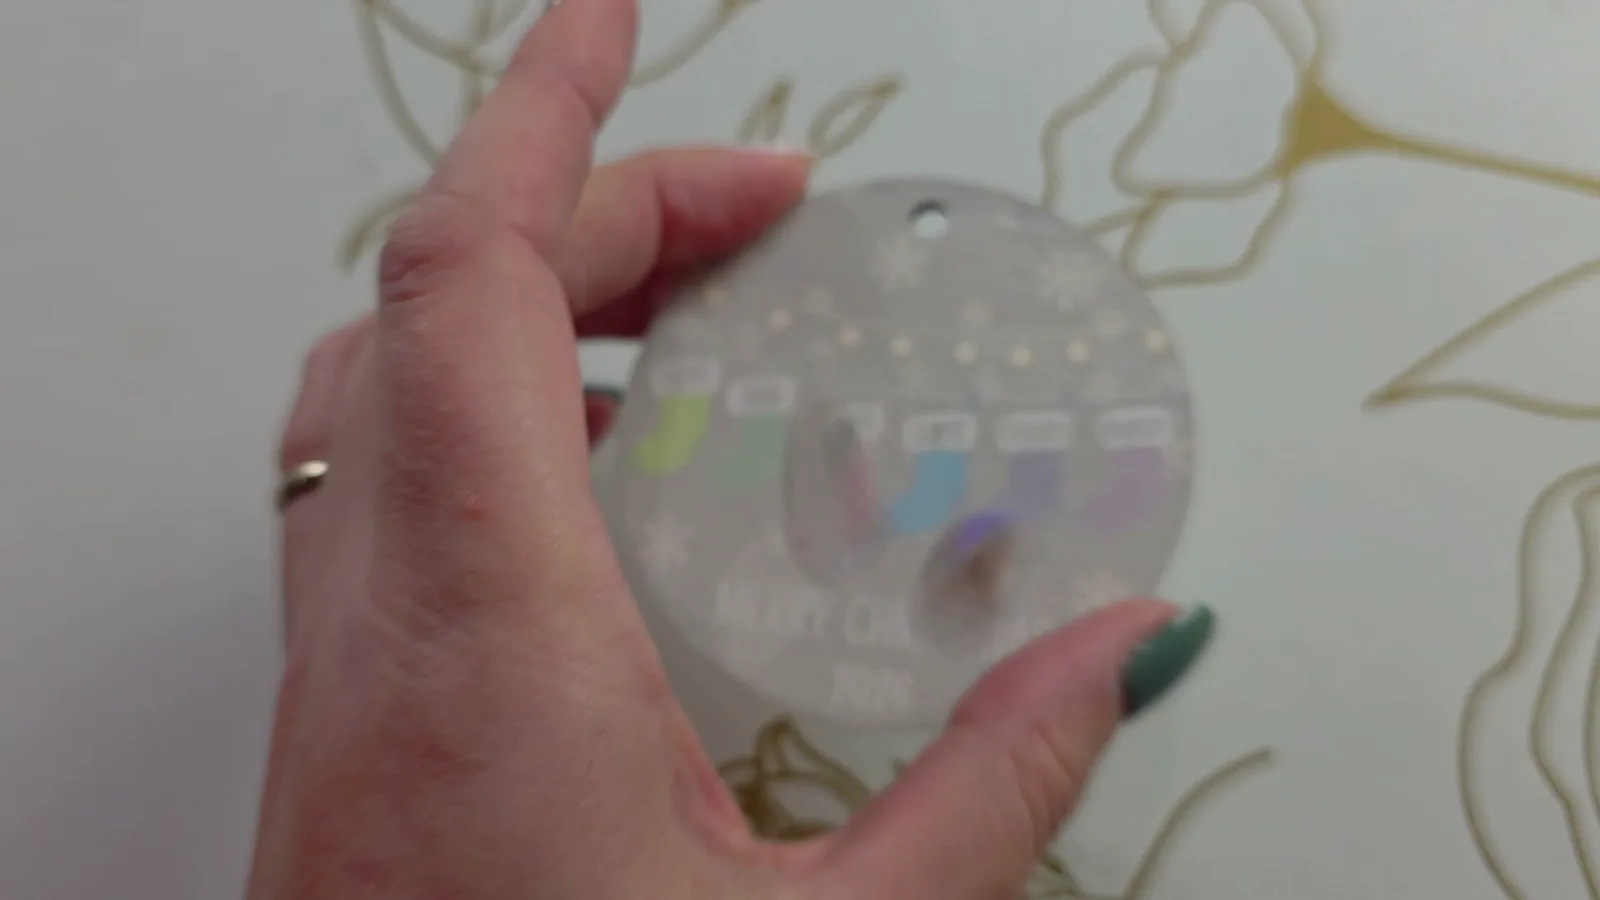
The one without inkAID looks horrible. It's the same type of blank and the same design, but the print is nowhere near as sharp or vibrant. I touched it hours later and the ink still smeared. Even though this blank looked like the perfect surface, adding inkAID made an enormous difference. I definitely did not guess that one right.
Results at a Glance
| Surface | Print quality | Cutting | My take |
|---|---|---|---|
| Bare basswood | Muted, blurry details | 1 min 18 sec | Baseline only |
| Spray-painted basswood | Splotchy, wet-looking ink | Fast | Worse than bare wood |
| Basswood + clear inkAID | Sharper, whites stay wood-colored | Fast | Good |
| Basswood + white inkAID | Sharp, bright, true whites | Fast | My pick for wood ornaments |
| White acrylic + white inkAID | Sharpest and most vibrant | About 30 min, 5 passes | Great print, slow cut |
| White MDF, no coating | Streaky, still smeary 3 days later | About 29 min estimated | Skip it |
| Sublimation blank + inkAID | Bright and sharp | None, pre-cut | My pick for batches |
| Sublimation blank, no coating | Dull, smeared | None, pre-cut | Skip it |
Which Surface I'd Actually Use
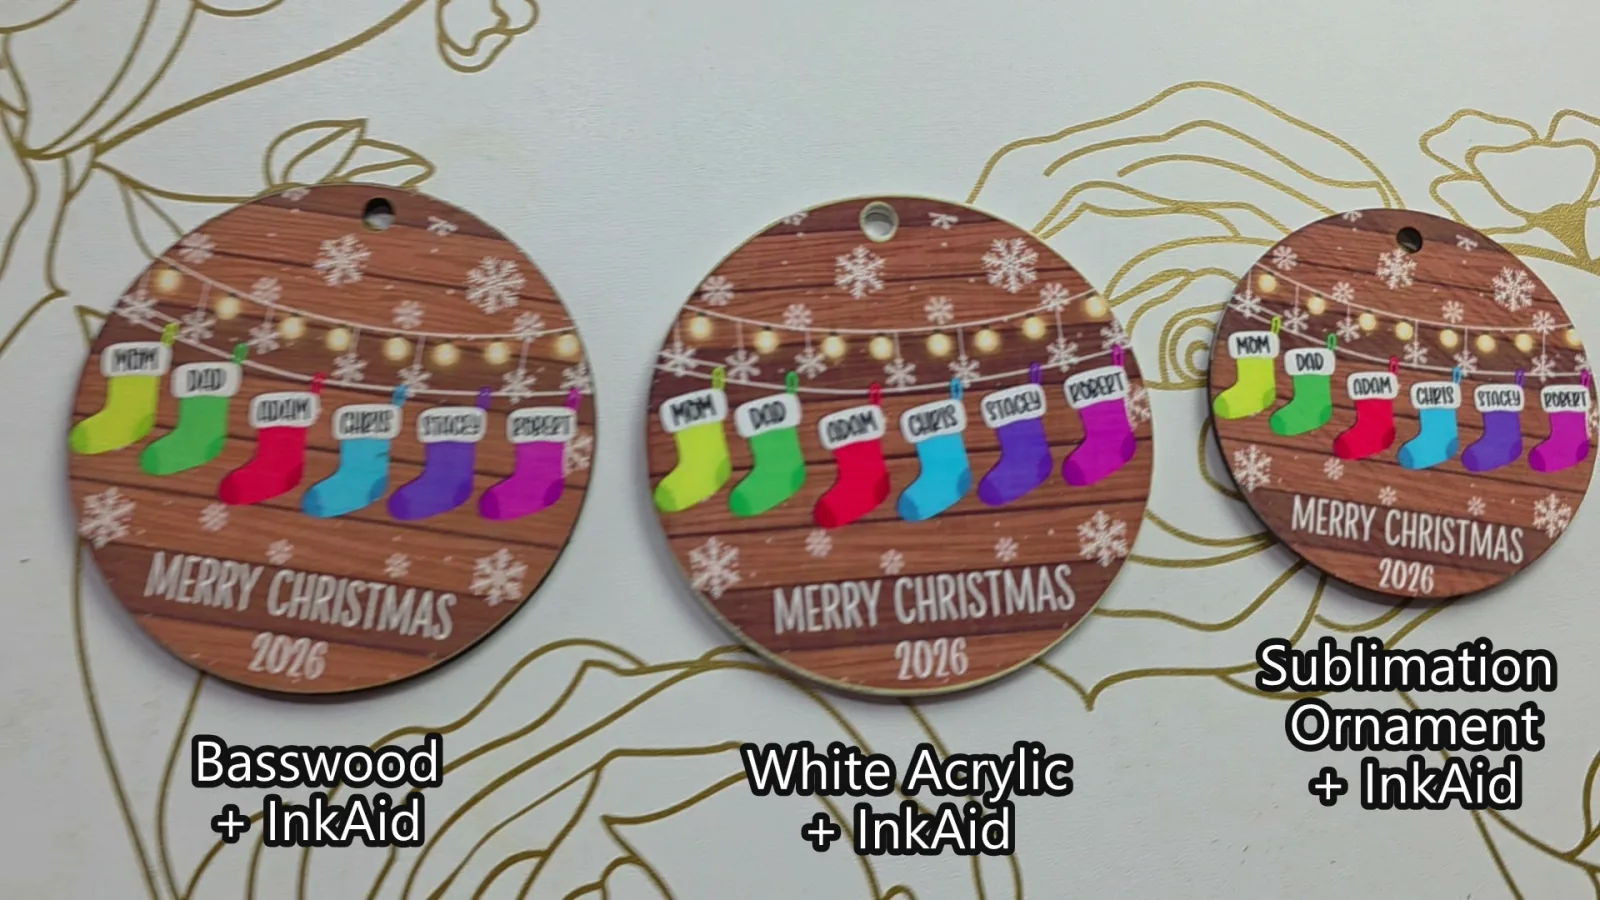
If I'm judging only on the print, the white acrylic with inkAID looks the best. It's incredibly sharp and vibrant, but it took about 30 minutes to cut and I'm not crazy about those bright white edges.
For an ornament the M2 can both print and cut, my pick is basswood with two coats of white inkAID. That's the one I'd choose for a finished wood ornament.
If I needed to make a bunch of them, I'd go with the pre-cut sublimation blanks with white inkAID. They look fantastic and each one prints in 1 minute 28 seconds. At $12.99 for 35 blanks, that's about 37 cents per blank.
Is inkAID worth the price?
I said I'd come back to the cost. If you buy it yourself, the white coating starts at $39.95 for a pint and the clear gloss type 2 starts at $35.95 for a pint. That's why I wanted the spray paint to work so badly. The basswood soaked up a lot, especially with two coats, and I don't know exactly how many sheets you'll get from a bottle, but mine were still pretty full after this test.
After seeing these results, I would a thousand percent spend the extra money on inkAID. The results speak for themselves.
Ready to try it? Grab the White Matte inkAID for the bright white base I used on my favorite ornaments, or the Clear Gloss inkAID if you want to keep the natural wood color. If you'd rather test it before buying a full bottle, start with the inkAID Sample Kit. Use code XTM2FB10 for 10% off your first full-size order, or XTM2FB5 for 5% off your first sample kit.
Seal Your Prints
I'd also recommend sealing your finished projects. I found the ink can smear if it gets wet, and I don't want someone's order getting ruined after I hand it over.
I used Rust-Oleum Stops Rust Spray Paint in Gloss Crystal Clear, which I picked up at Harbor Freight, to seal my prints (the link in the supplies list is the same product on Amazon). Apply it in light coats. I went too heavy on the first coat of another project and it dried all drippy.
FAQ
Can the xTool M2 print on wood?
Yes. The xTool M2 can print directly on wood with its inkjet module and then cut the shape out with the laser. Bare wood gives muted colors, though, so coating the wood with white inkAID first gives a much brighter result.
Why do my xTool M2 prints look dull on wood?
The M2 doesn't have white ink, so any white part of your design takes on the color of whatever you're printing on. On bare wood, the whites look like wood and the colors look washed out. That's also why prints look so much brighter on something smooth and white, like sticker paper, which I show in my guide to making stickers with a laser.
Do I need inkAID to print on wood with the xTool M2?
You don't need it to print, but it made the biggest difference of anything I tested. Clear inkAID made the print sharper, and white inkAID also made the whites look white. I'd spend the extra money on it.
Does spray paint work instead of inkAID?
Not in my test. White spray-painted basswood printed splotchy, with the ink sitting wet on top, and I liked bare wood better.
Can I print on white MDF with the xTool M2?
I wouldn't. Uncoated white MDF printed streaky and was still smeary three days later. It also costs more than basswood and takes longer to cut.
Can the xTool M2 cut white acrylic?
It can, but it's slow. My white acrylic ornament took about 30 minutes and around five passes with the diode laser, and the cut edge looks bright white.
What's the best material to print ornaments on with the xTool M2?
For a finished wood ornament, basswood with two coats of white inkAID. For making a batch, pre-cut sublimation ornament blanks with white inkAID, which print in 1 minute 28 seconds each.
Do I need to seal prints made with the xTool M2?
I recommend it. The ink can smear if it gets wet, so I seal mine with a clear acrylic enamel spray in light coats.
Call to Action & Community Invite
Did you guess the winner before you read the results? Tell me in the comments. And if there's another material you want me to test with the xTool M2 printer, let me know and it might be my next video.
If this helped, subscribe to my YouTube channel for more laser projects and honest tests.
More Projects You'll Love
- xTool M2 Color Craft Review for my full thoughts on the machine
- Personalized Ornaments for more ornament ideas
- Best Laser Engraving Blanks for blanks that work well with a laser
- Best Printable Sticker Paper if you want another bright surface for print then cut
- Laser Engraving for a roundup of everything I make with lasers