
Hey there, crafty friends! Cricut Print Then Cut is the feature that turns your Cricut into a full-color sticker machine. You print your design on a home inkjet printer, and your Cricut reads the registration marks and cuts perfectly around every edge.
It is the single most useful feature on the machine, and it is also the one that trips people up the most. Wrong file type, forgot to flatten, cut straight through the backing. I have done all three.
In this guide I will walk you through the whole Print Then Cut process start to finish, including the max print size, the settings that give you a clean kiss cut, and the printer setup I use. Watch the full tutorial:

What Is Cricut Print Then Cut?
If you're a Cricut crafter looking to add a personal touch to your projects, the Print Then Cut feature is a game-changer.
Using Print Then Cut on Cricut allows you to create custom stickers with your Cricut machine, opening up a world of possibilities for personalized crafts and gifts.
How Print Then Cut Works
Cricut Print Then Cut is a feature that allows you to print your designs on a home printer and then cut them out with your Cricut machine. This means you can create intricate and colorful stickers using your own designs or images from the Cricut library.
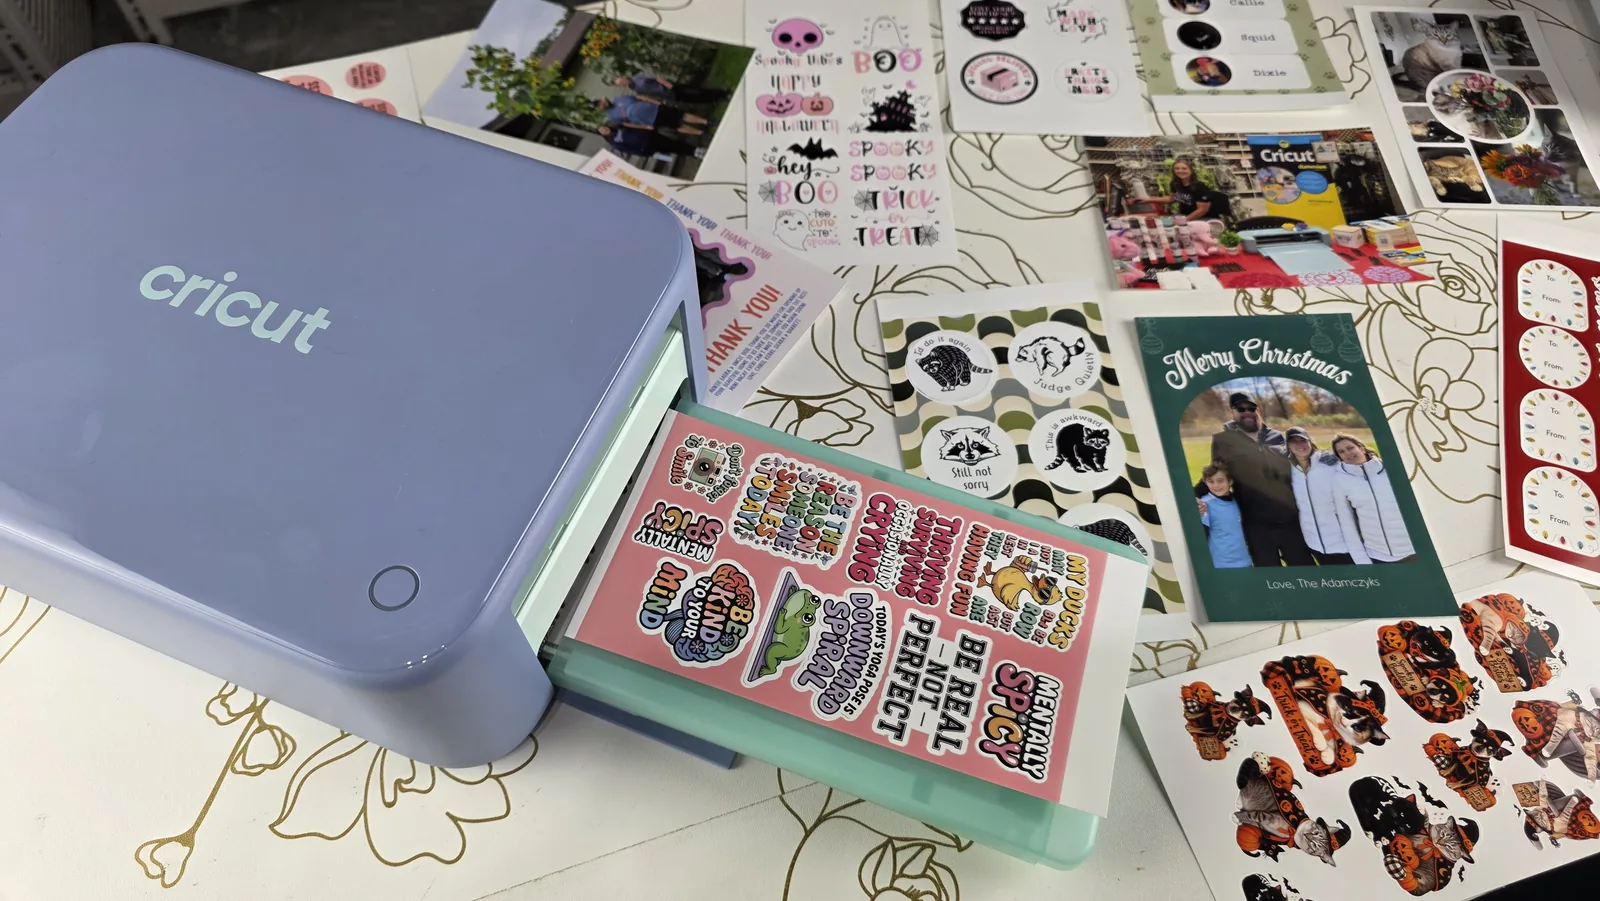
Cricut now also makes a dedicated sticker machine, the StickerPix, that prints, laminates and cuts in one box with no inkjet printer and no mat. It only uses its own small sheets, though, so Print Then Cut is still the way to go for full-size sheets and true die cut stickers. See how the StickerPix compares.
Why Print Then Cut Is Worth Learning
With the Print Then Cut feature, you can easily make custom stickers in all kinds of shapes, sizes, and designs. Plus, the precise cutting helps you get that professional look without the hassle!
Besides stickers, you can use print then cut on Cricut with colored paper or card stock to add a unique touch to your projects, like making birthday cards, Christmas gifts and more.
Overview of the process
Using Cricut Print Then Cut is super simple! You design your stickers in Cricut Design Space, print them with your home printer, and let your Cricut machine cut them out perfectly. It’s a quick and easy way to make custom stickers for any project!
How Big Can Print Then Cut Stickers Be?
There is no single answer to this, which is where most tutorials go wrong. Your maximum printable area depends on three things: which Cricut you own, the biggest paper your printer takes, and how big your design is.
On most machines and a standard letter-size printer, that works out to about 9.25 inches by 6.75 inches, which is where the number you see everywhere comes from. But it is a default, not a hard ceiling.
Let Design Space tell you. Size your design, and if it is too big you will get a red exclamation mark in the Layers panel and an Image(s) Too Large error at Make It. Click the red mark and choose Auto-Resize Image and Design Space shrinks it to the largest size your specific machine supports.
If you have a wide-format printer, you can go bigger. Use the Change Page Size button to pick your Cricut model, mat size and paper size. Tabloid or A3 paper lets you print sticker sheets well beyond the usual limit.
One machine note worth knowing before you buy: the plain Cricut Joy cannot do Print Then Cut at all because it has no registration sensors. The Joy Xtra can, and so can the Explore, Maker and Venture machines.
Should You Turn Bleed On or Off?
When you hit print, Design Space asks whether you want Bleed on or off. This is the setting that decides whether your stickers come out with thin white slivers around the edges, and most people leave it alone without knowing what it does.
- Bleed on prints a slim band of colour just past the cut line. If the blade drifts a fraction, it cuts into that extra colour instead of into white paper, so the sticker still looks clean. Use it for anything colourful or detailed.
- Bleed off prints exactly what you see on screen, no extra border. Fine for simple shapes, or designs with white edges anyway, but any misalignment shows.
My default is Bleed on. The border gets trimmed away in the cut, so you never see it, and it quietly rescues the small alignment errors that would otherwise ruin a sheet.
If your cuts are drifting badly rather than just a hair, that is a calibration problem rather than a bleed problem. Run Print Then Cut calibration from Settings before your next sheet.
That is smaller than a sheet of letter paper, which catches a lot of people out. Your sticker paper is 8.5 x 11, but the usable print area is not.
On a Cricut Joy or Joy Xtra you have less room again, so you will need to scale designs down to fit the smaller mat.
Here is the trick I use every single time: before I arrange anything, I drop a rectangle sized to my machine's limit onto the canvas and send it to the back. Then I arrange all my stickers inside it. If a sticker hangs over the edge, I can see it immediately instead of finding out at the print screen.
Why Use Print Then Cut for Stickers?
Cricut is an excellent tool to make stickers because it allows for precision cutting of intricate designs, making your stickers look professional and polished.
By following my steps, you can avoid mistakes that cost you time, money, and wasted materials.
Step 1: Gather Your Materials
What You Need to Make Stickers with Cricut
Before you jump into making stickers, here’s what you’ll need to get started:
- Cricut machine (compatible with Print Then Cut, like the Maker or Explore series)
- Inkjet printer (for printing your sticker designs. The Epson EcoTank is a fantastic choice)
- Sticker paper (matte or glossy, depending on your preference. See our review of the best sticker paper here!)
- Cricut Design Space (for uploading or creating your sticker designs)
Make sure your Cricut machine is set up and connected to your computer before you begin. Open Cricut Design Space and sign in to your account. For this tutorial, I’m using a Cricut Maker, but you can use almost any Cricut machine for this project. Whether you have a Cricut Maker, Explore series, or Cricut Joy, just make sure your machine is ready to go!
When it comes to creating Print Then Cut stickers, virtually any high-quality full-color inkjet printer will do the job. However, if you're on the hunt for an upgrade, certain models stand out for their unique features tailored to paper crafting.
I'm a big fan of the Epson EcoTank models. They don't use traditional ink cartridges and can easily be converted for sublimation, making them a great option no matter what kind of crafting projects you like doing.
Adjusting Stickers for Cricut Joy and Cricut Joy Xtra
If you're using a Cricut Joy or Cricut Joy Xtra, you'll need to adjust your stickers to fit on the smaller mat. This step is important to ensure that your designs are properly scaled for the Cricut Joy's dimensions. If you skip this step, your stickers could end up messed up and cut off in the wrong spots!
Printable Sticker Paper
When selecting printable sticker material, it's essential to choose the right type of paper. There are various options available on the market, but for this tutorial, we'll be using Cricut's printable vinyl.
Cricut does have their own Printable Sticker Paper, but it's really thick, almost like cardstock. The printable vinyl is a lot thinner .
Check out my review of 5 different types of sticker paper here!
The printable sticker paper was so thick it was getting jammed in my printer when trying to print my stickers!.
It's important to note that the type of material you choose can significantly impact the quality of your stickers.

If you need your stickers to be waterproof, good news! The Cricut Printable Vinyl seems to be waterproof!
While the normal Cricut Printable Sticker Paper is not waterproof, the do make a Cricut Waterproof Sticker Paper, so make sure you are choosing the right material for your application.

Now is a good time to insert your sticker paper into your printer. The way you put your sticker paper into the printer is important, because each side of the paper is different.
One side is the printable side, and one part is the backing you peel off. You will know which is which because the back side has the Cricut Logo on it.
You typically want to insert the paper so the printable side is facing down if your printer draws from a printer drawer.
Step 2: Pick or Create Your Designs
Once you've set up your Cricut machine and selected the perfect printable vinyl or sticker paper, it's time to dive into designing your stickers in Cricut Design Space.
For example, you might want to make stickers using cute illustrations or quotes. Don’t forget to use vibrant colors to make your stickers stand out!
You have 3 options to create your own custom stickers in Cricut Design Space: Create your own designs, use designs from Cricut Design Space Library, or get your designs from another website like Creative Fabrica.
Whether you want to create your own unique designs or use pre-made ones, Cricut Design Space offers a user-friendly platform to bring your sticker ideas to life.
Make Stickers Using Your Own Designs in Cricut Design Space
If you're really handy with design space, you can make your own sticker designs.
Cricut Design Space is a user-friendly platform that allows you to create and customize designs for your Cricut machine.
It offers a wide range of tools and features to bring your sticker designs to life.
Make Stickers Utilizing Pre-Made Designs from Cricut Design Space
If you're looking for convenience, Cricut Design Space provides a library of pre-made sticker designs that you can easily access and incorporate into your projects.
This option is ideal for those who prefer ready-to-use graphics and illustrations for their stickers.
Adding text and graphics
In addition to images, you can add text and graphics to your sticker designs to make them truly unique. Experiment with different fonts, colors, and graphics to achieve the desired look for your custom stickers.
Make Stickers By Uploading External Sticker Designs
For those seeking more diverse and customizable options, Cricut Design Space allows you to upload sticker designs from external sources. This opens up a world of possibilities, enabling you to explore a wide range of designs from various websites and integrate them seamlessly into your sticker-making process.
Find Inspirational Sticker Designs on Creative Fabrica
When it comes to sourcing top-quality sticker designs, Creative Fabrica stands out as an exceptional resource for finding inspirational and motivational sticker designs.
Whether you're seeking uplifting quotes, vibrant illustrations, or eye-catching typography, Creative Fabrica offers an extensive collection of sticker designs that are sure to inspire and captivate.
Today, I'll be using some stickers from This bundle on Creative Fabrica. It's filled with motivational sticker designs.

Creative Fabrica is one of my favorite places to find project designs. You can type almost anything into the search bar and instantly see thousands of designs you can use for your project.
You can click below to sign up for a free trial and decide if you like it for your self!

Favorite Feature for Easy Access
To streamline your sticker design selection process, Creative Fabrica's “Favorite” feature allows you to curate a personalized collection of sticker designs that resonate with you.
By adding your preferred designs to your favorites, you can conveniently access them when you're ready to start on your sticker-making project.
Designing Stickers in Procreate or Photoshop
Graphic design programs like Photoshop or Procreate are perfect for crafting your own illustrations or lettering for stickers.
Procreate and Photoshop are very popular programs used to create word stickers for Cricut projects. It’s a great way to add a personal touch to your designs.
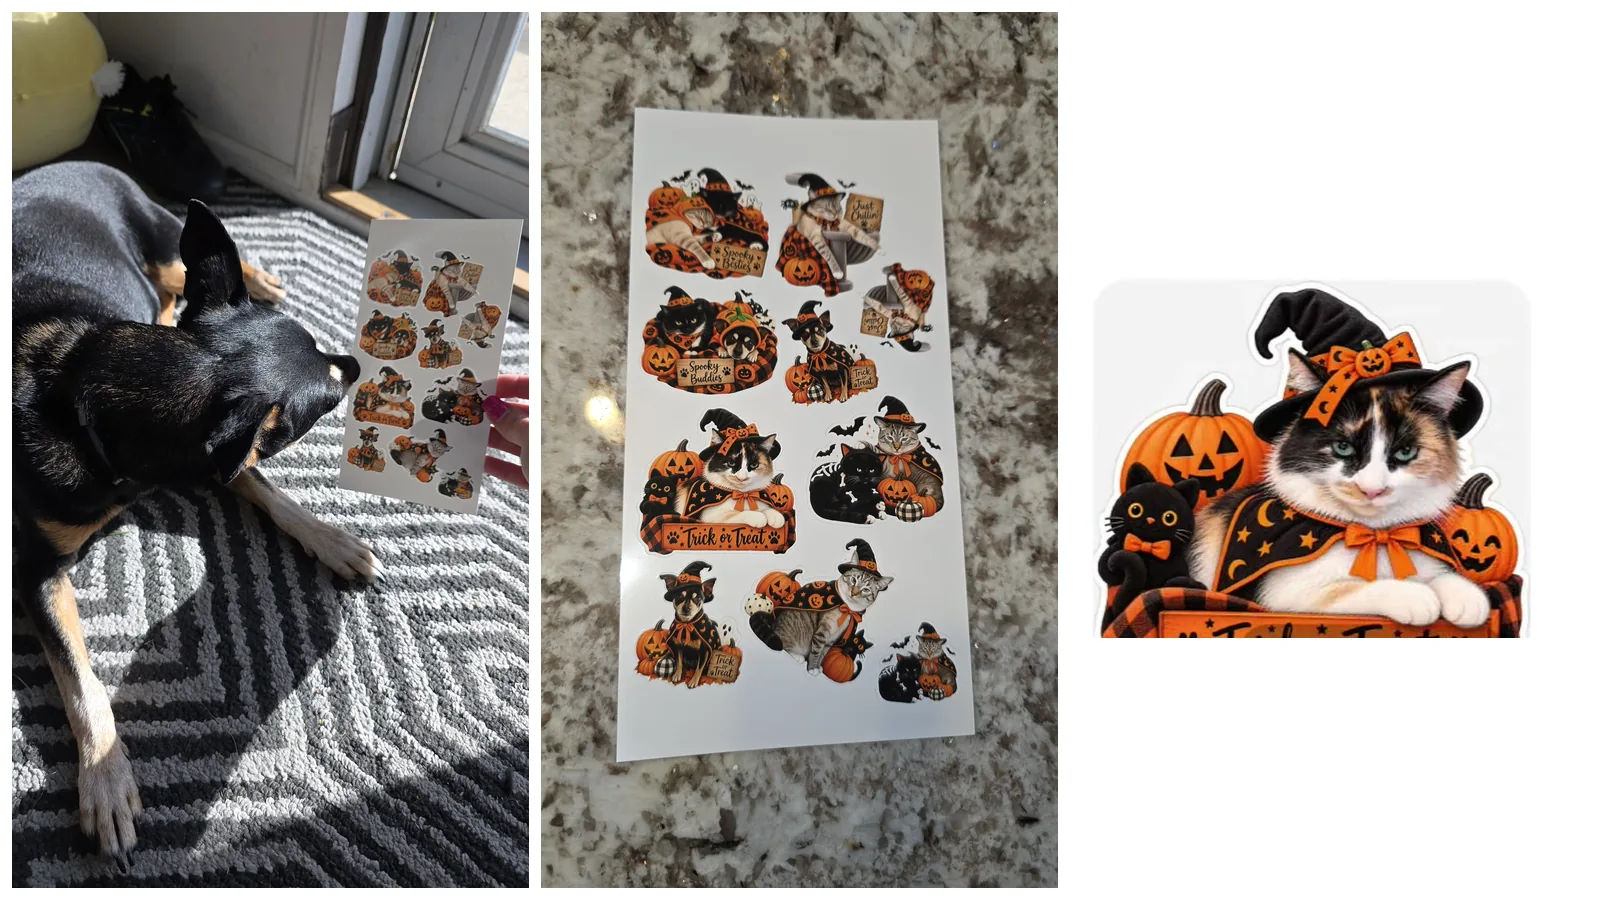
Want to use your own photos instead? Here is how to make photo stickers from your favorite pictures, including the ChatGPT prompts I used to turn my pets into Halloween stickers.
Or start with mine: these printable Halloween stickers are transparent PNGs with the white border already built in, made for Print Then Cut.
When drawing your stickers, keep them inside your machine's printable area. On most setups that is 9.25″ x 6.75″, but check yours using Auto-Resize Image rather than assuming.
You can choose between designing full-bleed stickers or ones with a white border. By default, Cricut Design Space adds a bleed, but you can easily turn this setting off if you prefer.
Lastly, be sure to export your illustration as a PNG file to retain the transparent background. Once your file is ready, upload it to Cricut Design Space to start crafting!
Step 3: Upload Your Designs to Design Space
If you are getting your designs from Creative Fabrica, click the big green Download button and save the design to your computer.
The files from Creative Fabrica are usually bundles of files called Zip files. Find the file you downloaded, usually in your Downloads folder.
Then, you have to open the file and extract the contents to a folder on your computer. Extract them to a place you'll remember. For a more in depth explanation, watch my video at the top of this page.
File Types are Important
You'll want to pay attention to the file types in the zip file. Typically, there will be the same design in multiple different file types so they can be used on all different types of machines.
If I'm working with regular vinyl, I usually use .SVG files because they don't distort when scaling.
Today, I'm going to use the .PNG file type because I'm going to be sending these to my printer instead of cutting this part of the design on the Cricut
Once you've downloaded all your favorite sticker designs, it's time to upload them to Cricut Design Space. Follow the steps below to upload your chosen designs into the platform.
Accessing the Upload Feature
- Head over to the left side of the screen in Cricut Design Space and click on the “Upload” button to initiate the process.
- Click on “Upload Image,”
- Browse your computer for the folder containing your sticker designs, and select the image you want to upload.
- Make sure you select Complex for the Image type.
- Look at your image preview and make sure it looks like what you're expecting. Then click apply and continue.
- Keep in mind that Cricut requires you to upload images one at a time, so repeat this step for each design you've chosen.
- Repeat this process for all the sticker designs you downloaded.

Arrange and Prepare Your Designs
With your sticker designs successfully uploaded to Cricut Design Space, it's time to arrange and prepare them for the printing and cutting phase.
Follow these steps to ensure that your designs are ready for the next stages of the sticker-making process.
- After uploading all your sticker designs into Cricut Design Space, you can add them to the canvas.
- Shrink the designs down to make them more manageable.
- You can use the double arrow or other resizing tools available in the software to adjust the size of your designs.
- Then you can start separating the files.
- Separate the designs based on whether they have backgrounds or not.
- This step is crucial as it determines if an additional step is needed to give the designs a background.
Change the Canvas Color to Make Stickers Stand Out
It might be easier to see if your designs have a background if you change your canvas color from white to something darker like gray.
You can see in the image below that the designs on the left have a white background behind the letters, while the ones on the right do not.

Step 4: Add Backgrounds So Your Stickers Stand Out
When creating sticker designs with Cricut, it's important to consider whether the designs require a background.
If you come across designs that lack backgrounds, don't fret! You can easily add backgrounds two different ways: using Cricut's shape tool or offset tool.
Make Sticker Backgrounds Using The Shape Tool
- Click Shapes and then clicking the square or circle shape.
- Draw the circle on your canvas
- Change the color to white to match your paper.
- Once the shape is appropriately sized, position it as the background for your designs.
- If your design is behind your shape, right click the design and click bring to front.
- Resize the design to fit on the shape.
- If you want your design centered on the shape, highlight both the design and the shape, and go to Align, then Center.
Make Sticker Backgrounds Using The Offset Tool
The other way to create a background is by using the Offset Tool. This tool offsets a line from he design so that your background will follow the outline of the words, instead of being a circle or square. to do this:
- Click the Design
- Click Offset
- Adjust the offset using the slider.
- I'm using about .10 offset for these stickers so the design is all connected as one piece. You might have to adjust this depending on your design
- Choose your corner type, rounded or square.
- Click apply.
- It might change your background to black when you hit apply. Click the color picker to change it back to white
- Repeat for each sticker
Flatten The Design
You need to Flatten the design and background for each sticker so they are one piece instead of two.
If you don't do this, the Cricut software sees it as 2 different pieces. To Flatten your image:
- Select the design and background
- Click Flatten in the bottom right corner of the layer list
- Repeat to flatten every sticker you added a background to.
Step 5: Arrange Your Sheet Within the Printable Area
Once all your designs have backgrounds, you need to group them onto a rectangle that represents the printable area for Cricut's print then cut feature, which is 6.75 inches by 9.25 inches.
Resize a square shape to these dimensions and arrange your designs to fit within this area.
I'll show you an easy way to make sure your stickers stay within this size:
- Click on Shapes
- Select the Square
- To make it a rectangle, click the size unlock button. Resize the square to a rectangle 6.75 wide and the height to 9.25
- Move the Square to the background by clicking it in the layer list on the right and dragging it to the bottom of the list
- Move the stickers around on this square and fit them in as best you can
- If you need another sheet, click your rectangle and then click duplicate
This step allows for efficient utilization of space on the printing material, enabling you to maximize the number of stickers per sheet.
Step 6: Attach and Flatten Before Printing
With your sticker designs arranged and backgrounds added, Delete the rectangle used for organizing the designs and attach all the designs together.
You can attach the designs together by:
- Highlighting all the designs on one sheet
- Click attach on the bottom right under the layer list
This step is essential for maintaining the layout and positioning of the designs during the printing and cutting process, ensuring accurate results.
Configuring Printing Settings to Make Stickers Come Out Perfect
Once the designs are attached, proceed to the printing setup. Click ‘Make It' and follow the prompts to print your designs. Then:
- Click ‘Send to Printer' and ensure ‘Use System Dialog' is turned on.
- Select your printer and adjust the settings to use photo paper with the best print quality.
- Print your designs.

Step 7: Print Your Sticker Sheet
Click on the “Print” option, and once the printing is complete, your vibrant and professional-looking stickers will emerge from the printer, ready for the next phase of the sticker-making process.

Step 8: Cut Out Your Stickers
With your printed sticker designs in hand, it's time to move on to the cutting phase. Follow the steps below to ensure precise cutting with your Cricut machine, bringing your sticker designs to life with accuracy and ease. Follow the steps below to cut out your designs.
- Select the Material Settings in Cricut Design Space:
- n Cricut Design Space, after printing, you’ll be prompted to select your material settings. If you’re using Cricut’s printable vinyl, you can choose ‘Printable Vinyl’ from the list of materials, then click specialty. If you’re using a different type of sticker paper or vinyl, you may need to select the appropriate material or manually adjust the cut settings.
- If the material you’re using isn’t listed in the popular materials, click on ‘Browse All Materials’ and type in ‘vinyl’ or ‘sticker paper’ to find the closest match.
- I set the pressure to “More” to make sure the design is cut through all the way.
- Adjusting Pressure Settings for Perfect Cuts:
- If your Cricut cuts through the backing sheet, you may need to adjust the pressure settings to achieve a “kiss cut” — where the machine cuts through the sticker layer but leaves the backing intact. This is crucial for easy peeling and maintaining the quality of your stickers.
- For Cricut brand sticker paper, the “sticker paper” setting should typically suffice. However, if you’re using a different brand, you might need to experiment with the pressure settings. Try setting the pressure to “Less” or explore custom settings like “sticky note” or “washi.”
- Conduct a test cut before proceeding with your entire sheet to ensure the settings are just right, preventing any material wastage or frustration.
Show Sub-Questions
- Set Up Your Cutting Mat:
- Take your printed sticker sheet and place it on a standard grip cutting mat. Ensure that the printed side is facing up and align the edges of the sticker sheet with the top left corner of the mat.
- Smooth out any bubbles or wrinkles to ensure the material lies flat and sticks well to the mat. Use a brayer or a scraper tool to secure the sticker sheet firmly.
- Load the Mat into Your Cricut Machine:
- Open your Cricut machine and place the mat under the rollers. Press the mat up against the machine's guides to ensure proper alignment.
- Press the load button (the button with the double arrows) on your Cricut machine. The machine will take in the mat and position it correctly for cutting.
- Start Cutting:
- Once you’re confident with your settings, go ahead and start the cutting process by pressing the ‘Go’ button (the button with the Cricut logo) on your machine.
- Your Cricut machine will scan the black border around your design to calibrate the cut. Ensure your workspace has enough lighting so the sensors can accurately read the registration marks.
- The machine will then start cutting your stickers according to the design you set up in Design Space. Watch the machine as it cuts to make sure everything is running smoothly.
- Unloading the Mat:
- When the cutting process is complete, press the unload button (the button with the double arrows) on your Cricut machine to release the mat.
- Weeding and Applying Your Stickers:
- Once the design is done cutting, use a weeding tool to remove the unwanted vinyl from around your stickers.
- Carefully remove the sticker sheet from the cutting mat. To prevent the stickers from curling, flip the mat over and peel the mat away from the sticker sheet, rather than peeling the sticker sheet off the mat.
Your stickers are now ready to use! You can peel them off the backing paper and stick them wherever you like. If you’re selling these stickers, consider packaging them nicely to enhance their presentation.

Tips to Make Sticker Cuts Perfect
As with any craft project, there are tips and tricks that can help you achieve the best results when creating custom stickers with Cricut Print Then Cut.
Choosing the right images and designs
Select high-quality images and designs that will translate well into stickers. Consider the size and intricacy of the designs to ensure they are suitable for cutting.
Adjusting settings for optimal print and cut
Take the time to adjust the print settings on your printer to ensure vibrant and accurate colors. Additionally, calibrate your Cricut machine to ensure precise cutting of your stickers.
Troubleshooting common issues
- Calibration: Ensure your machine is calibrated for Print Then Cut. If your cuts are off, perform a calibration in Cricut Design Space.
- Blade Maintenance: Regularly check your blade for sharpness and clean it if it has residue build-up to maintain clean cuts.
- Material Storage: Store your printable vinyl and sticker paper in a cool, dry place to prevent warping or moisture damage, which can affect print quality and cutting accuracy.
Curious how this compares to doing it on a laser? I ran both workflows side by side in Laser vs Cricut for Stickers, and if you want the laser version start to finish, see how to make stickers with a laser.
Make Stickers with Cricut for Fun and Profit
Creating custom stickers with Cricut Print Then Cut opens up a world of possibilities for adding a personal touch to your projects.
From custom planner stickers to product labels for your small business, Cricut gives you the ability to create high-quality stickers at home.
The Print Then Cut feature makes it easier than ever to produce professional-looking stickers with minimal effort.
So, grab your Cricut and start making stickers today!
Frequently Asked Questions
What is Cricut Print Then Cut?
Cricut Print Then Cut is a feature that lets you print designs on a home inkjet printer, then have your Cricut cut precisely around them. That is what makes full-color stickers, labels, and printed projects with intricate cut shapes possible.
What size can I make Print Then Cut stickers?
It depends on your machine and your printer, not one fixed number. About 9.25 by 6.75 inches is typical with letter paper, but use Auto-Resize Image in Design Space to get your machine's real limit, and Change Page Size if you have a wide-format printer. Note the plain Cricut Joy cannot do Print Then Cut at all; the Joy Xtra can.
What's the difference between printable vinyl and printable sticker paper?
Cricut Printable Vinyl is thinner, more flexible, and waterproof. Printable Sticker Paper is thicker, almost like cardstock, and it can jam in some printers. I reach for the printable vinyl most of the time. Cricut also makes a dedicated Waterproof Sticker Paper if durability matters.
Why do I need to flatten my sticker designs?
Flattening combines your design and its background into one printable image. Skip it and Design Space treats them as separate pieces, so it will not print and cut them together correctly. Select both, then click Flatten before you print.
How do I get a kiss cut instead of cutting through the backing?
A kiss cut goes through the sticker layer but leaves the backing intact. If yours is cutting all the way through, drop the pressure to Less, or try a custom setting like sticky note or washi. Always run a test cut first. Want them cut all the way out instead? That is a die cut, and I cover when to choose each one along with the exact settings for both.
What file type should I use for Print Then Cut stickers?
Use PNG, because it supports transparent backgrounds. When you upload to Design Space, choose Complex as the image type so you keep all the color and detail.
How do I add a background to stickers with transparent backgrounds?
Two ways. Use the Shape tool to make a circle or square, set it to white, and put it behind your design. Or use the Offset tool to build a background that follows your design's outline. Either way, select both and click Flatten afterward.
What printer settings work best for Print Then Cut stickers?
Turn on Use System Dialog, set paper type to photo paper, and set quality to Best or High. That is what gives you vibrant color and sharp edges. An Epson EcoTank works great for sticker making.
Kerri's Recommended Deals
If you enjoyed this tutorial and found it helpful, please like, subscribe, and click the notification bell on my YouTube channel to stay updated on all my new projects. Happy crafting!
- Sign up for Creative Fabrica's FREE trial
- Sign up for Creative Fabrica's discounted yearly subscription
- Shop the best deals on Cricut machines
- Accept credit card payments with your FREE Square Card Reader
- Check out my Linktree
Connect with Kerri
Some of the links provided are affiliate links. Kerri Crafts It is a participant in the Amazon Services LLC Associates Program, an affiliate advertising program. As an Amazon Associate, we earn from qualifying purchases. This means, at no additional cost to you, we will earn a commission if you click through and make a purchase.