


Can a laser really cut delicate glitter cardstock without burning it? That was my big question when I set out to make laser cut bookmarks on the xTool M2. Paper and fire don't exactly sound like a match made in heaven.
I found this stunning gradient color glitter paper pad by Recollections at Michaels, and I immediately knew it would be perfect for this project. A while back, I made a similar version of these bookmarks with my Cricut before one of my book signings at Barnes & Noble, so I thought this would be the perfect head-to-head comparison.
The results really surprised me. The laser cut through the glitter cardstock beautifully, with no scorch marks around the edges. I liked the first bookmark so much that I immediately made another one in a different color.
Project at a glance: Time: About 15 minutes | Cost: one sheet of glitter cardstock plus the SVG | Difficulty: Beginner
This post contains affiliate links. If you buy through them, I may earn a small commission at no extra cost to you.

Quick Links / Table of Contents
- Materials & Tools
- How to Make Laser Cut Bookmarks Step by Step
- Add a Backing Layer for Extra Dimension
- More Paper Projects You Can Laser Cut
- Tips & Troubleshooting
- FAQ
- Downloads & Design Files
- Call to Action & Community Invite
- More Projects You'll Love
Materials & Tools
Here's everything you'll need to make your own laser cut bookmarks:
- xTool M2 Laser – The machine I used for this project. Grab one here. Use code KERRI116 at checkout to see if additional savings apply to your order.
- Glitter Cardstock – I used the Gradient Color Glitter Paper Pad by Recollections from Michaels. The gradient colors are gorgeous.
- Floral Bookmark SVG – The exact bundle I used from Creative Fabrica.
- Masking tape – for holding the paper flat on the laser bed so it can't shift.
- Optional backing: Solid cardstock by Recollections and a UHU glue stick if you want a dimensional two-layer bookmark.
How to Make Laser Cut Bookmarks Step by Step
Step 1: Download Your Bookmark SVG
I used a floral bookmark SVG bundle from Creative Fabrica, linked in the Materials list above. The intricate floral cutouts are exactly the kind of design lasers love, and they'd be a nightmare to cut by hand.
Step 2: Tape the Cardstock to the Laser Bed

Here's my favorite part. I taped the glitter cardstock directly to the laser bed with masking tape so it couldn't move. Keeping it flat also helps the laser stay in focus across the whole sheet. That's it.
No sticky mat. No wondering whether the mat is too sticky or not sticky enough. And no scraping delicate cardstock off with a spatula afterwards and hoping it doesn't tear or curl.
Step 3: Position Your Designs with the Cameras
I used the built-in cameras to position the bookmark designs right over the cardstock. You can see exactly where each cut will land on the sheet, which makes it easy to squeeze multiple bookmarks out of one piece of paper.

Step 4: Cut Your Bookmarks
I used the blue glitter cardstock preset in xTool Studio as a starting point: 27% power, 7 mm/s speed, and 1 pass. My pad was a gradient, so match your cardstock's color preset if there is one, and run a small test cut first to be sure.
I had two questions going in. Would the laser burn the paper, and would it cut cleanly through the glitter? The answer was clean cuts on both counts, with no scorch marks around the edges.
Step 5: Lift and Pop Out the Pieces

Once the cut finished, I simply lifted the cardstock off the laser bed and popped out a few little pieces that were still attached. Compare that to prying delicate paper off a sticky mat and this feels like a dream.
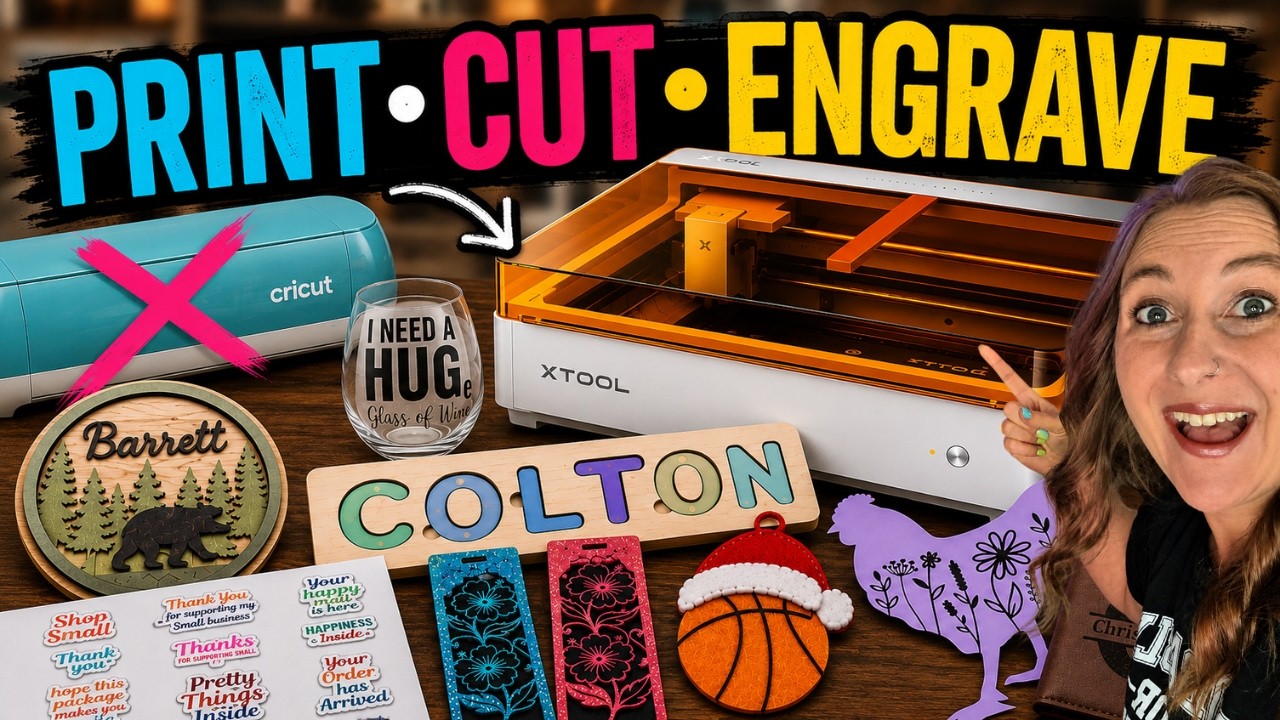
Watch me make this in my xTool M2 review:
Add a Backing Layer for Extra Dimension

For this project, I only cut the glitter layer. But the Cricut version I made for my Barnes & Noble book signing had a second layer behind the glitter cutout.
For those, I cut a bunch of solid color rectangles, and everyone who came could pick their favorite color to glue behind the floral cutout. The solid layer peeks through the cutouts and makes the bookmark look more dimensional.
If you want to recreate that look, all you have to do is cut a solid rectangle the same size as your bookmark and glue it to the back. Solid cardstock in a contrasting color works beautifully.
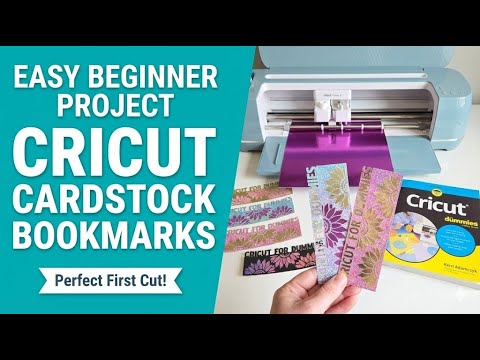
Want to see the Cricut version of this project? Watch my glitter cardstock bookmark tutorial with the Cricut:
Handing out handmade bookmarks was such a hit at my signing. If you sell at markets or events, they make great freebies. My craft fair tips post has more ideas for winning over customers at your booth.
More Paper Projects You Can Laser Cut
Once I saw how well the laser handled cardstock, my mind immediately started going to all the other paper projects I could make:
- Greeting cards with intricate cutout fronts
- Rolled paper flowers, like the ones in my rolled paper flower tutorial
- Gift tags for holidays and handmade orders
- Cake toppers for birthdays and weddings
- Shadow boxes with layered paper scenes
Any design you'd cut from cardstock with a cutting machine is fair game. I go deeper into settings and materials in my laser cutting paper and cardstock guide.
Tips & Troubleshooting
- Tape it flat: Paper likes to curl. A few pieces of masking tape around the edges keep the sheet perfectly flat against the laser bed.
- Use the cameras: Positioning designs with the built-in cameras means no wasted paper and no guessing where the cut will land.
- Test a small shape first: Run a tiny test cut on a corner of your cardstock before cutting the full bookmark, especially with specialty papers like glitter.
- Popping out pieces: A few small pieces may stay attached after the cut. Gently pop them out with your fingers instead of pulling, so you don't tear the delicate details.
- Make it a gift: Pair a bookmark with a book for teacher gifts, book club favors, or stocking stuffers. They cost pennies per bookmark to make.
FAQ
Q: Can a laser cutter cut bookmarks from cardstock? A: Yes! A laser cuts intricate bookmark designs from cardstock cleanly and quickly. In my test on the xTool M2, the glitter cardstock cut beautifully with no scorch marks around the edges.
Q: Does laser cutting paper leave burn marks? A: Not when the settings are dialed in. I used the recommended cardstock settings and didn't notice any scorching on my bookmarks. Always run a small test cut first with a new paper.
Q: Can you laser cut glitter cardstock? A: Yes. The laser cut right through the glitter coating on my Recollections cardstock. Glitter paper can be tough on cutting machine blades, so the laser is actually a great match for it.
Q: Do you need a mat to laser cut paper? A: No, and that's one of my favorite parts. You tape the paper directly to the laser bed, so there's no sticky mat to fight with and no curled or torn paper when you're done.
Q: What paper projects can you make with a laser? A: Bookmarks, greeting cards, rolled paper flowers, gift tags, cake toppers, and shadow boxes are all great laser projects. Anything you'd cut from paper with a Cricut can usually be laser cut too.
Downloads & Design Files
- Floral Bookmark SVG Bundle (linked in the Materials list above)
- Creative Fabrica Subscription – $3.99/mo Unlimited Downloads (includes commercial license)
- Compatible with xTool Studio, Cricut Design Space, and most laser software
Community Invite
Now it's your turn! Grab a pad of glitter cardstock, tape it down, and cut a whole rainbow of bookmarks in one sitting.
Share your creations, I'd love to see them! Tag @KerriCraftsIt on Instagram or post in my Kerri Crafts It Facebook Group.


