Quick Answer: Place iron-on vinyl shiny side down on your cutting mat. The shiny side is the clear carrier sheet, and the matte side is the vinyl you cut. Always mirror your design before cutting. If both sides look the same, cut a small piece and check which way it curls.
Cutting iron-on vinyl the wrong way is frustrating. I'll show you exactly how to tell which side goes down every single time.
If you've ever stood at your cutting mat staring at your iron-on vinyl wondering which side is up, you're not alone. This is one of the most common questions I get from new Cricut crafters, and it actually just missed making the list of the top common mistakes new Cricut owners make.
Here's the problem: iron-on vinyl (also called heat transfer vinyl or HTV) has two sides that sometimes look almost identical. Cut it wrong and your entire design is ruined. But I'm going to show you three foolproof ways to figure out which side goes down so you never waste vinyl again. You can also cut HTV on a laser, which handles the carrier sheet differently.
This tutorial is perfect for beginners who are just starting with iron-on projects or anyone who's struggled with this confusing issue. If you're wondering what a Cricut machine can do, iron-on vinyl projects are one of the most popular uses.
This post contains affiliate links. If you buy through them, I may earn a small commission at no extra cost to you.
What You'll Learn
Master the essential techniques for working with iron-on vinyl
- How to identify the shiny vs matte sides of your iron-on vinyl
- The correct way to load vinyl onto your cutting mat every time
- Which vinyl types work best with the shiny vs matte test
- Pro tips for handling specialty vinyl that doesn't follow the usual rules
- Avoid the most common mistakes that ruin vinyl projects
What Are the Two Sides of Iron-On Vinyl?
Before we talk about which side goes where, let's understand what we're working with.

Iron-on vinyl has two layers:
- The vinyl layer – This is the colored part that transfers to your shirt or bag
- The carrier sheet – This is the clear or shiny backing that holds everything together
These two layers come stuck together. Your job is to cut through the vinyl layer WITHOUT cutting all the way through the carrier sheet. The carrier sheet stays on until you're ready to press your design.
If you're confused about the different types of vinyl, check out my guide on vinyl vs HTV vinyl to understand the key differences.
HTV, Heat Transfer Vinyl, Iron-On: All the Same Thing
If you have been searching for this answer and getting confused, here is why. HTV, heat transfer vinyl, and iron-on vinyl are three names for the exact same product. Cricut calls it iron-on. Most other brands call it HTV or heat transfer vinyl. Crafters use all three interchangeably.
So whichever one you searched for, the answer is the same: shiny side down, and mirror your design.
You will also hear the two sides called different things:
- The shiny side is also called the carrier sheet, the plastic side, or the clear side. This is the liner your design sticks to.
- The matte side is also called the dull side, the fabric side, or the colored side. This is the vinyl itself, and it is the side that ends up on your shirt.
Same rule for every one of them. Shiny down, matte up, mirror the design.
Not Sure It Is Even Iron-On?
Easiest tell there is, and it has nothing to do with shiny versus matte. Adhesive vinyl has a paper backing. Iron-on has a clear plastic carrier sheet. Run a fingernail along the back: paper feels dry and fibrous, plastic feels slick.
If you are holding paper, you have regular adhesive vinyl and it will not stick to fabric with heat. That is a different material for a different job, and I break the two apart in vinyl vs HTV.
Materials and Tools
🛠️ Materials and Tools
Essential Supplies for Cricut Beginners
🖨️ Cutting Machines
📐 Cutting Essentials
✨ Iron-On Vinyl
🔧 Tools
🔥 Heat Application
Not sure which Cricut machine you should buy? I've got a complete buying guide to help you choose the right one for your needs. If you're on a budget, the Cricut Joy Xtra is perfect for small projects and tight spaces.
See my Cricut Maker 4 setup and first project video to watch me unbox and complete my first cut.
The Golden Rule: Mirror and Shiny Side Down
Before I show you the methods, remember this rule:
Always mirror your design AND place the vinyl shiny side down on your mat.
Let me explain why.
How to Mirror Your Design in Cricut Design Space
When you cut iron-on vinyl, you're cutting it backwards. When you flip it over to press it onto your shirt, it will read correctly.

Here's how to mirror in Design Space:
- Click “Make It” to go to the preview screen
- Look for the “Mirror” toggle on the left side
- Switch it to ON (it turns green)
- Now your design is backwards and ready to cut
You can also mirror on the next screen by clicking “Edit” on your mat.
Pro tip: Design Space will remind you to mirror when you select an iron-on material. Pay attention to that reminder!
Need more help navigating the software? Check out my complete tutorial on how to use Cricut Design Space. A Cricut Access subscription gives you access to thousands of ready-to-make designs too.
Learn more Cricut Design Space tips here on my Youtube channel including how to weld text and other beginner techniques.
One thing that has changed, and it catches people out. Design Space now has Auto Mirror. When you pick an iron-on material on the Make screen, it flips the design for you automatically, so you do not have to toggle mirror yourself the way older tutorials tell you to.
That does not mean you can stop paying attention. Check the mat preview before you cut. If your lettering reads backwards, Auto Mirror did its job. If it reads the right way round, something is off and you are about to waste a sheet.
What About Cricut Smart Iron-On?
Smart Iron-On works the same way, with one thing that trips people up: it cuts without a mat, so you feed the roll straight into the machine. Shiny side down still applies, and you still mirror.
The upside is that Smart Iron-On is stiffer than regular iron-on, so the carrier sheet is much easier to tell apart by feel. Give it a slight bend and the shiny carrier side is the one that stays rigid. Feed it in with at least 6 inches of material past the rollers, or the machine cannot grip it properly.
Method 1: The Shiny vs Matte Test
This is the easiest method and works for most iron-on vinyl.
Here's what to look for:
On most iron-on vinyl, one side is shiny and smooth (the carrier sheet) and one side is slightly matte or textured (the vinyl).

How to use this method:
Hold your vinyl up to good light
Look at both sides carefully
The shinier, smoother side is the carrier sheet
Place this side DOWN on your cutting mat
The matte side (vinyl side) should face UP
This is my go to method because its quick and easy
Method 2: The Curl Test
Sometimes both sides look shiny. Don't panic. Use the curl test.
Iron-on vinyl comes on a roll with the carrier side facing out. This creates a natural curl that tells you which side is which.

How to use this method:
- Cut a small piece of your vinyl
- Set it on your table and let it curl naturally
- Look at which way it curls
The rule:
- The side that curls OUTSIDE is the carrier sheet (shiny side)
- The side that curls Inside is the vinyl side
Place the side that curls down on your mat. The side that curls up should face you.
This method is especially helpful for white iron-on vinyl where both sides are the same color.
Method 3: The Corner Cut Test
If you're still stuck, this test will give you a definite answer.

Here's how to do it:
- Pick the side you THINK is the vinyl side
- Use your craft knife to make a tiny cut in one corner
- Cut only through the top layer, not all the way through
- Try to peel away the corner you just cut
What happens next:
- If the corner peels away easily, you found the vinyl side! This side goes UP on your mat.
- If nothing peels or it's hard to separate, flip it over and try the other side
Once you can peel away a corner, you know which side is the vinyl layer.
Step-by-Step: Putting It All Together
Now let’s cut some vinyl the right way.
Choose Your Method
Pick the method that works best for your vinyl:
- Shiny vs matte for most regular vinyl
- Curl test for tricky white or clear vinyl
- Corner cut as your final test if needed
Load Your Mat
Place your vinyl with the carrier side (shiny side) DOWN on your cutting mat. The vinyl side should face up toward you.
Make sure you’re using the right mat for the job. Learn about Cricut cutting mat differences to choose between StandardGrip, LightGrip, and StrongGrip mats.
I recommend this Cricut mat variety pack with different grip levels so you always have the right mat on hand. The LightGrip mat is perfect for delicate materials too.
Mirror Your Design
Don’t forget this step. Toggle mirror to ON in Design Space before you cut.
Select Your Material
In Design Space, choose the correct iron-on vinyl type from the material list. This sets the right blade depth and pressure.
Cut Your Design
Load your mat and press the flashing button. Let your Cricut do its magic.
Watch this quick tip about test cuts before you start cutting your actual project to avoid wasting materials.
Weed Your Design
After cutting, peel away the extra vinyl you don’t need. The parts you want to keep will stay on the carrier sheet.
Using quality weeding tools makes this process easier. For more helpful techniques, check out my collection of best Cricut hacks.
📺 Watch the Complete Process in Action
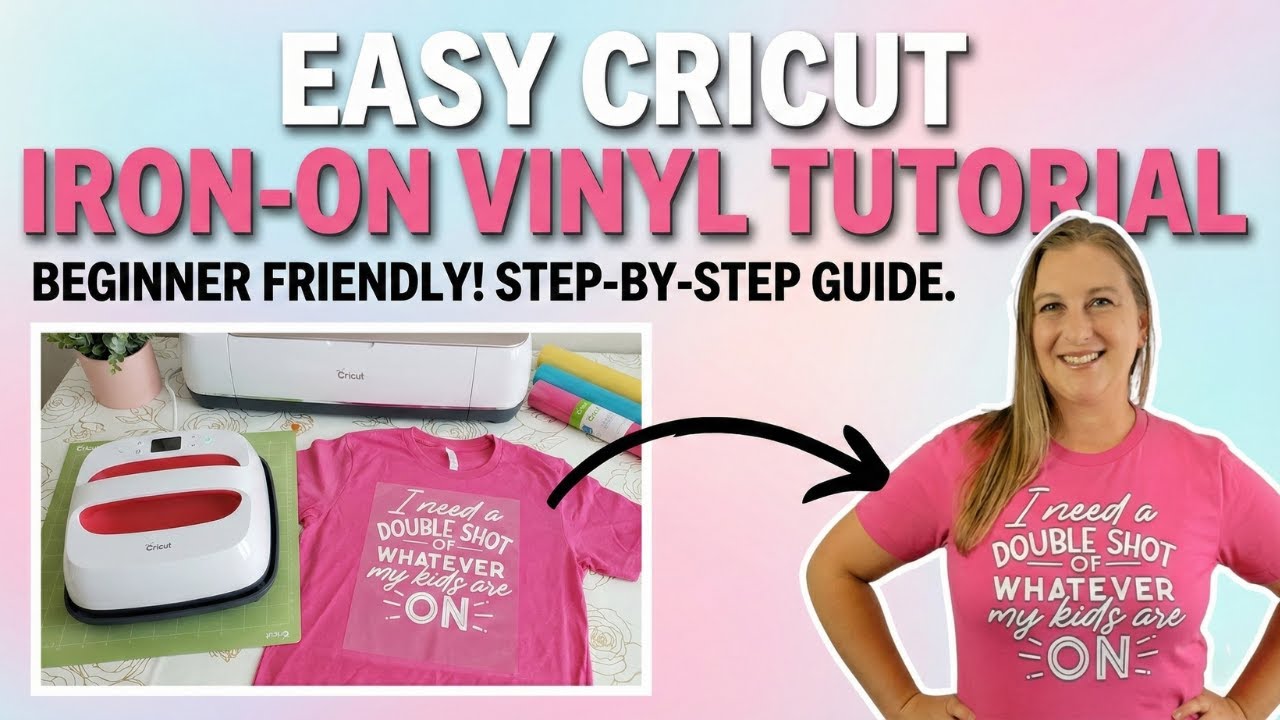
Want to see the entire iron-on vinyl process from start to finish? Watch my full tutorial where I walk you through every step of making a custom t-shirt with heat transfer vinyl.
Hot Peel or Cold Peel?
Once your design is pressed, there is one more thing that decides whether it lifts cleanly or pulls your lettering off with it: when you peel the carrier sheet.
- Hot peel: take the carrier off straight away, while the vinyl is still hot.
- Cold peel: leave it until the vinyl is completely cool to the touch.
Which one you need depends entirely on the brand, and there is no way to tell by looking. It is printed on the packaging or the manufacturer's instructions. Peel a cold-peel vinyl while it is hot and the design comes away with the carrier.
If you have lost the packaging, let it cool. Cold peeling a hot-peel vinyl usually just means pressing it again for a few seconds. The other way round can ruin the shirt.
Washing and Caring for Iron-On Projects
Wait at least 24 hours before the first wash. The adhesive needs that long to cure properly, and this is the single most common reason a design starts peeling early.
- Turn the garment inside out before washing.
- Cold or warm water on a gentle cycle. Hot water weakens the adhesive.
- Mild detergent. Skip stain removers and eco detergents, which are harsher than they sound.
- Never bleach or fabric softener. Both attack the adhesive.
- Air dry flat or hang. If you must use a dryer, tumble on low.
- Never iron directly onto the vinyl. Iron the garment inside out, or put a cloth over it.
- No dry cleaning.
Selling what you make? Include these as a care card. It saves you the message three weeks later asking why the design cracked.
Tips and Troubleshooting
My vinyl has two shiny sides that look identical
Use the curl test! The side that curls down goes on the mat.
I cut it on the wrong side. Can I save it?
Unfortunately no. If you cut through the carrier sheet instead of the vinyl, you'll need to start over. But now you know how to avoid this mistake.
The corner cut method damaged my vinyl
Make your cut very small, just in the corner. You only need a tiny piece to test. This small cut won't affect your project.
Different brands look different
Yes! Every brand of iron-on vinyl is slightly different. Some have very obvious shiny vs matte sides. Others are tricky. Use these three methods and you'll figure out any brand.
What about specialty vinyl like glitter or holographic?
The same rules apply. Look for the shinier side (carrier sheet) and put it down on your mat. The curl test works great for these types too.
I'm color blind and can't see the difference
The curl test and corner cut test don't rely on seeing shine or color. Use those methods instead.
My mat isn't sticky anymore
If your vinyl won't stay in place, your mat might need cleaning. Learn how to clean your Cricut mat to restore its stickiness. Or grab a fresh StandardGrip mat to keep your projects running smoothly.
Do I need a heat press for iron-on vinyl?
You can use a regular iron, but a heat press gives more consistent results. Check out my Vevor Heat Press Machine review if you're considering upgrading. The HTVRont Auto Heat Press is my top pick for beginners, or you can check out the VEVOR Auto Heat Press for another great option. If you prefer the Cricut brand, the Cricut EasyPress 3 works beautifully too.
How do I protect my designs while pressing?
Always use a Teflon sheet to protect your designs during the heat press process. You can also use butcher paper as a pressing surface for extra protection.
How do I keep my vinyl from shifting during pressing?
Use heat resistant tape to secure your design in place before pressing. This is especially helpful for multi-layer designs.
Should I clean my blanks before applying vinyl?
Yes! Learn this important prep tip about cleaning blanks before applying vinyl for better adhesion.
Can I use other tools with my Cricut?
Absolutely! Check out this pen adapter hack to use any pens or markers with your Cricut machine.
FAQ
Do I always have to mirror iron-on vinyl?
Yes, always! Every single time you cut any type of iron-on or heat transfer vinyl, you must mirror your design first.
What if I forget to mirror?
Your design will be backwards on your final project. Unfortunately you'll need to cut it again. Set a reminder for yourself or put a sticky note on your machine until mirroring becomes automatic.
Does this work for all brands of iron-on vinyl?
Yes! Whether you use Cricut, Siser, StarCraft, or any other brand, these methods work. All iron-on vinyl has a carrier sheet and a vinyl side.
Can I reuse the carrier sheet?
No. Once you press your design and peel away the carrier sheet, it's done its job. Toss it in the trash or save it for stencils.
Why is getting the right side so important?
If you cut on the carrier side, you'll cut through the backing and your design will fall apart. The vinyl won't transfer properly to your project.
I have patterned iron-on vinyl. Which side goes down?
The pattern is on the vinyl side. Put the clear or white backing (carrier sheet) DOWN on your mat. The pretty pattern should face up.
Is this tutorial helpful for complete beginners?
Absolutely! This is one of many Cricut tips I share specifically for beginners who are just getting started.
Which side of iron-on vinyl should touch the fabric?
The matte side touches the fabric. That is the actual vinyl. The shiny carrier sheet stays facing up, toward your heat press or iron, and you peel it off after pressing.
Is HTV the same as iron-on vinyl?
Yes. HTV stands for heat transfer vinyl, and it is the same product Cricut sells as iron-on. The shiny-side-down rule is identical no matter which name is on the packaging.
Which side of HTV goes down on the cutting mat?
Shiny side down, every time. The shiny carrier sheet goes against the mat so your blade cuts through the vinyl layer and not through the carrier.
Do I still have to mirror iron-on manually?
Not usually. Design Space has Auto Mirror, so when you choose an iron-on material on the Make screen it flips the design for you. Always check the mat preview though: if your lettering reads backwards you are good, and if it reads the right way round something has gone wrong.
When do I peel the carrier sheet off iron-on vinyl?
It depends on the brand. Hot peel means take it off straight away while the vinyl is still hot; cold peel means wait until it is completely cool. Check the packaging, and if you have lost it, let it cool first. Cold peeling a hot-peel vinyl is fixable with another few seconds of heat, the other way round can ruin the shirt.
How soon can I wash a shirt after applying iron-on?
Wait at least 24 hours so the adhesive can cure. Then turn it inside out and wash cold or warm on a gentle cycle. No bleach, no fabric softener, and never iron directly on the vinyl.
What to Make Next
Now that you know how to cut iron-on vinyl correctly, you're ready to make some amazing projects!
For a complete walkthrough of the entire process from start to finish, check out my beginner-friendly HTV tutorial.
Try these beginner-friendly iron-on vinyl projects:
- Simple text T-shirts for your family (Bella and Canvas t-shirts work perfectly with HTV)
- Custom car decals for your vehicle
- Custom tote bags with names or quotes
- Kids' lunch boxes with fun designs
- Holiday dish towels
- Personalized baby onesies
Get inspired by 20+ vinyl project ideas in my video showcasing awesome Cricut vinyl projects you can make with permanent vinyl.
Want more project ideas? Browse my complete collection of Cricut vinyl projects for beginners.
If you love working with vinyl, you might also enjoy learning how to make stickers with Cricut using similar cutting techniques. Or watch me make bookmarks with my Cricut for another fun beginner project.
Your Turn!
You've got this! Pick up that iron-on vinyl with confidence. Use the shiny vs matte test first. If that doesn't work, try the curl test. And if you're still not sure, do the corner cut test.
One of these three methods will always work.
Once you've mastered iron-on vinyl, you might be ready to start a Cricut business and turn your new skills into income. Want to dive deeper into all things Cricut? Grab the Cricut For Dummies book for comprehensive guidance, or see what's inside Cricut For Dummies in my video overview.
Have you figured out which side is which on your vinyl? Come share your first iron-on project in my Facebook Group or tag me on Instagram with #KerriCraftsIt. I love seeing what you make!
Ready to start cutting? Grab your favorite iron-on vinyl and let's make something amazing.