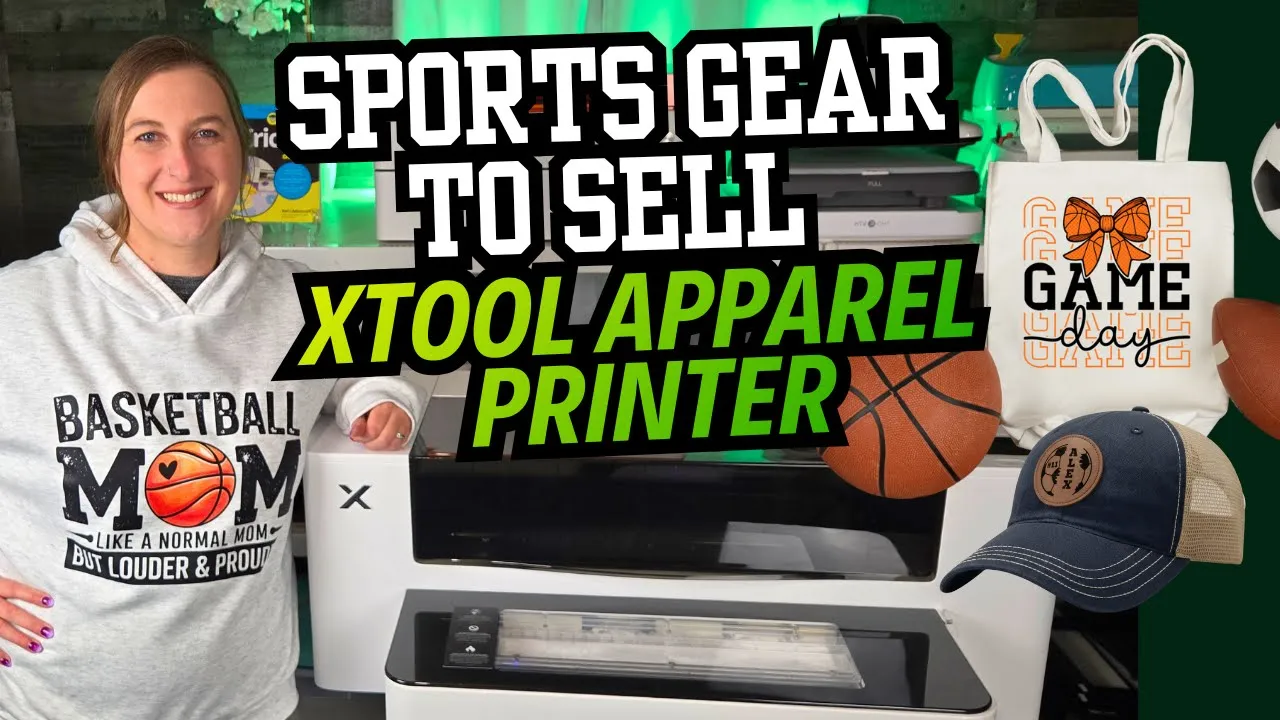

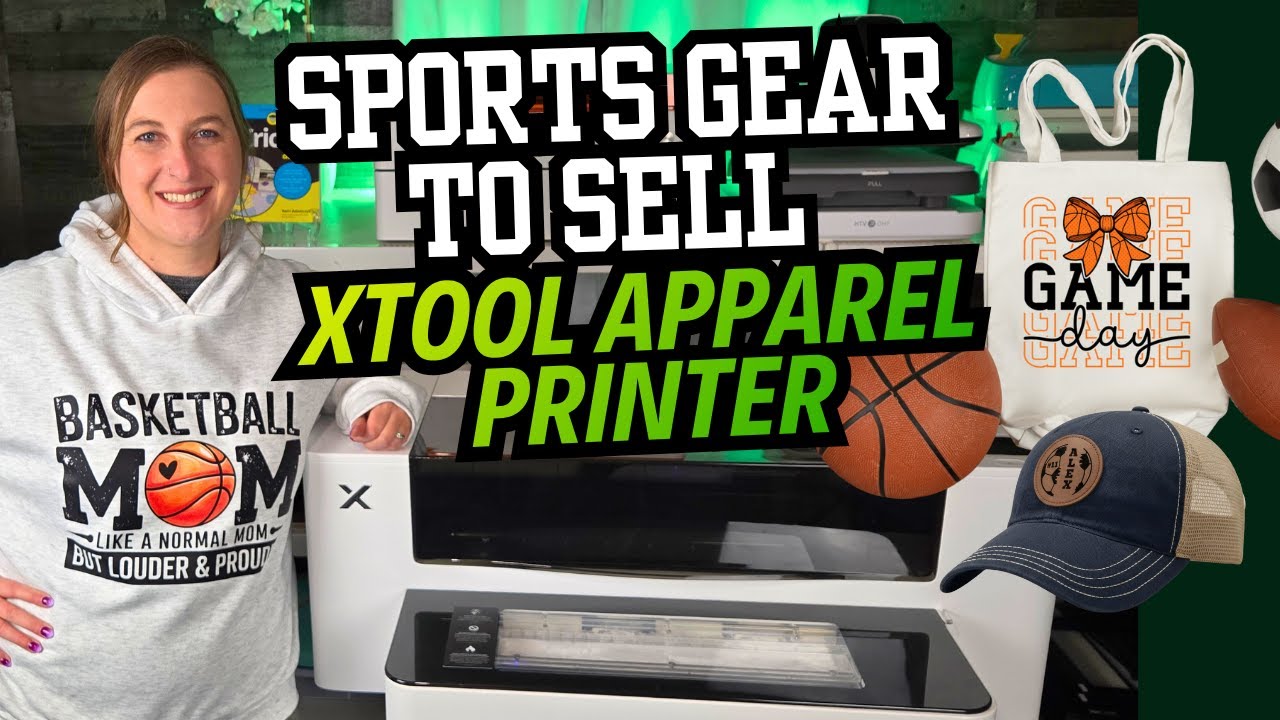
Looking for a profitable niche that brings repeat customers and bulk orders? Sports gear is one of my favorite markets for custom apparel. Parents love personalized items, coaches need team uniforms, and every new season brings fresh sales opportunities. New to this method? Here is what DTF printing is and what it can do.
The xTool Apparel Printer makes DTF printing easy because it handles everything in one pass – printing, powdering, shaking, and curing. No manual powder shaking or separate curing steps. You load the film, hit print, and get ready-to-press transfers.
In this post, I'm sharing five sports apparel projects that sell well, plus exact heat press settings, blank sources, and pricing tips. Whether you're just getting started or looking to add a new revenue stream, these ideas work.
Watch the full tutorial:
What You'll Learn
Everything you need to create profitable sports gear
How the xTool Apparel Printer handles shirts, totes, and accessories
How to use DTF printing for sports gear and team merch
Where to buy blanks for affordable team orders
Smart upsell ideas (bundles, family shirts, QR codes, matching sets)
How to price sports team shirts and bulk apparel for profit
Let's get started!
Quick Links
Materials and Tools
Here's everything you'll need to create custom sports gear
Equipment
-
1
-
2
-
3
-
4
Blanks & Materials
-
1
-
2
-
3
-
4
-
5
-
6
Design Resources
-
1
-
2XTool StudioFree design software included with printer
Consumables
-
1DTF FilmIncluded with printer purchase
-
2DTF PowderAuto-applied by the printer
-
3Heat TapeFor securing transfers during pressing
-
4Lint RollerRemove fuzz before pressing
Project 1: Personalized Drawstring Backpacks
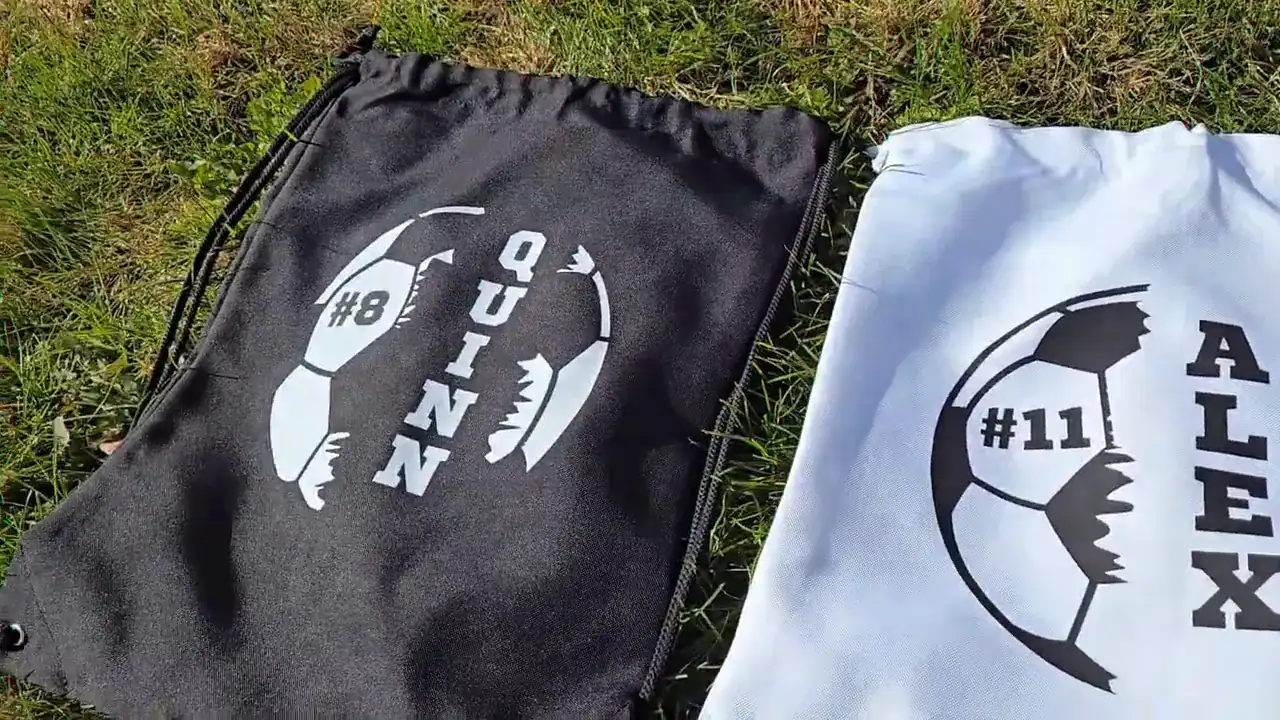
Drawstring backpacks are perfect for sports teams. Kids use them for cleats, shin guards, water bottles, and snacks. They're cheap to source and easy to customize with names and numbers.
Pricing: $10-$20 each depending on customization and bulk discounts
Design Tips

Search for sports monograms like “soccer monogram” or “baseball monogram” to get an athletic look. Use varsity fonts for names and numbers. Measure the printable area on your bag and create a template you can duplicate and edit quickly.

Heat Press Settings
- Set your heat press to 330°F for 15 seconds
- Insert a heat pillow inside the bag to raise the printable area
- Prepress for a few seconds to remove wrinkles and moisture
- Use a lint roller to remove fuzz and hair
- Place the DTF film on the bag and secure with heat tape if needed
- Cover with butcher paper and press for 15 seconds
- Let the transfer cool completely before peeling
- Press again with butcher paper for 5-10 seconds for durability
Project 2: Leather Patch Hats
Instead of laser engraving real leather, print designs on faux leather patches using DTF and press them onto hats. Add coach names, team logos, or phrases like “Coach,” “Soccer Mom,” or “Baseball Dad.”
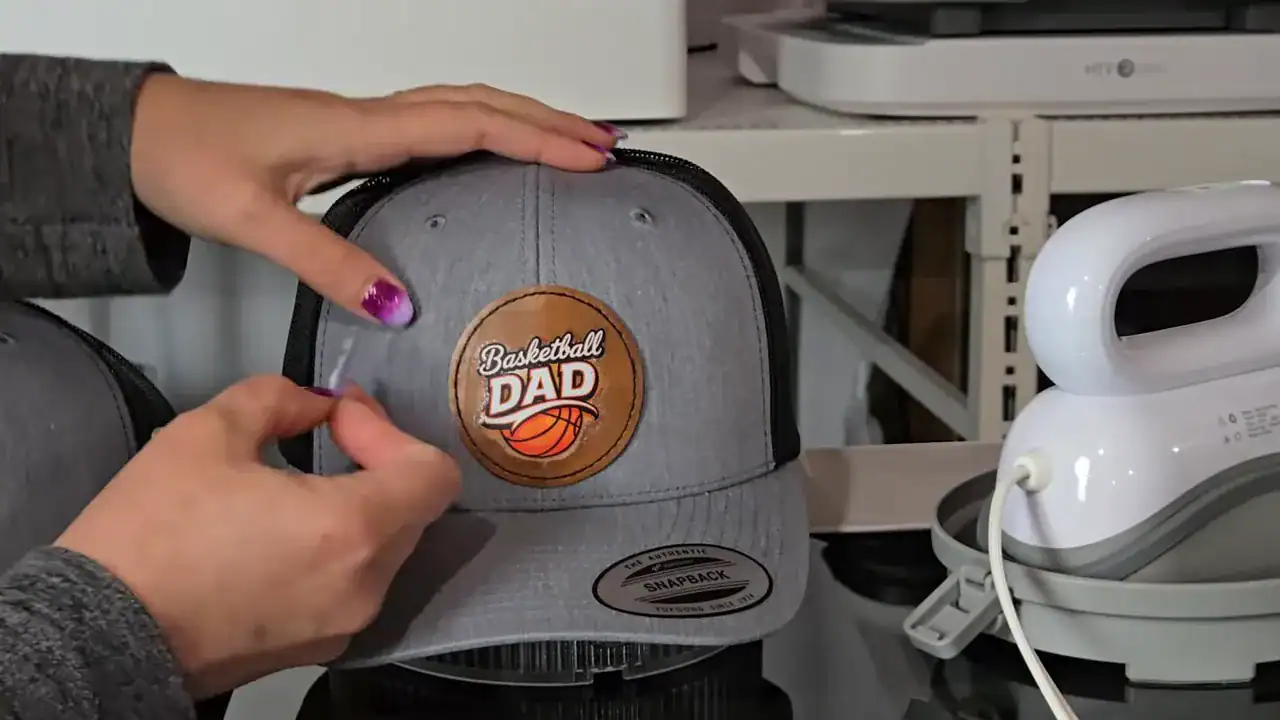
Hat orders often lead to repeat sales because people ask where they came from. If you're interested in laser-engraved leather patches, check out my guide to making leather patch hats with the xTool M1.
Pricing: $20-$30 each for custom patches and high-quality caps
Project 3: Tote Bags for Sports Families
Sports families need a bag for snacks, first aid, sunscreen, blankets, and everything else. A personalized canvas tote is an inexpensive add-on that adds value to any order.

Try search terms like “lacrosse mom,” “cheer dad,” or “sport mom” when looking for graphics on Creative Fabrica.
Pricing: $15-$25 each, or bundle with other items
Project 4: Team Jerseys and Practice Shirts
This is where orders grow quickly. DTF printing is great for team uniforms because it works on many fabrics, produces stretchy prints, and lasts through washes.

Add names, numbers, club logos, and even sponsor panels. Fundraiser events also sell well when you add QR codes for donations on sleeves.
Pricing: $20-$35 per shirt, depending on complexity and quantity
Project 5: Loud and Proud Family Shirts
Matching family shirts are fun and spread your brand. Create coordinated designs for parents, siblings, and grandparents. One family showing up in matching shirts can create instant word-of-mouth orders.
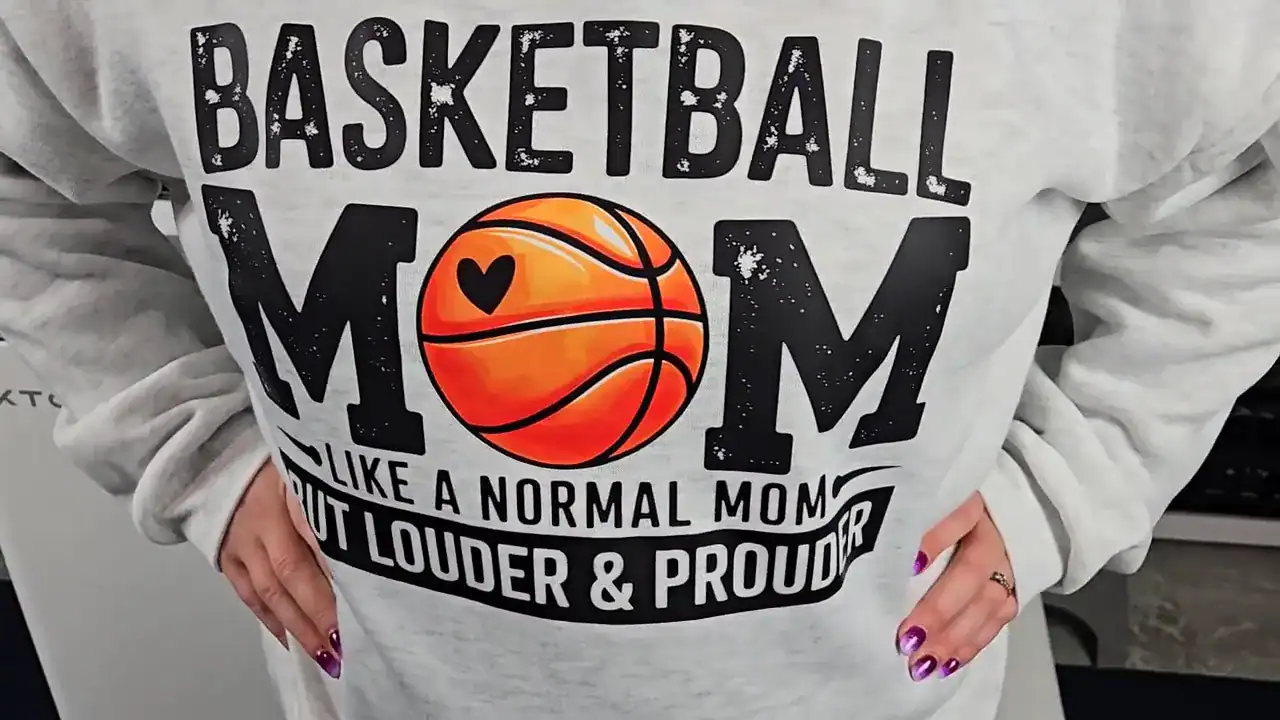
Pricing: Sell as sets ($60-$100 for a family of 4) or individual add-ons
Step-by-Step Tutorial: How to make a custom drawstring backpack
Step 1: Measure and Design
Measure the printable area on your blank. For drawstring bags, an 8-inch design area works well. Find or create a sports monogram and add the name and number in a varsity font.

Duplicate your template and edit for each team member's name.
Step 2: Print with xTool Apparel Printer
Open XTool Studio and import your artwork. Arrange copies for batch printing if you're doing multiple bags.

Make sure the xTool Apparel Printer is on and the oven is preheated, then click print. I set the oven to 110 degrees C at the fastest setting. The machine will powder, shake, and cure the transfer automatically. The film exits with an orange-peel texture on the back and is ready to press immediately.
Step 3: Prep Your Blank

Insert a heat pillow inside the bag to raise the printable area and keep seams and drawstrings from interfering. Prepress the bag for a few seconds to remove wrinkles and moisture. Use a lint roller to remove any fuzz or hair.
Step 4: Heat Press the Transfer
Position the DTF film on the bag and secure it with small pieces of heat tape if needed. Cover with butcher paper and press at 330°F for 15 seconds.

Allow the transfer to cool fully before peeling the film. Press again with butcher paper for an additional 5-10 seconds for a smooth, durable finish.
Step 5: Package and Deliver
Label your finished product and consider adding a small branded tag or QR code that links to your ordering page for repeat customers.
Tips & Troubleshooting
- Fabric Compatibility: DTF works on cotton, black fabrics, and many blends. The xTool Apparel Printer includes proper white underbase and curing for bold, bright results.
- Batch Production: Queue multiple prints and batch your design edits in XTool Studio to speed up customization.
- Cost Control: Buy blanks in bulk to maximize profit margins. A 20-pack of drawstring bags for $15.99 makes each bag under $1.
- Second Press: Always do a second quick press after peeling the film. This improves durability and gives a professional finish.
- QR Code Strategy: Add QR codes to products that link to your order page or donation page for fundraisers.
- Pricing for Profit: Calculate material cost, labor, and shipping. Offer bulk discounts for team orders and bundle deals to increase average order value.
FAQ
Q: How durable are DTF prints on sports shirts and bags?
A: DTF prints are stretchy and durable when pressed correctly. They hold up well in the wash if you follow heat and press recommendations. A second quick press after cooling improves longevity.
Q: Can I press DTF onto dark or cotton fabrics?
A: Yes. The xTool Apparel Printer handles dark and cotton fabrics because the process includes proper white underbase and curing. Results are bold and bright on black and cotton items.
Q: Where can I buy cheap blanks for team orders?
A: Michaels Make Market drawstring bags and tote bags are affordable and often on sale. Bulk packs of drawstring bags on Amazon and performance shirts from suppliers like Jiffy keep costs low for team orders.
Q: What are recommended heat press settings for DTF?
A: A common setting is 330°F for 15 seconds for the initial press. Allow to cool, then press again for 5-10 seconds under butcher paper for a professional finish. Adjust slightly for fabric thickness.
Q: How should I price team orders and single items?
A: Personalized sports bags often sell for $10-$20. Shirts range from $20-$35. Calculate material cost, labor, and shipping, then offer discounts for bulk team orders. Bundles and add-ons increase average order value.
Business Ideas & Monetization Tips
- Local Team Fundraisers: Partner with coaches to offer team orders
- Craft Fairs: Set up a table with samples and take custom orders
- Etsy or Shopify: List family shirt sets and personalized gear
- Facebook Groups: Join local sports groups and share your work
- Bundle Deals: Offer shirt + tote + backpack combos for better margins
Typical pricing for personalized sports bags ranges from $10 to $20. When you factor in bulk blank purchases (under $1 per bag) plus materials, margins can be healthy for team orders. For more business tips, check out my guide on starting a craft business and my post about selling at craft fairs.
Why xTool Apparel Printer Stands Out

The xTool Apparel Printer automates the full DTF workflow in a single pass. That means less handling and faster production.
Key Features:
- Prints on cotton, black fabrics, and many blends
- Auto powder application and heat curing in one pass
- Automatic print head cleaning to protect nozzles
- Orange-peel textured film that presses cleanly onto fabric
More Project Ideas
Looking for even more inspiration? Here are some other profitable projects you can create with the xTool Apparel Printer:
- Branded aprons for local restaurants or pop-up events
- Custom coach jackets or warmups with sponsor patches
- Event or fundraiser shirts with QR codes on sleeves
- Holiday-themed sports shirts (seasonal runs build repeat customers)
- Faux leather patches for caps and bags with team logos
Want seasonal design ideas? Check out my video: 20+ Fall DTF Shirt Ideas To Print in Minutes with xTool Apparel Printer
For more design inspiration, explore Creative Fabrica where you can find fonts, sports graphics, and monograms with commercial licenses included.
You're up next!
Now it's your turn! Start with a simple drawstring backpack template and scale up from there. Sports gear is a reliable niche because orders come in bulk, parents love personalized items, and new seasons bring new sales.
If you missed it, watch the full tutorial with all five projects in action: 5 Ways to Make Money Selling Sports Gear with xTool Apparel Printer
Share your creations – I'd love to see them! Tag @KerriCraftsIt on Instagram or post in the Kerri Crafts It Facebook Group.