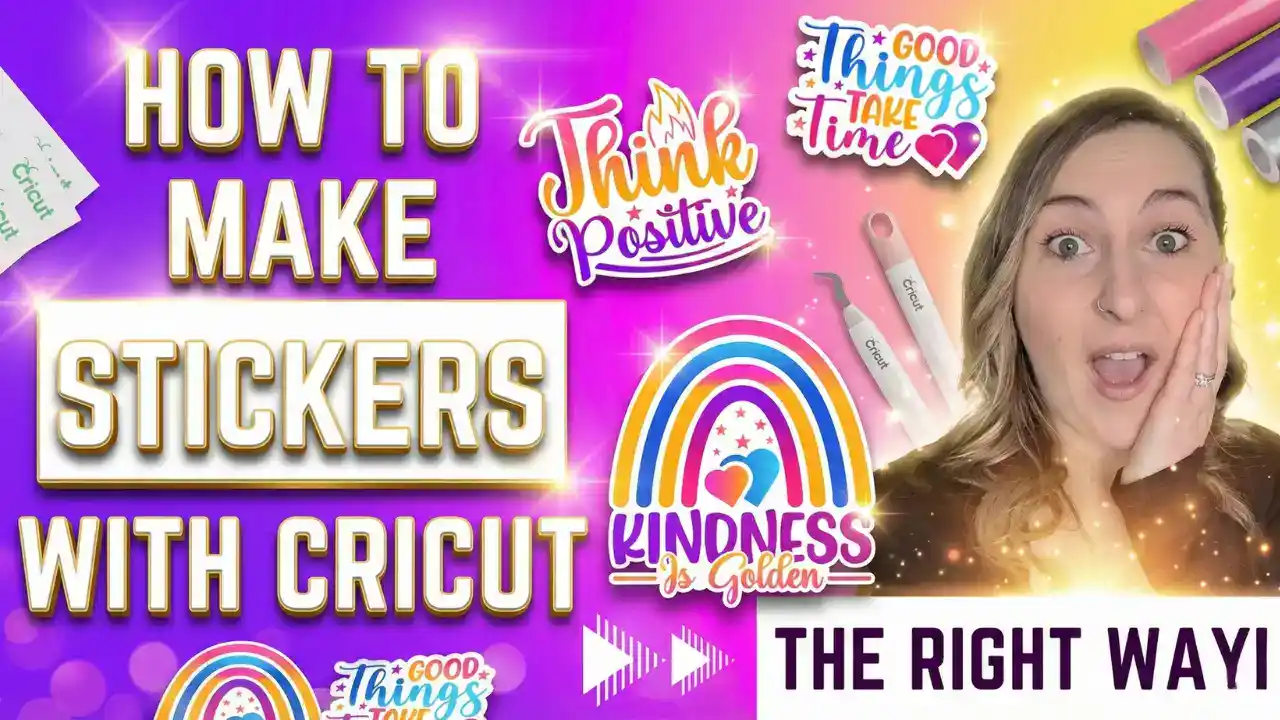
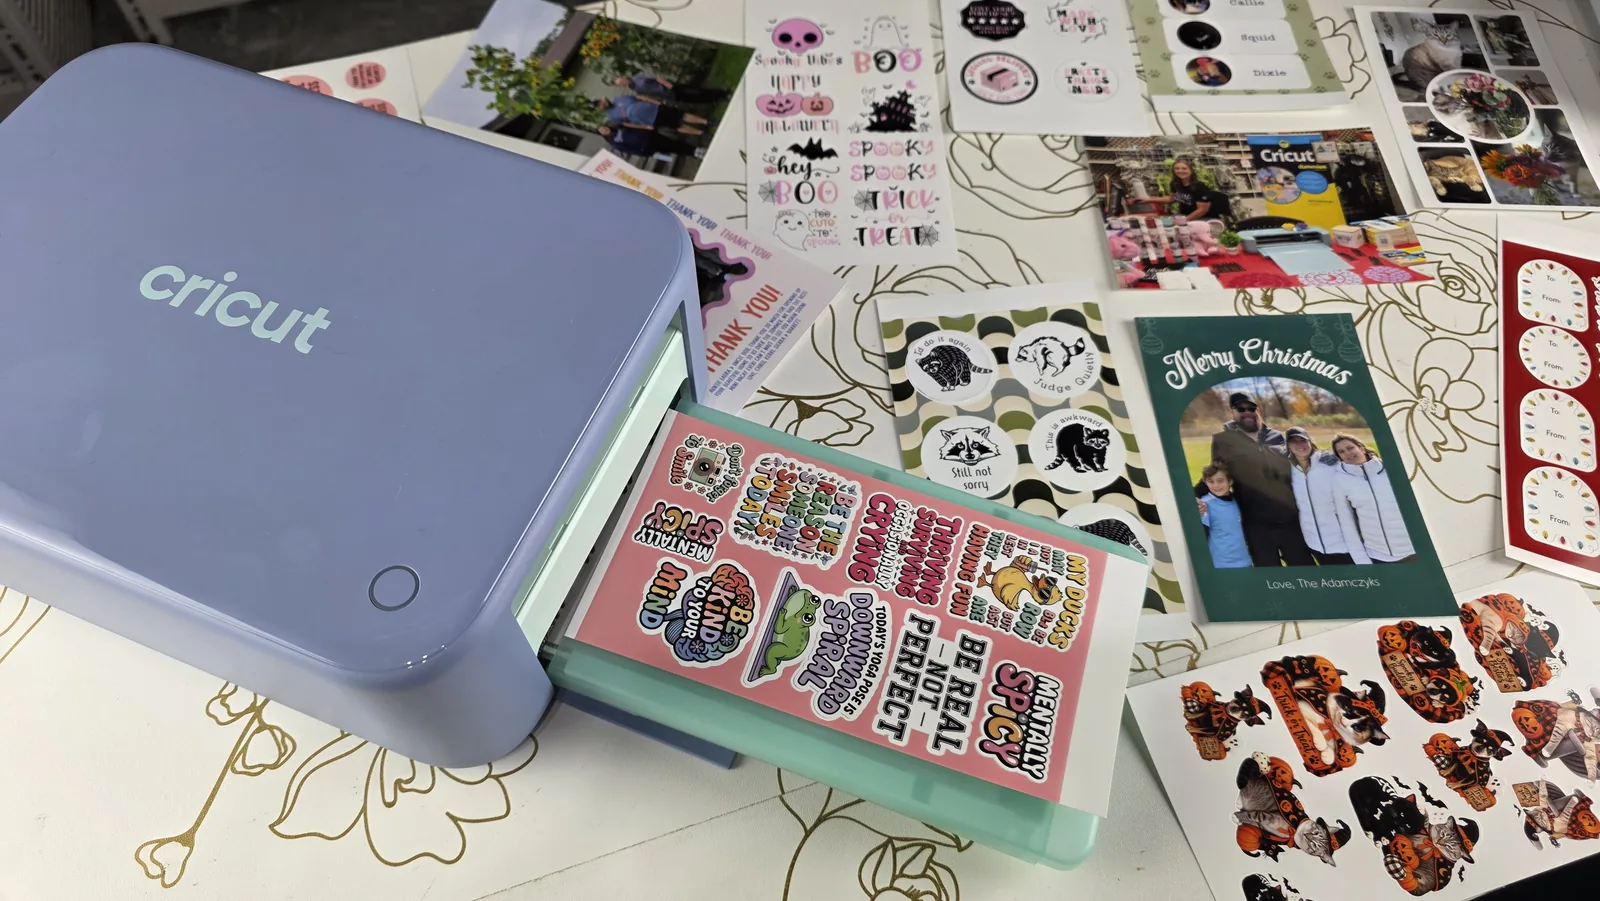
Just got your first Cricut? Welcome to the club! Whether you pulled it out of the box yesterday or you're still deciding which machine to buy, you're in the right place. Start with a rundown of what the machine can do before you dive into settings.

When I first started Cricuting over five years ago, I made every mistake in the book. I tried to cut a photo on my very first project (spoiler: don't do that). I bought cheap vinyl that wouldn't weed. I had no idea what all those colored mats were for. Sound familiar?
The good news? You don't have to learn the hard way like I did. In this guide, I'm sharing my top 10 Cricut tips that will save you time, materials, and frustration. Whether you have a Cricut Maker 4, Joy Xtra, or Venture, these tips will help you craft with confidence from day one.
If you're brand new to Cricut, my book Cricut For Dummies walks you through everything from unboxing to your first project. It's the guide I wish I had when I started!
Watch my full Cricut tips video tutorial here

What You'll Learn
- How to understand your specific Cricut machine and its features
- The right way to maintain your blades and mats
- Cricut Design Space basics that make cutting easier
- Which materials work best for beginners
- Pro tips for weeding, transfer tape, and perfect cuts every time
Quick Links
Materials You'll Need
Here's everything you'll need to get started with your Cricut journey:
🛠️ Essential Cricut Supplies
Or your preferred Cricut machine
Includes LightGrip, StandardGrip, and StrongGrip
My go-to vinyl for beginners – cuts and weeds beautifully
Perfect for t-shirts and fabric projects
Essential for applying vinyl designs to surfaces
Includes weeder, scraper, scissors, tweezers, and more
For cleaning hard-to-reach areas in your machine
Unlimited fonts, graphics & SVGs for $3.99/month (includes commercial license)
Tip 1: Get to Know Your Cricut Machine

Start by learning what your specific Cricut can do. Each model has unique features and compatible tools.
Cricut is always releasing new machines with improved features. Take some time to read your user manual and explore the menus in Cricut Design Space. You'll learn how to load materials, insert tools, and adjust settings.
There are several models available: Cricut Venture, Cricut Maker 4, Cricut Explore 4, Cricut Joy, and Cricut Joy Xtra. Each has different capabilities and price points.
Not sure which Cricut is right for you? Check out my guide on which Cricut machine you should buy to compare all the options.
Tip 2: Keep Your Machine Clean and Sharp
A clean machine is a happy machine! Regularly wipe down your Cricut to remove dust and debris.
I keep a can of compressed air nearby to clean those hard-to-reach places around the blade housing and rollers. Pay attention to your cutting blade and make sure it stays sharp. Sharp blades are essential for clean cuts.
Pro Tip: You'll know it's time to replace your blade when vinyl becomes difficult to cut and weed. Replacing blades is a small investment that makes a big difference in your crafting results.
About the aluminum foil myth: A lot of people think stabbing your blade into a ball of aluminum foil will sharpen it. This actually isn't true! The blades are stronger than aluminum, so it can't sharpen them. However, this technique is good for cleaning sticky residue off your blade.
Tip 3: Learn Cricut Design Space

Cricut Design Space is where all the creative magic happens. It's the software you'll use to create and customize every project.
If you don't know how to use Design Space, you won't know how to use your Cricut! Watch tutorials on YouTube (like mine) to learn the basics.
The best part? You don't need a Cricut machine to start playing around with the software. You can download it for free at design.cricut.com. You only need to pay if you want Cricut Access, which is their library of fonts and graphics.
Spend time learning essential functions like:
- Resizing designs
- Attaching layers
- Using Weld and Slice
- Working with text tools
These basics make a huge difference once you start cutting!
Tip 4: Start with Simple Projects
When you're just starting out, keep it simple. This was the biggest mistake I made when I first got my Cricut!
For my very first project, I tried to convert a photo into an SVG and cut it. This is NOT the kind of project you want to start with. I got frustrated and overwhelmed, and that's not how you want to begin your Cricut journey.

Start with basic materials like vinyl or cardstock using simple shapes like hearts, squares, and circles. This helps you gain confidence and understand how your machine cuts.
As you become more comfortable, you can explore other materials like fabric, leather, or even wood (depending on your Cricut model). If you want to learn how to convert photos or handwriting into SVGs, I have tutorials for that on my channel. Just start with easier projects first!
Check out my Cricut vinyl projects for beginners for some great starter ideas.
Tip 5: Choose Quality Materials
Don't cheap out on vinyl and heat transfer materials, especially when starting out!

Vinyl from the Dollar Tree is a lot harder to work with than high-quality brands like Oracal 651. Cheap vinyls are harder to weed and more likely to peel off than good ones.
The same goes for transfer tape. Some people use Dollar Tree contact paper as transfer tape, which is a horrible idea for beginners! It barely sticks to the vinyl, and pieces of your design may slide around on the tape.
Just like anything in life, you get what you pay for. I've been Cricuting for over five years, so I have a good idea of what works well. Check out my favorite Cricut materials, tools, and accessories that I use for my own projects.
Important: Make sure you set your project material in Cricut Design Space to match the material on your mat. Different blades and settings are required for various materials like vinyl, cardstock, fabric, and more.
Tip 6: Match Blades to Materials
Each Cricut blade is designed for specific materials. Using the right blade makes cutting easier and cleaner.

Looks like a lot, huh? Luckily, you can get buy with just the basics and still be able to do 99% of all the projects:
| Blade Type | Best For |
|---|---|
| Fine-Point Blade | Paper, vinyl, iron-on |
| Deep-Point Blade | Thicker materials like craft foam, chipboard |
| Bonded-Fabric Blade | Fabric projects |
| Rotary Blade | Delicate fabrics without backing |
Check Cricut's Material Settings Guide inside Design Space to find the right blade and settings for your project.
Tip 7: Master Weeding and Transfer Tape
Weeding is the process of removing excess material from your cut design. Transfer tape helps you transfer the design onto your project surface.

These may sound intimidating at first, but with practice, you'll become a pro. I actually find weeding kind of therapeutic! The biggest thing is to go slow, be patient, and take your time.

You might be tempted to peel off that vinyl in one quick pull, but this is when you'll lose small details like the dot on an “i.” I can't tell you how many dots I've lost by rushing!
Essential weeding tips:
✨ Essential Weeding Tips
Use good weeding tools with a pin pen for precise detail work
Clean your blanks with rubbing alcohol before transferring vinyl
Use a coffee filter as a lint-free wipe – they're cheap and perfect!
Learn reverse weeding for intricate designs – stick the whole design to transfer tape, peel off the backing, then weed from the tape
Tip 8: Use the Right Mat
Make sure your material is securely placed in the upper left-hand corner of your mat. Using the wrong mat is one of the biggest mistakes new Cricut owners make.

| Mat Color | Grip Strength | Best For |
|---|---|---|
| Blue (LightGrip) | Light | Paper, cardstock |
| Green (StandardGrip) | Medium | Vinyl, iron-on |
| Purple (StrongGrip) | High | Wood, chipboard, glitter HTV |
| Pink (FabricGrip) | Fabric | Fabric with backing |
If you try to stick paper to a purple strong grip mat, it will rip up your project and you'll have paper stuck all over your mat. On the flip side, if you put a strong material like glitter HTV onto a light grip mat, it won't stick properly.
Pro Tip: When your mats start losing stickiness, save them for lighter materials like paper. To extend their life, clean them gently with a lint roller or baby wipes.
Learn more in my guide on Cricut cutting mats differences explained.
Tip 9: Calibrate and Test Cut
Don't forget to calibrate your machine periodically! Calibration helps maintain accuracy in your cuts, especially for Print Then Cut projects.
To calibrate your Cricut:
- In Design Space, click your name in the upper right corner
- Select Settings > Machines > Machine Calibration
- Choose your model and follow the prompts
Always do a test cut when working with new materials. I usually cut a small half-inch star to make sure my settings are right. Once you know it cuts correctly, then cut your full design. This saves you time and wasted materials!
Tip 10: Join the Cricut Community
The best way to learn more about Cricut is by joining Cricut communities!
Join online forums, Facebook groups, or follow Cricut enthusiasts like myself on social media. I've found so many cool project ideas in Facebook groups.
I have a group called Cricut from Beginner to Business with over 87,000 members ready to help answer your questions. You can make new friends, learn new projects, and get help when you're stuck.
Pinterest, Instagram, and TikTok are also fantastic sources for Cricut craft ideas!
Tips & Troubleshooting
- Vinyl tearing during weeding? Your blade might be dull or your settings might be wrong. Try a test cut first.
- Mat losing stickiness? Clean it with a lint roller or save it for lighter materials like paper.
- Design not cutting through? Check that you selected the correct material in Design Space and that your blade is sharp.
- Print Then Cut not aligning? Calibrate your machine using the steps in Tip 9.
- Wine + Cricut = mistakes: Five years in and I still make mistakes, especially when I try to drink wine and Cricut at the same time!
FAQ
Q: What's the easiest project for Cricut beginners? A: Start with simple vinyl decals or paper projects like bookmarks. They use basic tools and settings and are perfect for learning how your Cricut cuts and weeds.
Q: How often should I replace my Cricut blade? A: It depends on how much you craft. For regular use, most people replace their blades every 2-3 months.
Q: Can I use Cricut Design Space without a machine? A: Yes! You can download and explore Design Space for free at design.cricut.com before buying a Cricut.
Q: What's the best Cricut for beginners? A: The Cricut Explore 4 or Cricut Joy Xtra are both beginner-friendly and budget-conscious options.
Q: Do I need Cricut Access? A: Not necessarily! Cricut Access gives you access to fonts and images, but you can also upload your own designs or use sites like Creative Fabrica for unlimited downloads. You can add your own fonts to Design Space the same way, at no cost.
Downloads & Design Files
- Creative Fabrica – Download unlimited fonts, graphics, and SVG files for $3.99/month (includes commercial license)
- Cricut For Dummies – My complete beginner's guide book
Community Invite
Now it's your turn! Grab your Cricut and start creating. Remember, practice and patience go a long way in the world of Cricut.
Don't be afraid to make mistakes. Learning and improving is all part of the process. Keep experimenting, try new things, and enjoy the journey!
Thinking about an upgrade while you practise? My Cricut Maker 5 review covers whether it is actually worth moving up.
Ready to share your creations? Tag me on Instagram @kerricraftsit or join my Facebook community to show off your work and get help when you need it!
Find me on all platforms: linktr.ee/kerricraftsit
Social Links:
- Visit YouTube
- Follow on Facebook
- Follow on Instagram
- Follow on TikTok
- Follow on Pinterest
- Shop on Etsy