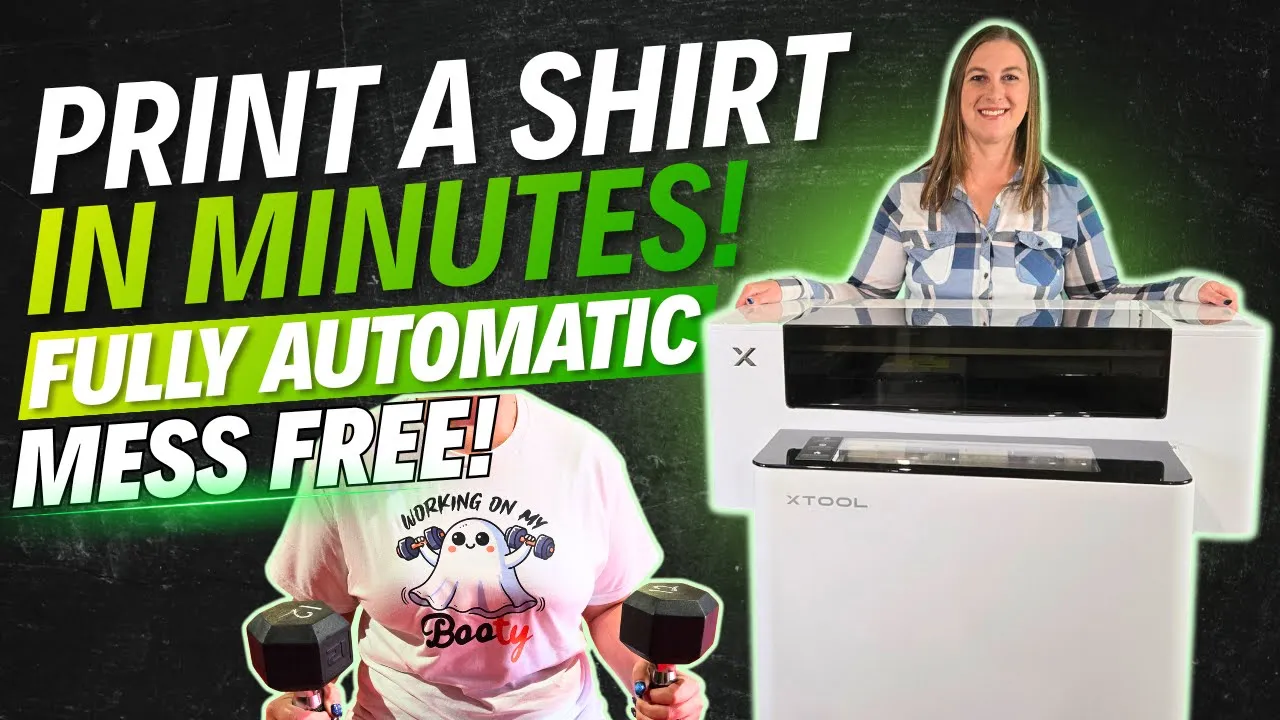

Are you tired of waiting forever to make t-shirts? Or maybe you're stuck using methods that don't work on dark fabrics or that leave your shirts feeling stiff and heavy? If you are still deciding whether DTF is even the right method for you, start with how DTF printing actually works.
I get it. I tested just about every machine out there, and I finally found something that changes everything: the xTool Apparel Printer.
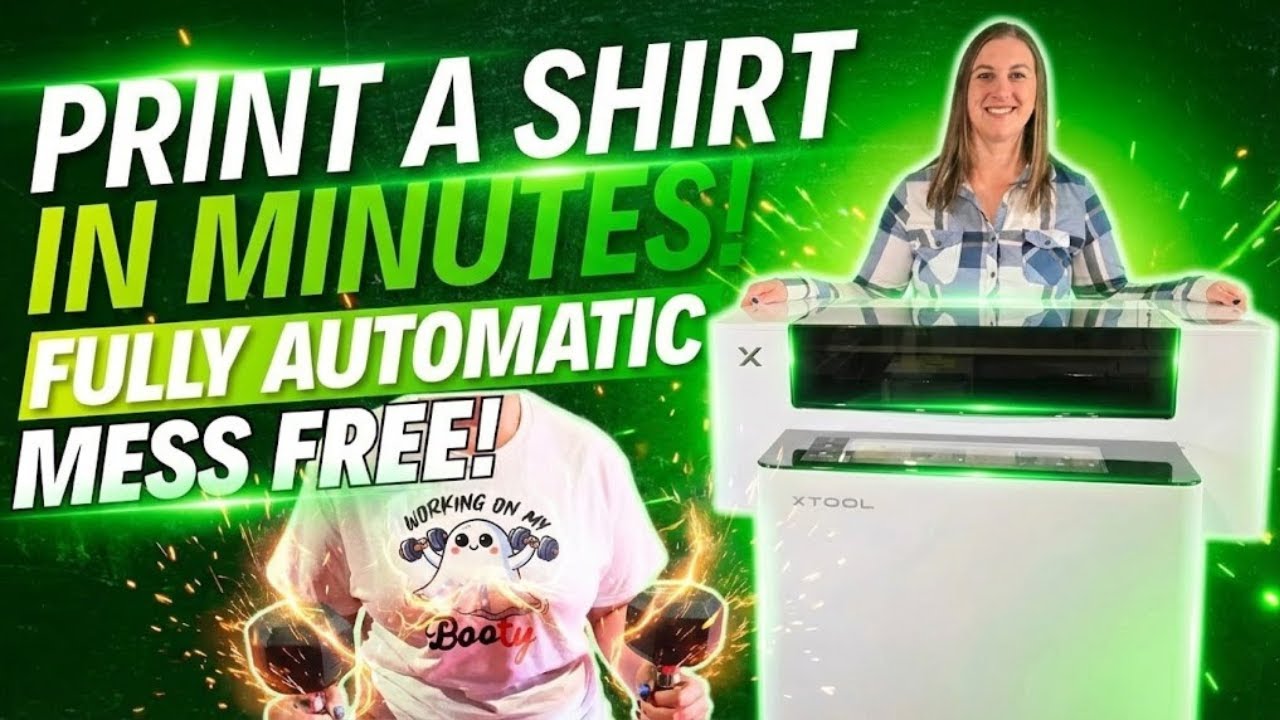
This fully automatic DTF printer (that stands for direct-to-film) lets you design, print, and press a complete shirt in under 10 minutes. No separate oven. No manual powder mess. No clogged print heads. Just hit print and watch it do everything else automatically. New to the process? DTF printing tips for beginners covers the basics.
Whether you're starting a t-shirt business, switching from Cricut vinyl or sublimation, or just want to make custom apparel for fun, this is the easiest way to get professional results fast.
What Is DTF Printing and Why It's Better

DTF printing is short for direct-to-film printing. Here's how it works in simple terms:
Instead of printing straight onto your shirt, the xTool printer prints your design onto special film first. The magic part? It prints a layer of white ink behind your design. This white ink makes your colors pop on any fabric, even dark shirts.
You get bright, professional-looking prints on cotton, polyester, blends, hoodies, bags, or anything else you want to sell.
Why DTF Beats Other Methods
Compared to Cricut Heat Transfer Vinyl: If you're currently using a Cricut machine, here's what DTF does better:
- No confusing layering (vinyl needs multiple colors separated perfectly)
- Full-color designs work without any trouble
- Your finished shirt feels soft and light
Compared to Sublimation:
- You can use any color shirt, not just white
- Works on cotton (sublimation fades on cotton)
- Works on any fabric type
DTF vs Cricut vs Sublimation
| Feature | DTF Printing | Cricut Heat Transfer Vinyl | Sublimation |
|---|---|---|---|
| Works on dark fabrics | ✅ Yes | ❌ No | ❌ No |
| Works on cotton | ✅ Yes | ✅ Yes | ❌ No (fades quickly) |
| Full-color designs | ✅ Yes (photo-quality) | ⚠️ Needs layering | ✅ Yes |
| Setup time | ⏱️ 10 minutes | ⏱️ 30+ minutes | ⏱️ 20+ minutes |
| Feel on fabric | Soft and light | Thick and vinyl-like | Soft but limited fabrics |
| Durability after wash | ⭐⭐⭐⭐⭐ (very high) | ⭐⭐⭐ (medium) | ⭐⭐ (can fade) |
Learn more about the benefits of sublimation printing and why sublimation has limitations. DTF just works on everything, and it looks incredible.
What You'll Need
🧵 What You’ll Need
The Printer
- xTool Apparel Printer (I recommend the All-in-One Bundle with the automatic shaker and air purifier) — Shop xTool Apparel Printers
Heat Press Equipment
- HTVRont Auto Heat Press 2 (or check out this heat press machine review for other options)
Design Software
- xTool Studio (free software that works with the printer)
- AI design tool called AImake built right in
Blank Items to Print On
- T-shirts from Jiffy.com, ShirtMax, xTool Selected Materials, or Heat Transfer Warehouse
- Hoodies, tote bags, aprons, or any apparel
Design Resources
- Design files from Creative Fabrica (see my guide on where to get the best fonts and graphics)
- Your own designs made in xTool Studio
- Ready-made designs (I’m giving you 30 free Fall and Thanksgiving PNGs) — Get your FREE DTF Designs
Supplies for Pressing
- Butcher paper or parchment paper
- Lint roller
- Heat-resistant tape (optional but helpful)
- Heat-resistant gloves (for handling hot transfers)
xTool Apparel Printer Supplies
How to Design Your First Shirt

Using AImake (The AI Design Tool)
If you want to create a custom design without knowing how to draw, AImake is your new best friend.
- Open xTool Studio
- Click the AImake button (bottom left corner)
- Click “colorful printing” and pick a style (folk art, doodle, wall art, 1970s art, or mural painting)
- Type what you want your design to be (you have 300 characters to describe it)
- Click how many versions you want (I usually start with 2)
- Click generate
The AI makes artwork for you in seconds. When you first sign up, you get 200 free credits. Each image uses 6 credits, so that's about 33 free designs. If you need more, 1,000 credits cost $10, which comes out to about 6 cents per design.
Editing Your Design in xTool Studio
Don't love your design right away? You can fix it.
To expand a cropped design:
- Click on your design
- Click “edit” in the top right toolbar
- Click “AI Expand”
- Click “free” and drag the bounding box bigger
- Click “generate” (uses 6 credits)
- Your design is fixed!

To remove a background:
- Click on your design
- Click “edit” in the top right toolbar
- Click “AI Cutout” (uses 6 credits)
- Click “confirm”
- Your background is gone!
You can move your design around or resize it using the boxes around it, or type exact measurements at the top.
Using Designs From Other Sources
Not everyone wants to make designs from scratch. That's totally fine.
You can import designs from:
- Etsy
- Creative Fabrica
- Design Bundles
- Anywhere else you find graphics
My favorite is Creative Fabrica because it has fonts, ready-made designs, mockups, and everything else in one place. They offer a free one-month trial with 10 free downloads, and everything comes with commercial rights (perfect for a small business).
Printing Your Design
Getting Your Design Ready
The xTool apparel printer can print projects up to 13.5 by 17 inches. That's about 2 or 3 adult-sized designs on one sheet of film.

Before you print:
- Make sure your design doesn't overlap onto the dark gray band on the side (that's for printing color bars)
- Remember to cut off those color bars after printing
The Printing Process
🖨️ The Printing Process
Here's the cool part: the printer does everything automatically.
Mirror Your Image
The printer automatically flips your design so it transfers correctly.
Lay Down Color
Vivid CMYK inks are printed first for bright, accurate tones.
Add White Ink Backing
A layer of white ink goes behind the design to make colors pop on dark fabric.
Apply Powder Adhesive
The printer automatically adds adhesive powder for bonding to fabric.
Shake Off Extra Powder
Built-in shaker removes excess powder — no mess, no manual steps.
Cure in the Oven
The design is heat-cured and ready for pressing in one seamless process.
This is why it's so much faster than old-school DTF printers where you print, wait, add powder manually, then cure separately.
Working on Multiple Designs at Once
You can design more projects while the machine is working. Just open a new project tab in xTool Studio and keep designing. The printer even lets you queue up new jobs while the current prints are curing.
👕 How to Press Your Transfer Onto Your Shirt
Get Your Heat Press Ready
I use the HTVRont Auto Heat Press 2.
Heat Press Settings:
🔥 Temperature: 330°F
⏱️ Time: 15 seconds
Step-by-Step Pressing
Prep Your Shirt
- Pre-press your shirt for a few seconds to remove wrinkles and moisture.
- Use a lint roller to get rid of any fuzz or hair — even tiny pieces can mess up your transfer.
Center Your Design
- Place your shirt on the heat press.
- Center your transfer design exactly where you want it.
First Press
- Cover the design with butcher paper or parchment paper (or use a Teflon sheet for extra protection).
- Wearing heat-resistant gloves, press for 15 seconds at 330°F.
- Let it cool slightly before peeling.
Peel the Film
- Once it's cool enough to touch, peel off the film carefully.
- The design should stay perfectly on your shirt.
Final Press
- Cover the design again with butcher paper or parchment paper.
- Press for 5–10 more seconds at 330°F.
- This gives you a smooth, professional finish that lasts wash after wash.
Batch Processing (If You're Making Multiple Shirts)
If you're making a bunch of shirts at once, here's the fastest way:
- Cut all your prints at once
- Pre-press all your shirts at once
- Match each design to the right shirt color
- Start pressing (use heat-resistant tape to keep your designs in place if needed)
Since DTF is a cold peel, you can press one shirt, set it aside to cool, and immediately press the next one. By the time you're done pressing them all, the first one is cool enough to peel. This keeps you moving fast.
Tips for Perfect Results
About Curing
The automatic shaker and curing oven are what make this printer so good. When I used to cure prints in my regular heat press, it took forever and the heat was never even. The dedicated oven works way better.
Flip your finished transfer over and you'll see that perfect orange peel texture on the back. That's exactly what you want. It means the curing is even and consistent every time.
💨 Air Purifier Is Important
When I first used the printer without the air purifier on, the room filled with smoke. It’s not a problem with the machine — it’s just what DTF printing naturally does.
Having an enclosed system with an air purifier makes a huge difference. I don’t smell anything while I’m printing, and I know I’m not breathing in any harmful fumes.
If you're setting up in your home, the air purifier is worth the investment.
🎨 Print Quality Tips
Use high-quality film and ink — don’t cheap out on supplies.
Make sure your design has good contrast so colors really pop.
Test one design before printing an entire batch to save time and materials.
The more detailed your AImake description, the better your results.
Generate multiple AI design versions — sometimes it takes a few tries to find perfection.
Once your shirts are ready, use product mockups to showcase them beautifully in your online shop.
Common Questions Answered
Q: How much does the xTool Apparel Printer cost?
A: The printer by itself is around $5,899 (or about $176 a month if you finance it). The All-in-One Bundle (my recommendation) includes the printer, automatic shaker oven, and air purifier for $9,889. That includes everything you need except the heat press and blank shirts.
Q: How long does it take to print and press a shirt?
A: From hitting print to a finished, wearable shirt takes about 10 minutes total. That's including the printing, powdering, curing, and pressing.
Q: Can I really use any color shirt?
A: Yes! The white ink layer behind your design makes colors work on dark shirts, light shirts, colored shirts, anything. This is one of the biggest advantages over sublimation.
Q: What about the setup?
A: Unboxing and setup took me about 20 minutes for the printer and another 20 for the automatic shaker oven. It's really straightforward. You basically take it out of the box, load film in the back, pour in ink, and plug in some cables.
Q: Does the printer need regular maintenance?
A: The printer has an auto-maintenance system that cleans and caps the print head automatically. This keeps it from drying out. I've lost more sublimation printers than I care to admit because I didn't use them often enough and the heads got clogged. This feature is a lifesaver if you don't print every single day.
Q: How much do blank shirts cost?
A: Blank t-shirts range from about $2 to $5 each depending on where you buy them. I order most of mine from Jiffy.com because the prices are great and shipping is fast. ShirtMax, xTool Selected Materials and Heat Transfer Warehouse also have good deals.
Q: Can I make other things besides t-shirts?
A: Absolutely. You can print on hoodies, tote bags, aprons, baby clothes, hats, jackets, throw pillows, team apparel, and more. Basically anything fabric works.
Q: Is this printer for me?
A: Yes, if you are:
- Starting a t-shirt business (learn more about accepting payments for your products)
- An Etsy seller looking to add products
- A crafter who wants professional results
- Wanting to switch from Cricut or sublimation to something faster
- Anyone who wants to sell custom apparel from home
What's Next?
Now that you know how to use the xTool Apparel Printer, here are some fun projects to try:
- Family Matching Sets: Create matching designs for multiple people (I made turkey costumes in different animal styles for my whole family)
- Holiday Designs: Make seasonal designs for fall, Halloween, and Thanksgiving
- Team Apparel: Create custom shirts for sports teams, groups, or events
- Personalized Gifts: Add names or initials to designs like personalized ornaments or custom apparel
- Bulk Orders: Once you get fast, you can take custom shirt orders for your business. Learn how to find customers for your creations and price your items fairly.
Each project gets faster the more you practice. Before long, you'll be making professional-quality shirts without even thinking about it.
Start Your DTF Printing Journey
The xTool Apparel Printer honestly changed everything for me. I didn't realize how slow my old setup was until I started using this printer. Knowing I can go from design to finished shirt in under 10 minutes has been a total game changer.
If you're ready to upgrade to something faster, easier, and more professional, the xTool Apparel Printer is worth every penny.
Ready to get started?
🛒Check Out the xTool Apparel Printer
Or grab your free design bundle to test out your ideas first.
🎁[ Get 30 Free Designs] (with link to bundle)
Have questions? Drop them in the comments below. I read every single one and love helping crafters like you succeed.
Happy printing, Kerri
P.S. Don't forget to grab the 30 free Fall and Thanksgiving designs to get started right now.