


Have you ever tried to cut an intricate shape out of felt with scissors? Then you already know why I was so excited to laser cut felt with the xTool M2. The laser zips through detailed shapes that would take forever by hand, with edges that come out clean every time.
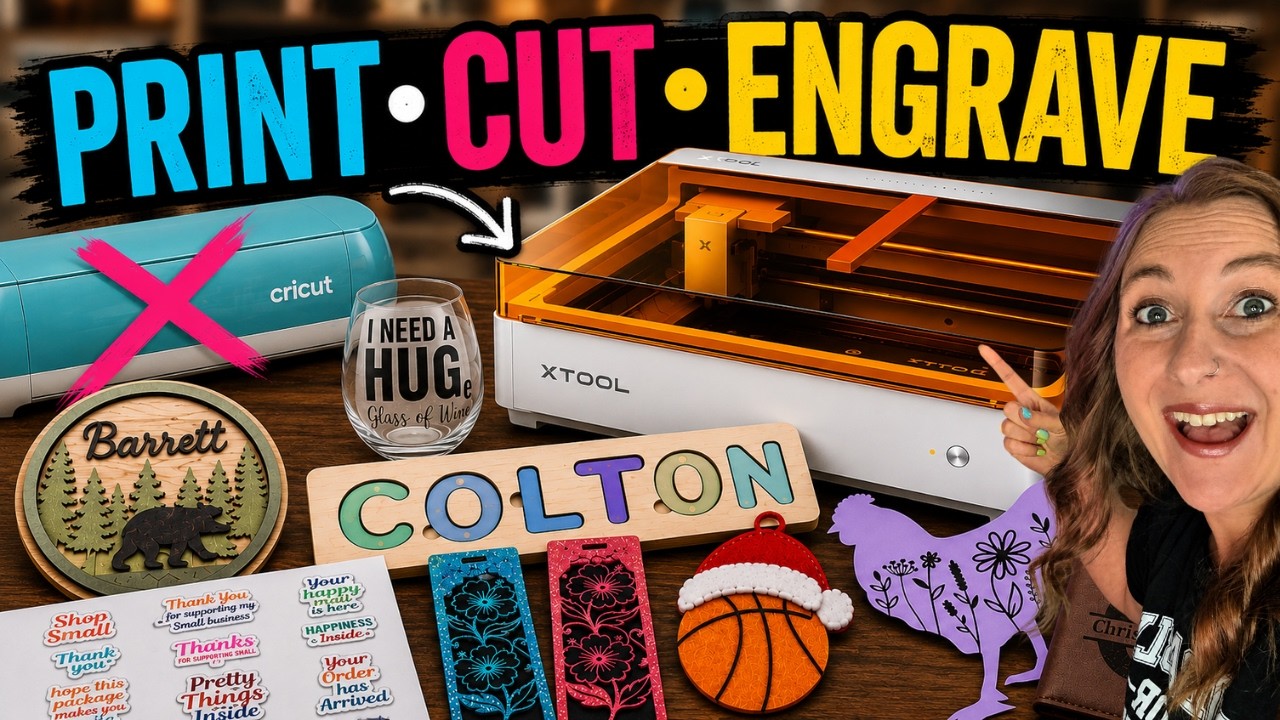
For this project, I made a layered basketball ornament that I found on Creative Fabrica. My son loves basketball, so I knew this one would be a hit in our house.
Almost every color cut perfectly on the first try. The white felt put up a fight, though, and I'll share the painter's tape hack that finally fixed it. If you sew, make appliqués, or love layered felt projects, this one's for you.
Project at a glance: Time: About 20 minutes | Cost: About $0.02 per ornament | Difficulty: Beginner
This post contains affiliate links. If you buy through them, I may earn a small commission at no extra cost to you.

Quick Links / Table of Contents
- Materials & Tools
- Step-by-Step Instructions
- The White Felt Problem (and the Painter's Tape Fix)
- Laser Cut Felt Tips & Troubleshooting
- FAQ
- Downloads & Design Files
- Call to Action & Community Invite
- More Projects You'll Love
Materials & Tools
Here's everything you'll need to make your own laser cut felt ornament:
- xTool M2 Laser – grab one here. Use code KERRI116 at checkout to see if additional savings apply to your order.
- Felt fabric sheets, 4″ x 4″ (3mm) – the multicolor pack I used
- Masking tape for holding the felt flat, plus painter's tape for my white felt hack
- Craft glue – Bearly Art Precision Craft Glue is my go-to for layering
- Basketball Ornament SVG – download it from Creative Fabrica (includes commercial license)
- Ribbon or string for hanging
- xTool Studio software (free with the machine)
Step-by-Step Instructions
Step 1: Import Your Layered Design
I found this layered basketball ornament on Creative Fabrica, which is where I get most of my fonts, SVGs, and laser files. Layered ornament files are already split into separate pieces, one for each felt color.
Import the file into xTool Studio and take a look at which piece cuts from which color. That map makes the glue-up much easier later.
Step 2: Tape Each Felt Color to the Laser Bed
Felt is lightweight and loves to shift, so I taped each 4″ x 4″ felt sheet directly to the laser bed with masking tape so it couldn't move. Tape just the edges and keep the cutting area clear.
You can fit several colors on the bed at once, which saves a ton of swapping.

Step 3: Position the Pieces with the Cameras

This is where the M2's built-in cameras shine. I positioned each part of the design directly over its matching felt color right on my screen.
No mats, no guessing, no measuring. Just drag each piece over the correct color and you're ready to cut.
Step 4: Cut Using the Felt Presets
I opened the material library in xTool Studio and used the preset for 3mm felt, which matches my sheets. Pick the preset that matches your felt's thickness, since a thinner or thicker sheet cuts differently. Do one color at a time, and match the preset to the color you're cutting, since they do seem to be different from color to color. Most of the colors cut cleanly on the very first try, no fighting and no re-runs.
Even better, there wasn't any noticeable scorching around the edges. Clean, crisp felt shapes right off the bed.

Step 5: Peel and Glue Up the Ornament
Once everything was cut, all that was left was peeling out the pieces and gluing the ornament together, layer by layer.
Use small dots of glue near the edges so nothing seeps out between layers. Add a ribbon loop before you glue the final backing layer down, then let it dry flat.

Watch me make this in my xTool M2 review:
The White Felt Problem (and the Painter's Tape Fix)

Here's the one hiccup in this whole project: the white felt. No matter what settings I tried, it just didn't want to cut through all the way.
One thing I found interesting was that xTool Studio only had a 1mm preset for white felt, while all the other colors had 3mm presets. I even tried cutting the white on the yellow felt's 3mm setting, and it still wouldn't go all the way through.
So after a little experimenting, I covered the white felt with painter's tape and ran it again. I laid the tape right on top, the side the laser hits, and left the sheet exactly where it was so the second pass lined up. Two passes later, it finally cut through. I'm honestly not sure why white behaves differently, but sometimes you just have to do a little trial and error, and the tape hack worked.
Laser Cut Felt Tips & Troubleshooting
- Tape everything down: Felt shifts easily. Masking tape around the edges keeps your sheets flat and still.
- White felt won't cut? Cover it with painter's tape and run 2 passes. That's exactly what fixed it for me.
- Use the cameras: Positioning each design piece over its felt color on screen is faster and more accurate than any mat.
- Check your presets: Colored felt used 3mm presets for me, but white only had a 1mm option. When a preset seems off, run a small test shape first.
- Great for sewists: If you make appliqués, felt boards, or layered felt ornaments, a laser cuts intricate shapes in seconds that would take ages with scissors.
- Sell them: Personalized felt ornaments are fantastic craft fair items. Check out my personalized ornaments guide for ideas that sell.
FAQ
Q: Can you cut felt with a laser? A: Yes! Felt cuts beautifully with a laser. On my xTool M2, most colors cut cleanly on the first try using the built-in 3mm felt presets, with no noticeable scorching on the edges.
Q: Does laser cutting felt burn the edges? A: In my experience, no. My felt pieces came off the bed with clean edges and no visible scorching, similar to my results with cardstock on this machine.
Q: Why won't my white felt cut through? A: White felt gave me trouble too, and it only had a 1mm preset while other colors had 3mm presets. Covering it with painter's tape and running 2 passes finally cut it through.
Q: How do you keep felt from moving in a laser cutter? A: Tape it to the laser bed with masking tape. Felt is too light and floppy to stay put on its own, and taped edges keep everything flat while cutting.
Q: Is laser cut felt good for sewing and appliqué projects? A: Absolutely. A laser cuts intricate felt shapes quickly and consistently, which saves serious prep time for appliqués, felt boards, and layered ornaments.
Downloads & Design Files
- The Basketball Ornament SVG is linked in the materials list above
- Creative Fabrica Subscription – unlimited downloads with commercial license
- Compatible with the xTool M2 and most laser cutters that can cut fabric
Community Invite
Now it's your turn! Pick a layered felt design that matches something your family loves, tape down those felt sheets, and let the laser do the fussy cutting for you.
Share your creations, I'd love to see them! Tag @KerriCraftsIt on Instagram or post a photo in my Kerri Crafts It Facebook Group. Show us your ornaments, appliqués, and felt experiments!


