


Can a laser cut paper? Yes. A laser cuts paper and cardstock cleanly, even delicate glitter cardstock, with no cutting mats and no scorch marks once your settings are dialed in.
I'll be honest, I had my doubts. Paper burns, right? So when I tested the xTool M2, I taped a sheet of glitter cardstock directly to the laser bed and held my breath. The results completely surprised me.
I'm Kerri, author of Cricut For Dummies, and I've cut a lot of paper with a lot of machines over the years. In this post, I'll show you how laser cutting paper works, why you'll never miss your sticky mat, and the paper projects I think you should try first.
This post contains affiliate links. If you buy through them, I may earn a small commission at no extra cost to you.
Quick Links / Table of Contents
- Can a Laser Cut Paper and Cardstock?
- Why Laser Cutting Paper Beats a Sticky Mat
- How to Set Up Paper on the Laser Bed
- What About Glitter Cardstock?
- Finding the Right Settings
- Paper Project Ideas for Your Laser
- FAQ
- Related Guides
Can a Laser Cut Paper and Cardstock?
Yes, a laser cuts paper and cardstock cleanly. The laser vaporizes the material along the cut line so quickly that the surrounding paper never gets hot enough to scorch, as long as your power and speed are set correctly.
That last part matters. Too much power or too slow a pass can leave browned edges. With the right settings, though, the edges come out crisp and clean.
When I cut glitter cardstock bookmarks on my xTool M2, I didn't notice any scorch marks around the edges at all. I liked the first one so much that I immediately made another in a different color.

Why Laser Cutting Paper Beats a Sticky Mat
If you've ever cut cardstock on a cutting machine, you know the mat struggle. I've lived it for years, and it usually goes one of three ways:
- Too sticky: The mat grabs your delicate cardstock and you end up scraping it off with a spatula, praying it doesn't tear.
- Not sticky enough: The paper shifts mid-cut and ruins the whole design.
- The curl: Even when the cut works, peeling the paper off the mat leaves it curled like a scroll.
With a laser, there's no mat at all. I taped my cardstock directly to the laser bed, and when the cut finished, I simply lifted it up and popped out a few little pieces that were still attached. No scraping, no curling, no spatula.
If you're still team Cricut for paper, no judgment! My guide to Cricut cutting mats explained will help you pick the right grip for cardstock.
How to Set Up Paper on the Laser Bed
Setting up paper in a laser is honestly easier than loading a mat. Here's exactly what I did:
Step 1: Tape the Paper Down
Tape your paper or cardstock directly to the laser bed with masking tape so it can't move. You just need it to lie flat so the laser stays in focus across the whole sheet.
Step 2: Position Your Design with the Cameras

This is my favorite part. The built-in cameras on the xTool M2 show you exactly where your material sits, so you drag your design right over the paper on screen. No registration marks, no guessing, no lining anything up in a corner.
Step 3: Run the Cut
Start with your machine's recommended paper or cardstock setting, run the cut, then lift your sheet off the bed. Pop out any tiny pieces that are still attached and you're done.
Watch me cut these glitter cardstock bookmarks in my xTool M2 review:
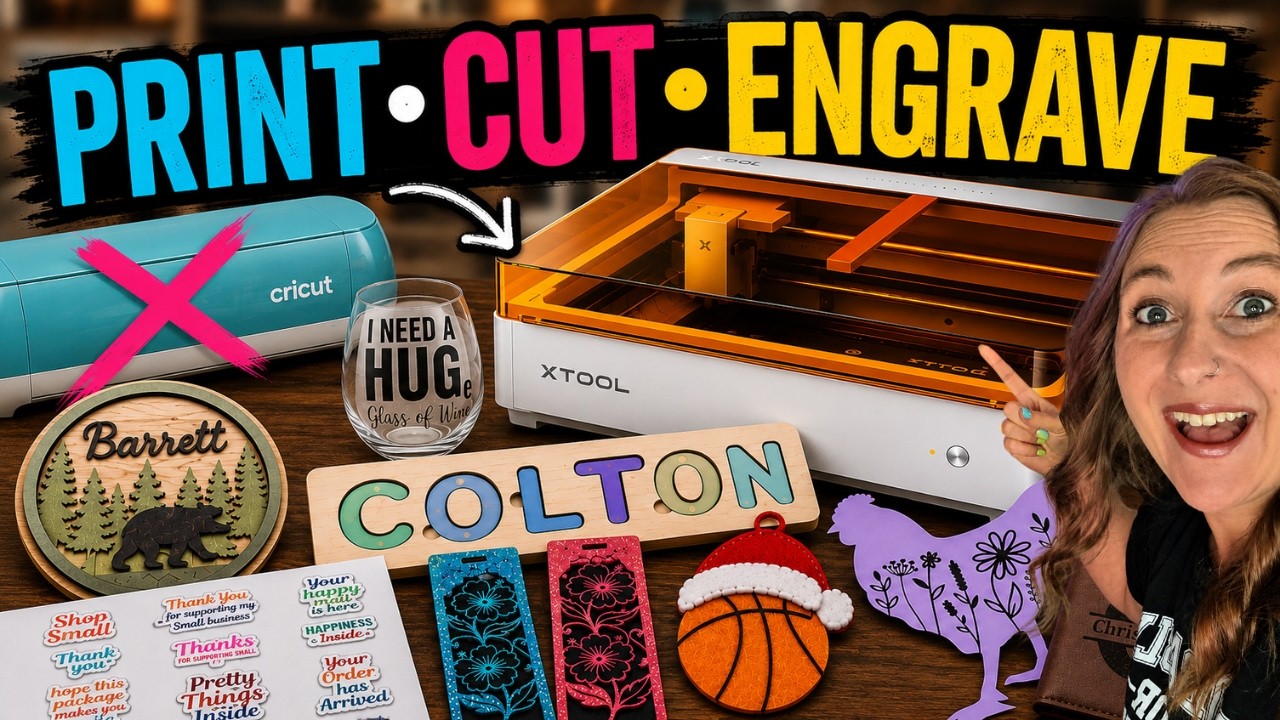
What About Glitter Cardstock?

Glitter cardstock is one of the trickiest papers to cut with a blade. It's thick, it's textured, and it dulls blades fast. So it was the first paper I tested in the laser.
I used this gorgeous Gradient Color Glitter Paper Pad by Recollections from Michaels. The laser cut through the glitter cardstock beautifully, and I didn't notice any scorching around the edges.
The bookmark design came from a Floral Bookmark SVG Bundle on Creative Fabrica, and those intricate floral cutouts are exactly where a laser shines. Want the full project? Check out my laser cut glitter cardstock bookmarks tutorial.

Finding the Right Settings
Here's where I have to be honest with you: I can't hand you one magic power and speed number. Settings vary by machine, laser wattage, paper weight, and even the finish of the paper. Glitter cardstock cuts differently than plain 65 lb cardstock.
Here's what I recommend instead:
- Start with your machine's material library. xTool Studio includes recommended settings for hundreds of materials, which gives you a great starting point whenever you're trying something new. For the glitter cardstock in this post, I used the blue glitter cardstock preset: 27% power, 7 mm/s speed, and 1 pass.
- Always run a small test cut first. Use a corner or scrap piece before committing your full sheet.
- Adjust in small steps. If the cut doesn't go all the way through, nudge power up slightly. If you see browning, speed up or lower the power.
- Check your paper weight. Heavier cardstock may need a touch more power than lightweight text paper, so test each weight separately.
A few minutes of testing saves a whole sheet of pretty paper. Trust me on this one.
Paper Project Ideas for Your Laser

Once I saw how well the laser handled cardstock, my mind immediately started spinning with all the paper projects I could make. Here are my favorites:
- Bookmarks: Intricate floral bookmarks in glitter cardstock look boutique-worthy. Add a solid cardstock rectangle behind the cutout for a dimensional look.
- Greeting cards: Detailed lace-style cutouts on card fronts are nearly impossible with a blade but easy for a laser.
- Rolled paper flowers: The laser cuts spiral after spiral with zero mat drama. Follow my rolled paper flower tutorial for the rolling and gluing technique.
- Gift tags: Batch out dozens of tags from one taped-down sheet.
- Cake toppers: Names and script phrases in heavy cardstock hold up beautifully on a topper.
- Shadow boxes: Layered scenes need clean, precise cuts on every single layer, which is exactly what a laser delivers.
I made a similar set of bookmarks with my Cricut before one of my book signings at Barnes & Noble. If you want to see that version for comparison, here's the tutorial:
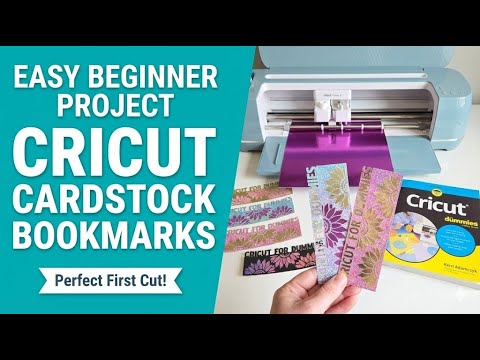
I get most of my paper cutting files from Creative Fabrica, where you can download unlimited designs for $3.99/month with a commercial license included.
FAQ
Q: Can you cut paper with a laser cutter? A: Yes! A laser cuts paper and cardstock cleanly and quickly. Tape the sheet flat to the laser bed with masking tape, use a recommended paper setting, and the laser handles even intricate designs with crisp edges.
Q: Will a laser burn or scorch cardstock? A: Not when the settings are right. The laser moves fast enough that the edges don't scorch. When I cut glitter cardstock on my xTool M2, I didn't notice any scorch marks at all. Always run a test cut on scrap first.
Q: Do you need a cutting mat to laser cut paper? A: No mat needed. You tape the paper directly to the laser bed. That means no sticky mat that's too sticky or not sticky enough, no scraping delicate cardstock with a spatula, and no curled edges.
Q: Can you laser cut glitter cardstock? A: Yes, and it cuts beautifully. Glitter cardstock is tough on cutting machine blades, but the laser slices through it cleanly without dulling anything.
Q: What laser settings should I use for cardstock? A: There's no universal number because settings depend on your machine, wattage, and paper weight. On my xTool M2, the blue glitter cardstock preset (27% power, 7 mm/s, 1 pass) worked great, so use that as a starting point. Always run a small test cut first, since material batches can vary.
Community Invite
Now it's your turn! Grab a sheet of cardstock, tape it to your laser bed, and try a bookmark or gift tag as your first paper cut. You'll be amazed at how clean those edges come out.
Thinking about a machine that can handle paper, wood, and more? The xTool M2 is the machine I used for every project in this post. Use code KERRI116 at checkout to see if additional savings apply to your order.
Share your creations, I'd love to see them! Tag @KerriCraftsIt on Instagram or post in my Kerri Crafts It Facebook Group.


