


Can you really cut adhesive vinyl with a laser? Yes, you can, and laser cutting vinyl might just change the way you make decals. But there is one safety rule you absolutely have to know before you load a single sheet, and I'll cover it first because it matters that much.
Vinyl is my favorite material to craft with, from car window decals to custom signs, mugs, tumblers, and glassware. I have more than 50 vinyl tutorials on my YouTube channel, and I dedicated a full chapter of my book, Cricut For Dummies, to it. So when I got the xTool M2, one of the first things I wanted to test was a classic vinyl project: a wine glass decal.
In this tutorial, I'll show you exactly how I cut an “I Need a Huge Glass of Wine” design from laser-safe adhesive vinyl, weeded it, and applied it to a curved glass. You've got this!
Project at a glance: Time: About 20 minutes | Cost: Under $1.00 per decal depending on size | Difficulty: Beginner
This post contains affiliate links. If you buy through them, I may earn a small commission at no extra cost to you.

Quick Links / Table of Contents
- Laser Cutting Vinyl Safety: Only Use Laser-Safe Vinyl
- Materials & Tools
- Step-by-Step Instructions
- Tips & Troubleshooting
- FAQ
- Downloads & Design Files
- Call to Action & Community Invite
- More Projects You'll Love
Laser Cutting Vinyl Safety: Only Use Laser-Safe Vinyl
Before we get started, here is the most important thing in this entire post. You cannot use regular Cricut vinyl in a laser.
Most adhesive vinyl designed for cutting machines contains PVC. When PVC is cut with a laser, it can release harmful fumes. That's dangerous for you and for your machine.
If you're planning to laser cut vinyl, make sure it's specifically labeled laser-safe or PVC-free. If the label doesn't say one of those two things, keep it in your Cricut pile. I break down exactly what to look for in my guide to what laser-safe vinyl actually is.
Materials & Tools
Here's everything you'll need to make your own laser cut vinyl decal:
- xTool M2 Laser – grab one here. Use code KERRI116 at checkout to see if additional savings apply to your order.
- Laser-safe adhesive vinyl (glossy black is what I used). Any color works, just make sure it's labeled laser-safe or PVC-free before it goes in your laser.
- Transfer tape – this is the kind I use
- Weeding tools – my favorite set with a pin pen
- Wine glass or any smooth glass surface
- “I Need a Huge Glass of Wine” SVG – download it from Creative Fabrica (includes commercial license)
- xTool Studio software (free with the machine)
- Optional: rubbing alcohol to clean the glass before applying the decal
Step-by-Step Instructions
Step 1: Import Your Design into xTool Studio

I found this “I Need a Huge Glass of Wine” SVG on Creative Fabrica. If you've watched my channel before, you know Creative Fabrica is where I get most of my fonts, SVGs, and laser files.
Import the SVG into xTool Studio and size it to fit your glass. If you're not sure how big to go, measure the flattest area of your glass first.
Step 2: Place the Vinyl Color Side UP
Here's a big difference from heat transfer vinyl. Adhesive vinyl is cut with the colored side facing up.
And unlike HTV, you do not mirror your design. What you see on the screen is exactly what you'll stick on the glass. Lay the vinyl flat on the laser bed and use the built-in cameras to position your design right where you want it.

Step 3: Select the Material Preset

One thing I really appreciate is xTool's material library. It includes recommended settings for hundreds of materials, which gives me a great starting point whenever I'm trying something new.
For this project, I selected the self adhesive vinyl, glossy black setting in xTool Studio. Then I started the full cut. No guessing at power and speed numbers on my first try.
Step 4: Cut and Weed the Design

The laser kiss cuts through the vinyl layer while leaving the backing intact, just like a Cricut would. My design weeded nicely with no snags.
Use your weeding tool to pull away all the vinyl that isn't part of your design. Work slowly around small letters so you don't lift pieces you want to keep.

Step 5: Apply Transfer Tape

Cut a piece of transfer tape slightly larger than your design. Smooth it over the weeded vinyl, then burnish it well, which just means rubbing it down firmly with a scraper or an old gift card, so every letter grabs the tape.
Peel the backing away slowly at an angle. Your whole design should lift onto the transfer tape in one piece.
Step 6: Apply the Decal to the Curved Glass
I'll be honest, this part was a little tricky. The glass is curved, and trying to stick flat vinyl to a curved surface takes some patience.
Here's my favorite tip: put a few little slits around the edges of your design with scissors. Those slits let the transfer tape bend and shape itself around the curve instead of wrinkling. Start from the center of the design and smooth outward, then peel the transfer tape away at a sharp angle, leaving just the vinyl on the glass.
I definitely needed a huge glass of wine after this day, so this decal felt very appropriate.
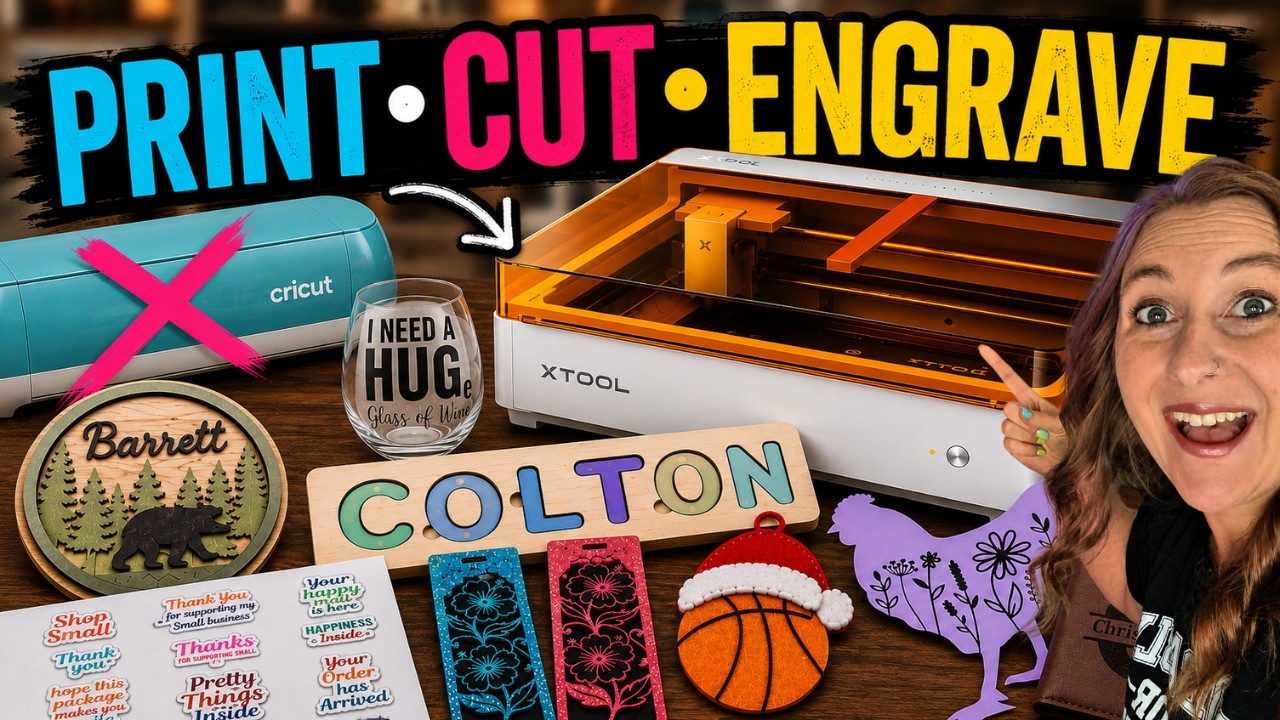
Watch me make this in my xTool M2 review:
Tips & Troubleshooting
- Check the label every time: Only laser cut vinyl that says laser-safe or PVC-free. Regular Cricut vinyl contains PVC and releases harmful fumes in a laser.
- Color side up, no mirroring: Adhesive vinyl cuts face up with the design exactly as you want it to appear. Mirroring is only for heat transfer vinyl.
- Start with the preset: The xTool material library preset did the work for me here. If your vinyl is a different brand or finish, run a small test cut first.
- Wrinkles on curves: If your decal wrinkles on a curved glass, you need more slits. Small cuts around the design edges let everything flex around the curve.
- Clean the glass first: Wipe the glass with rubbing alcohol and let it dry. Oils from your fingers can keep vinyl from sticking well.
- Hand wash only: Vinyl decals on glassware last much longer when you skip the dishwasher.
FAQ
Q: Can you cut adhesive vinyl with a laser? A: Yes! A laser like the xTool M2 kiss cuts adhesive vinyl cleanly, and the built-in cameras make positioning easy. The one rule is that the vinyl must be labeled laser-safe or PVC-free.
Q: Is Cricut vinyl laser safe? A: No. Most adhesive vinyl made for cutting machines, including regular Cricut vinyl, contains PVC. Cutting PVC with a laser can release harmful fumes, so only use vinyl specifically labeled laser-safe or PVC-free.
Q: Do you mirror vinyl when laser cutting it? A: Not for adhesive vinyl. Cut it with the colored side facing up and the design exactly as you want it to read. Only heat transfer vinyl gets mirrored, because it's cut from the back.
Q: What laser settings do you use for adhesive vinyl? A: I used the “self adhesive vinyl, glossy black” preset from the xTool Studio material library. The library includes recommended settings for hundreds of materials, so start there and test cut if your vinyl is different.
Q: How do you apply a vinyl decal to a curved glass? A: Cut a few small slits around the edges of the design and transfer tape. The slits let the tape bend around the curve so you can smooth the decal down without wrinkles.
Downloads & Design Files
- The “I Need a Huge Glass of Wine” SVG is linked in the materials list above
- Creative Fabrica Subscription – unlimited downloads with commercial license
- Compatible with the xTool M2, other laser cutters (with laser-safe vinyl), and Cricut machines (with regular vinyl)
Community Invite
Now it's your turn! Grab some laser-safe vinyl, pick a sassy SVG, and make a glass that says exactly how your week is going.
Share your creations, I'd love to see them! Tag @KerriCraftsIt on Instagram or post a photo in my Kerri Crafts It Facebook Group. It's full of crafters swapping ideas, files, and troubleshooting help every day.


