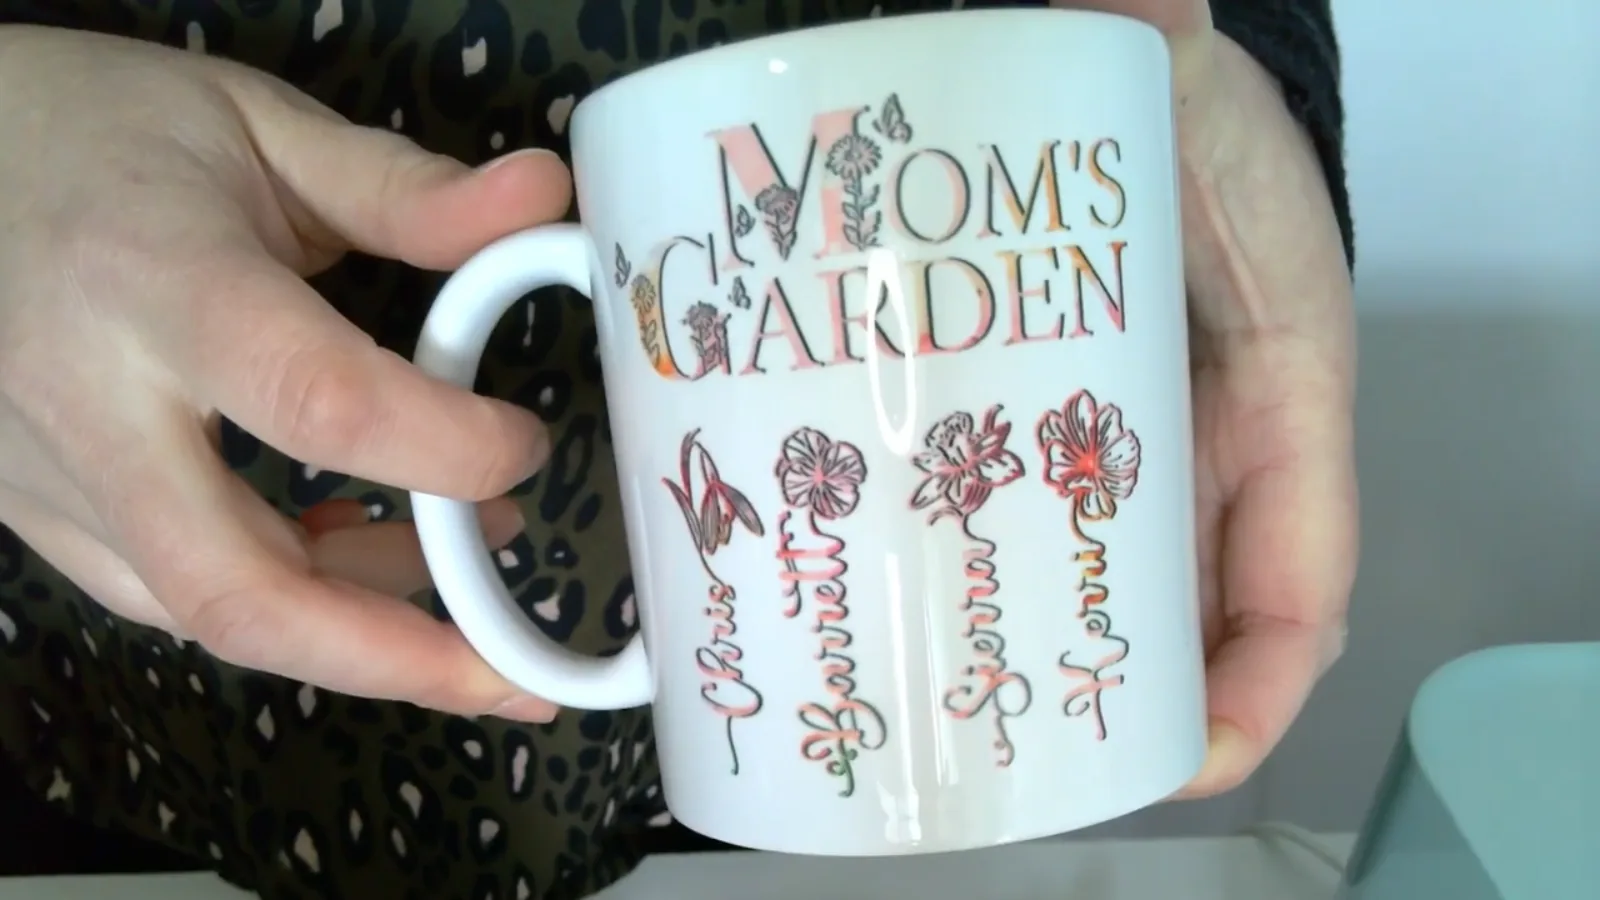
I honestly love making and selling personalized gifts. For me, the best part is knowing that the things I make are going to be cherished year after year. When I add a name or a photo to a sweatshirt, I'm not just making a piece of clothing. I'm making a memory that you can actually wear.
These are the pieces that get passed down or tucked away in a memory box because they mean so much. That's why I'm so excited to share this project with you today.
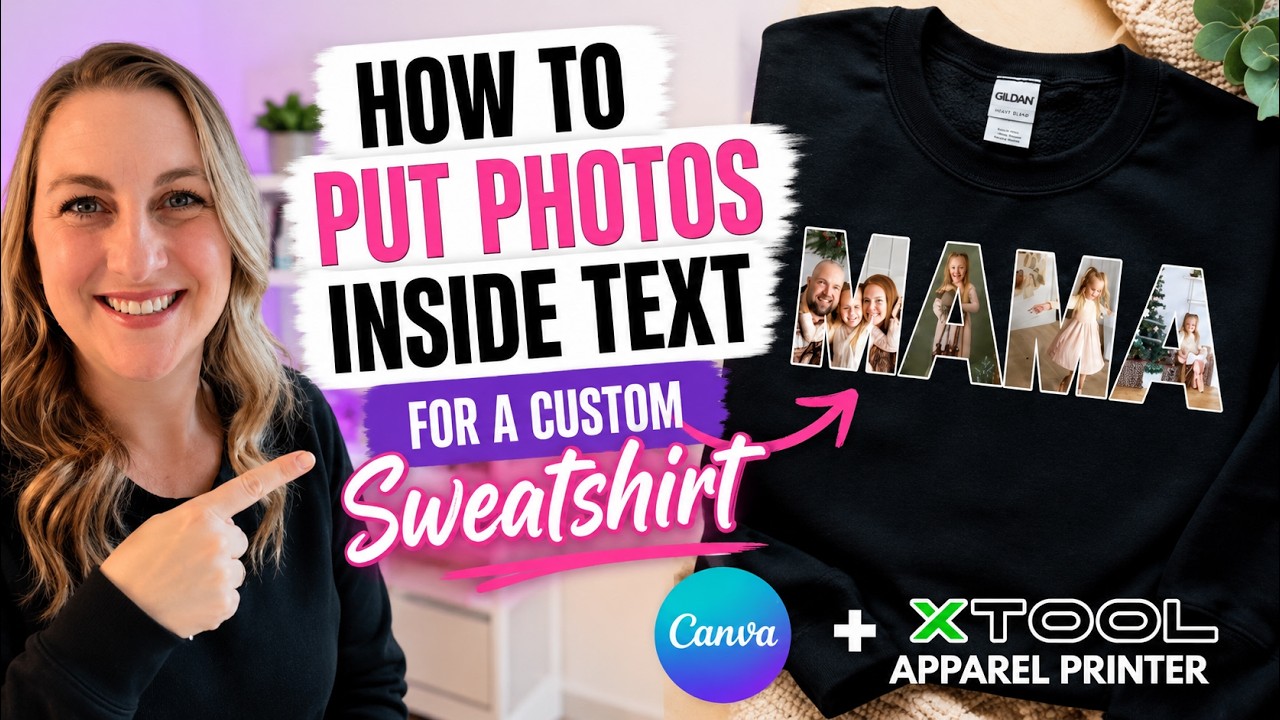
In this tutorial, I'm showing you how to make a photo collage design inside of letters. I've shown you many different techniques for making shirts on my channel, everything from vinyl to sublimation. But for this one, I'm definitely going with DTF printing using my xTool Apparel Printer.
✨ What You'll Learn
- How to use Canva letter frames for a photo collage design
- Why DTF printing beats sublimation for this project
- The best xTool Studio settings for importing and sizing
- Pro tips for adding a white outline to make your design pop
- Heat press settings for the perfect warm peel every time
Quick Links
Contents
Why Choose DTF Printing
Why am I choosing the xTool Apparel Printer for this project? Unlike sublimation where you're stuck with white polyester, this system lets me print full-color photos onto film and then transfer them onto a black cotton sweatshirt.

And it really doesn't stop at sweatshirts. These designs would look amazing on throw pillows, blankets, tote bags, or aprons. Since it's DTF, you can put these memories on almost any fabric, no matter the color.
If you're new to DTF printing, check out my DTF printing explained for beginners guide to get started.
Materials You'll Need
Here's everything you need to create your own photo collage sweatshirt:
- xTool Apparel Printer – DTF printer with built-in curing
- Gildan G180 Crewneck Sweatshirt – I used black for this project
- Uncoated Butcher Paper – For the finishing press
- Heat Press Machine – Set to 320°F
- Canva Pro Subscription – For transparent background export (highly recommended)
- Your favorite photos – The more meaningful, the better!
Step-by-Step Instructions
Step 1: Set Up Your Canvas in Canva

Head over to Canva and click Create in the upper left corner (the purple circle with a plus sign). Click Custom Size and enter 3000 by 3000 pixels. Then click Create New Design.
This gives us a good size canvas with a high resolution for crisp photo prints.
Step 2: Add Letter Frames to Your Canvas
Click on Elements in the left sidebar. In the search bar, type “letter frame” and then click See All.

Just click the letters you want to add them to your canvas. To resize, click the corner and drag. Repeat until you spell out your word like MAMA or PAPA.
Step 3: Upload Your Photos

Click on Uploads, then Upload Files, and select your images. Choose photos that are meaningful and have good resolution.
Step 4: Crop Photos into Letter Frames

Click and drag your picture right into the letter frame. You can double-click the letter to slide the photo around until it looks just right.
💡 Pro Tip: Not all pictures look good in frames. Sometimes the heads get cut off. What doesn't look good in one letter might look great in another. Expect some trial and error!
Step 5: Preview Your Design on Different Backgrounds

If you want to see how your design looks against different background colors, click the background and then the rainbow wheel. Check out how it looks against black, or even red or pink.
Since Valentine's Day is right around the corner, these make great sellers for Valentine's Day gifts!
Step 6: Export with Transparent Background
This is the most important part! Click Share, then Download. Set your file type to PNG.

Check the box for Transparent Background. This is the secret to that professional look. It keeps your resolution high and crisp and prevents a big white square from being printed around your design.
⚠️ Important: Canva Pro is required for transparent background export. Without it, your design gets exported with a white rectangle that will print onto your shirt.
Step 7: Add a White Outline (Pro Tip for Extra Pop)
Here's my secret to really make your design stand out. Look at the difference between designs with and without an outline. The one with the outline pops so much more on dark fabrics!

To do this:
- Go back into Canva and upload the PNG you just downloaded
- Drag it onto a new canvas
- Change your canvas background to black (so you can see the white border)
- Click your image, go to Edit Image, then Shadows, and select Outline
- Change the color to white and use the size slider to adjust thickness
- Export as a PNG with transparent background one more time
Step 8: Import into xTool Studio
Open xTool Studio and click New Project. Click Import and select your file. If it asks you to scale, click Scale to Fit.

Next, crop the image to remove any unused space around your design. Under Edit, click Crop Image and drag the edges in close to your letters. Then click Save.


You'll see the dimensions change immediately, which is exactly what we want for a precise print.
Step 9: Size Your Design Using the Decal Guide
How big should you make your design? I always use a decal size guide. I actually made a cheat sheet for this in my Cricut for Dummies book!
For a large sweatshirt, you'll want the design to be about 9.5 inches wide and placed 3 inches below the neckline.

Place your design at the very top of the canvas so you don't waste film.
Step 10: Preview with the Mockup Feature
Click Mockup in xTool Studio to preview your design on an actual shirt. Switch to a black crewneck to see how professional it looks!

Just remember, adjusting your design in the mockup area will change your actual print size. Use this as a visual check only.
Step 11: Print Your Design
Click Print. The xTool Apparel Printer lays down the color first and then the white ink layer. That white layer is what makes the photos look so vibrant on a black sweatshirt.

What makes this xTool system stand out is that it's a true all-in-one setup. With older DTF printers, you had to manually shake glue powder onto wet ink and bake it in a separate oven. This machine handles all the printing, powdering, and curing in one go. It's completely hands-off!

Step 12: Prep Your Sweatshirt
Set your heat press to 320°F. Give the sweatshirt a quick 5-second press first. This pulls out any lingering moisture and gives you a perfectly smooth surface to work with.

Step 13: Press Your Design
Center your design on the sweatshirt. Press for 15 seconds with firm pressure.

The xTool film is a warm peel, which I love because it's such a time-saver. Let it cool down just enough so it's not burning hot to the touch, but it doesn't need to be totally cold.
Once it's warm, grab a corner and pull it back slowly. Look at that detail!
Step 14: The Finishing Press
If you want your sweatshirts to feel as good as they look, don't skip the finishing press! This is the secret to making the design soft and part of the fabric rather than just sitting on top like a sticker.

Place your uncoated butcher paper over the design and press one more time for about 15 seconds.
💡 Pro Tip: I prefer uncoated butcher paper instead of parchment paper. Since butcher paper is porous, it absorbs any excess glue or moisture, leaving you with a really clean, professional matte finish.
This really locks the ink into the fiber so it won't crack or peel even after dozens of trips through the laundry.
And there you have it! That's how you take a few photos in Canva and turn them into a high-end professional sweatshirt.
Watch my full video tutorial here
Tips & Troubleshooting
Photo Selection: Choose photos with clear faces and good lighting. Busy backgrounds can make letter frames look cluttered.
Trial and Error: Not all photos work in all letters. Swap them around until you find the best fit for each letter shape.
Canva Pro is Worth It: The transparent background export alone makes Canva Pro essential for this project. Free background removers often give blurry or incomplete results.
Don't Skip the Outline: Adding a white outline makes a huge difference on dark fabrics. Your design will really pop!
Butcher Paper vs. Parchment: Use uncoated butcher paper for the finishing press. It absorbs excess glue for a cleaner, more professional finish.
Profit Potential: These personalized sweatshirts make incredible sellers. A Gildan sweatshirt costs around $8-12, and you can easily sell finished pieces for $35-50 or more.
FAQ
Q: Can I use the free version of Canva for this project? A: Technically yes, but I highly recommend Canva Pro. Without it, you can't export with a transparent background. Free background removers often give low-resolution, pixelated results that waste expensive DTF film.
Q: What fabrics work with DTF printing? A: That's the beauty of DTF! Unlike sublimation, you can print on any color and most fabrics, including 100% cotton, polyester blends, and even canvas bags. Dark colors work beautifully.
Q: How do I know what size to make my design? A: For a large adult sweatshirt, aim for about 9.5 inches wide and place it 3 inches below the neckline. Check out my decal sizing guide for more sizes!
Q: Is the xTool Apparel Printer beginner-friendly? A: Yes! It's actually easier than traditional DTF printers because everything is built in. No separate powder shaker or curing oven needed. It handles printing, powdering, and curing automatically.
Q: How long do DTF prints last? A: When applied correctly with a finishing press, DTF prints are incredibly durable. They won't crack or peel even after dozens of washes.
Downloads & Design Files
Community Invite
Now it's your turn! Grab your photos, fire up Canva, and create something meaningful. These photo collage sweatshirts make the perfect gift for moms, grandmas, or anyone who loves a personalized keepsake.
Once you see the quality of these photo prints in person, you'll never go back to printable inkjet vinyl or sublimation for this type of project!
Share your creations with me! Tag @kerricraftsit on Instagram or post in my Facebook community. I'd love to see what you make!
Find me on all platforms: linktr.ee/kerricraftsit
Social Links:
- Visit YouTube
- Follow on Facebook
- Follow on Instagram
- Follow on TikTok
- Follow on Pinterest
- Shop on Etsy
More Projects You'll Love
- DTF Printing Tips for Beginners – Get started with DTF printing
- Beginner Friendly Cricut HTV Tutorial – Another way to customize shirts
- Ultimate Guide to Designing Custom Photo Tumblers – More photo gift ideas
- What Size Decal for Shirts – My complete sizing guide
- The xTool M1 Ultra: Your Ultimate Crafting Companion – More xTool projects