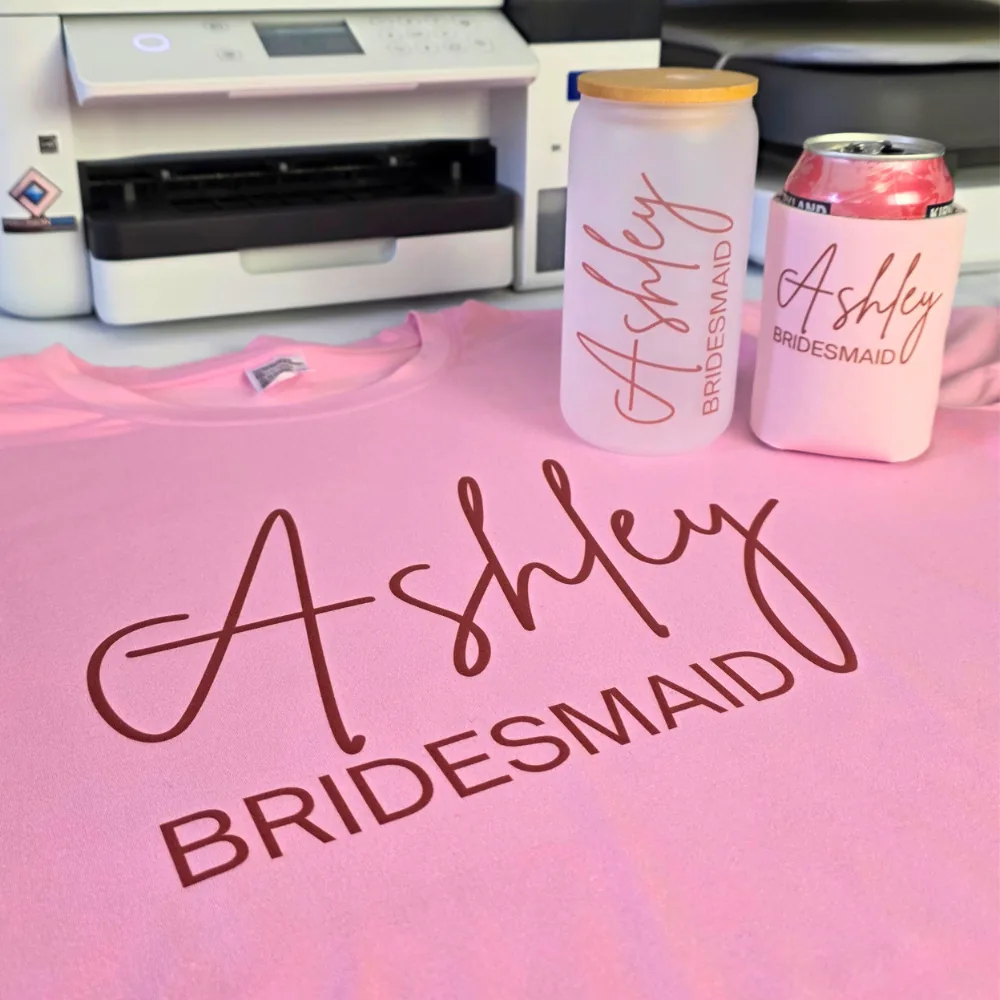
Wedding sublimation ideas are some of the best sellers you can add to your shop, especially personalized name projects. People love seeing their own name on things, and a couple planning a wedding is shopping for the bridesmaids, the groomsmen, the parents, the guests and the decor all at once.
In this tutorial I'll show you how I made a matching bridesmaid set from one simple Canva design: a polyester t-shirt, a 16 oz frosted glass can and a neoprene can cooler. You'll get my exact sizes, press settings and the mistakes I made along the way. If you're brand new, start with my guide to what sublimation printing is first.
You came from the video for the files? Grab the free checklist and mockup bundle here.
This post contains affiliate links. If you buy through them, I may earn a small commission at no extra cost to you.
Key Takeaways
- Personalized name projects sell well in the wedding niche because one customer buys for a whole group. Matching bridal party shirts can be 10 to 20 pieces, and guest favors can run 100 to 300 pieces for one wedding.
- Press a 16 oz frosted sublimation glass can at 360°F for 180 seconds in a tumbler press. Keep the design on the flat part of the glass and take the lid off first.
- Press a polyester sublimation t-shirt at 385°F for 60 seconds with medium pressure. On an HTVRont Auto Heat Press 2 that is about 110 lbs.
- Press a neoprene sublimation can cooler at 380°F for 30 seconds with butcher paper inside. It took about 5 or 6 tries to stop the foam flattening and the paper edges leaving marks.
- Sublimation only works on white or light polyester and on blanks with a sublimation coating. The printer has no white ink, so anything white in your design shows the color of the blank.
Quick Links
- Key Takeaways
- Get Your Free Wedding Sublimation Kit
- Why Wedding Sublimation Ideas Sell So Well
- Sublimation Basics Before You Start
- What You'll Need
- Step 1: Measure Your Blanks
- Step 2: Create Your Design in Canva
- Step 3: Size Your Designs for Each Product
- Step 4: Make Mockups for Etsy and Social Media
- Step 5: Print Your Designs to Scale
- How to Sublimate a Frosted Glass Can
- How to Sublimate a Bridesmaid T-Shirt
- How to Sublimate a Can Cooler
- Turn One Design Into a Full Product Line
- Frequently Asked Questions
- More Sublimation Projects You'll Love
Get Your Free Wedding Sublimation Kit
Here are the two freebies from the video, together in one kit:
- The Ultimate Sublimation Wedding Checklist, a PDF with 25+ wedding products you can make and sell, grouped by who they're for, with a link to every blank.
- My Wedding Sublimation Mockup Bundle, three styled mockup photos (a t-shirt, a can cooler and a frosted glass can) that you can edit in Canva.
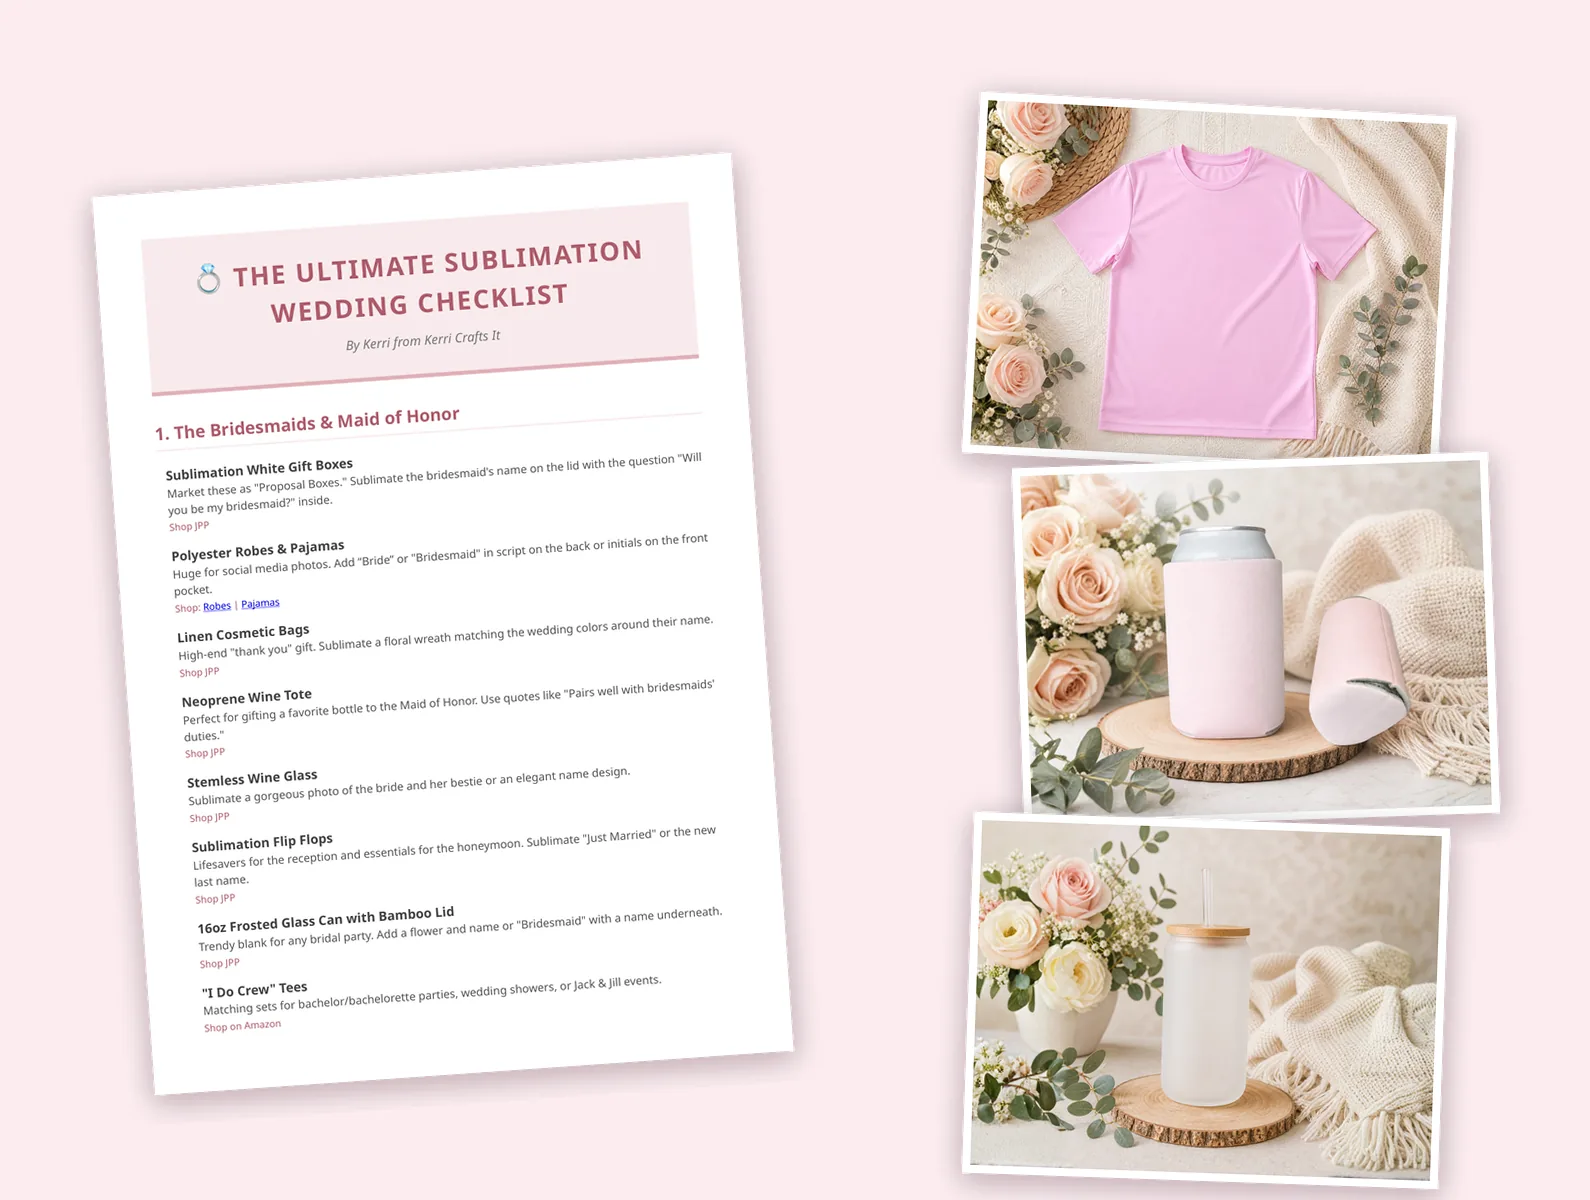
Pop your name and email in below. You'll get both downloads right away, plus a copy in your inbox so you can find them again later.
Why Wedding Sublimation Ideas Sell So Well
The average wedding in the U.S. costs around $35,000, and a lot of that money goes to things couples have to buy for other people. Bridesmaids, groomsmen, parents, guest favors, signs and decor all add up fast.
That is where you come in. With a sublimation printer, a heat press and the right blanks, you can make a lot of what these couples are already shopping for.
The best part is that you're rarely selling just one item. A bride who orders a shirt often wants matching pieces for the whole bridal party, so one design can turn into a big order. And weddings happen all year long, so you aren't waiting on one short season.
Sublimation Basics Before You Start
If you're a beginner, these four rules will save you a lot of wasted blanks. I cover more of them in my 10 essential sublimation tips.
- Use white or light-colored blanks. Sublimation printers don't print white ink. Any white in your design shows the color of the blank, so white on a cream shirt looks cream.
- Fabric has to be polyester or a high-polyester blend. Otherwise the ink can't bond, and the design looks faded or washes out. (If you only have cotton, read my post on sublimating on cotton.)
- Hard blanks need a sublimation coating. A regular coffee mug from the Dollar Tree won't work, because store-bought mugs usually don't have that coating.
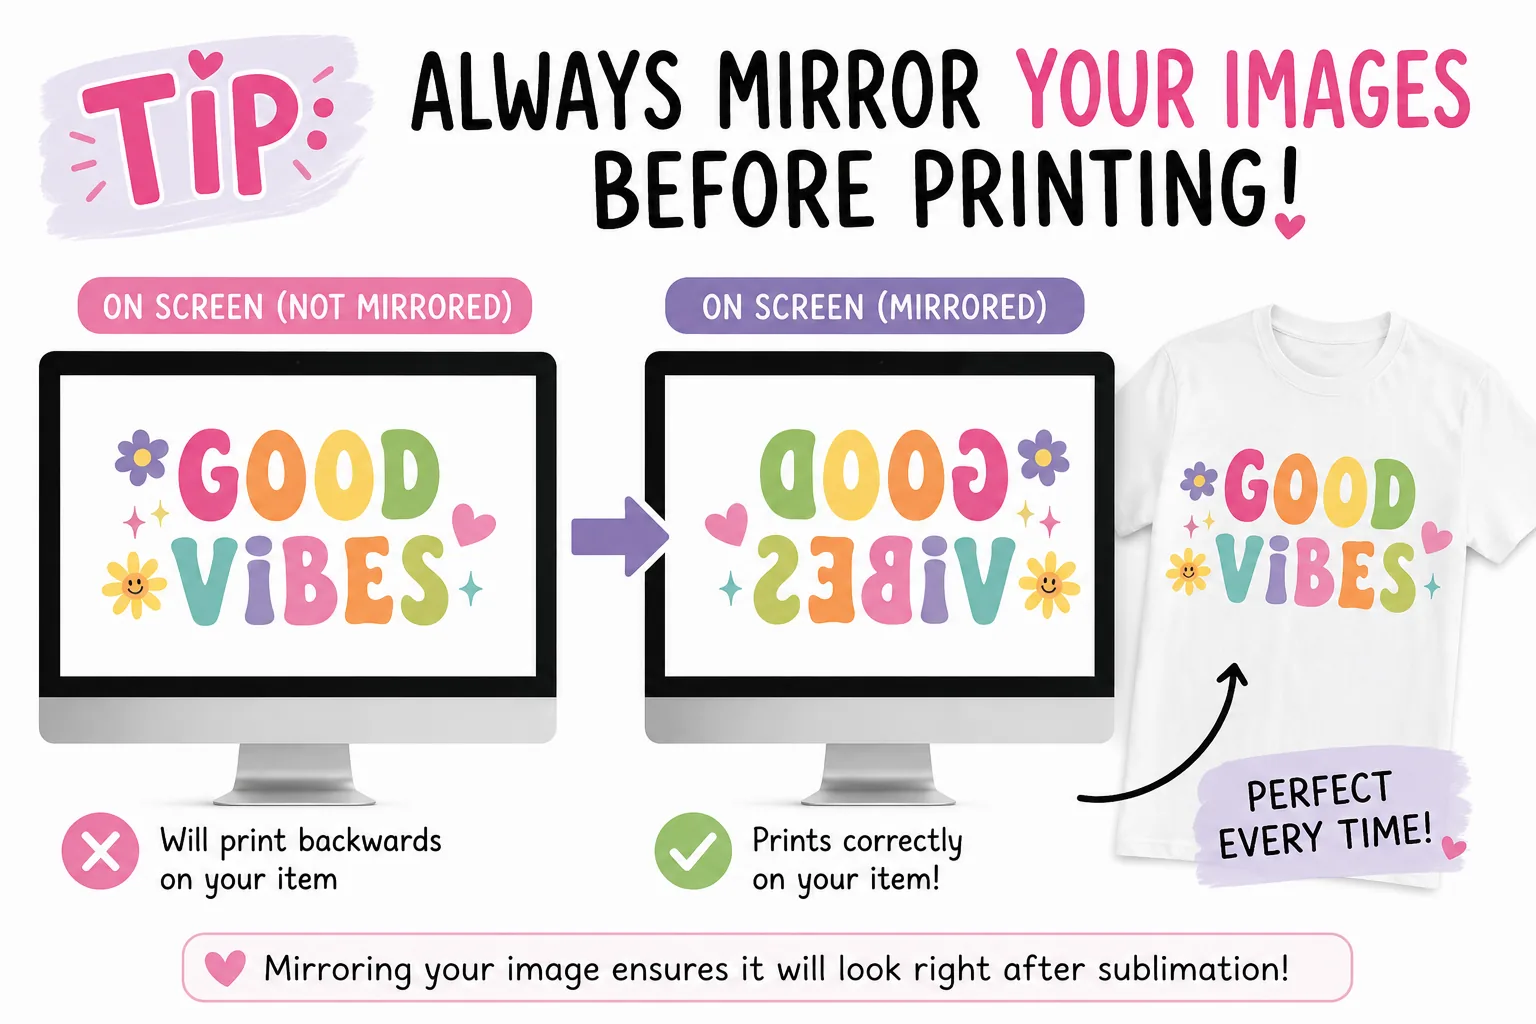
- Mirror your design before printing, especially for shirts and fabric. Otherwise it presses on backwards.
Every blank can have slightly different temperature and time instructions, so always check the manufacturer's recommendations before you press.
What You'll Need
- Epson SureColor F170 sublimation printer – the printer I used
- A-SUB sublimation paper – 8.5 x 11 inch
- HTVRont Auto Heat Press 2 – for the shirt and can coolers
- Tumbler heat press – for the frosted glass can
- Butcher paper
- Heat-resistant tape
- Heat-resistant gloves
- 16 oz frosted sublimation glass can with bamboo lid
- Neoprene sublimation can coolers
- Lint roller – for the shirt and can coolers
- Rubbing alcohol – to clean the glass can
- Scissors – or a paper trimmer
- Light-colored polyester t-shirt – polyester or a high-poly blend
- Coffee filters – a lint-free wipe for the glass
Some of the links above are affiliate links. If you buy through them I earn a small commission at no extra cost to you, and it helps me keep making these tutorials.
Looking for more wedding blanks? The Johnson Plastics Plus wedding guide has a “Show Only Sublimation” filter at the top, so everything you see is ready for your heat press. My guide to sublimation blanks covers what to look for.
Step 1: Measure Your Blanks
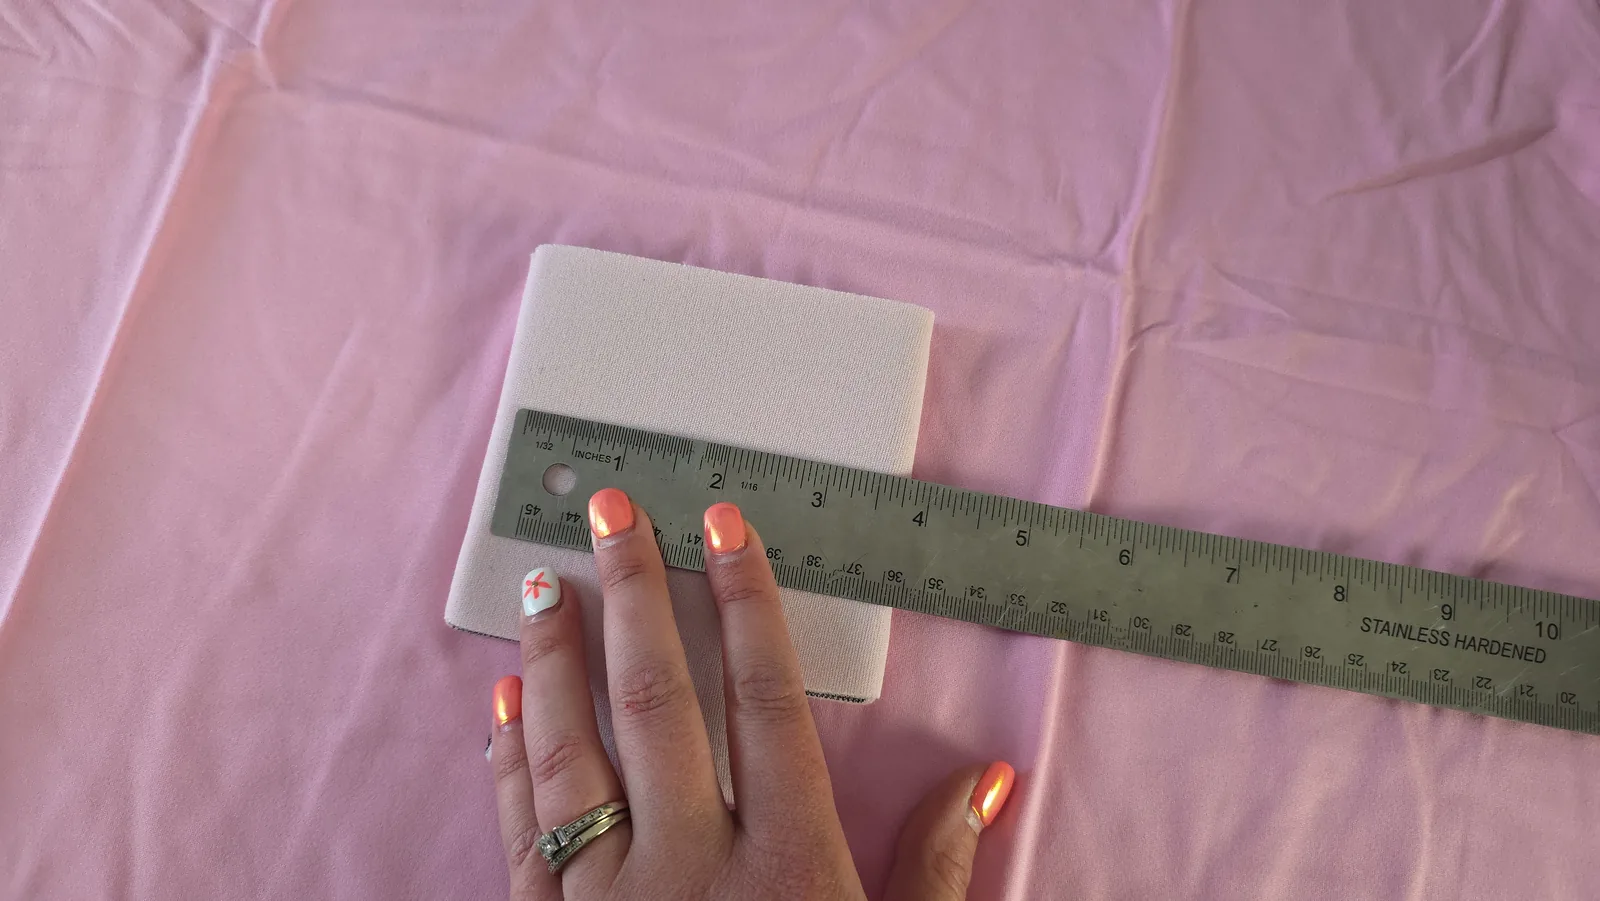
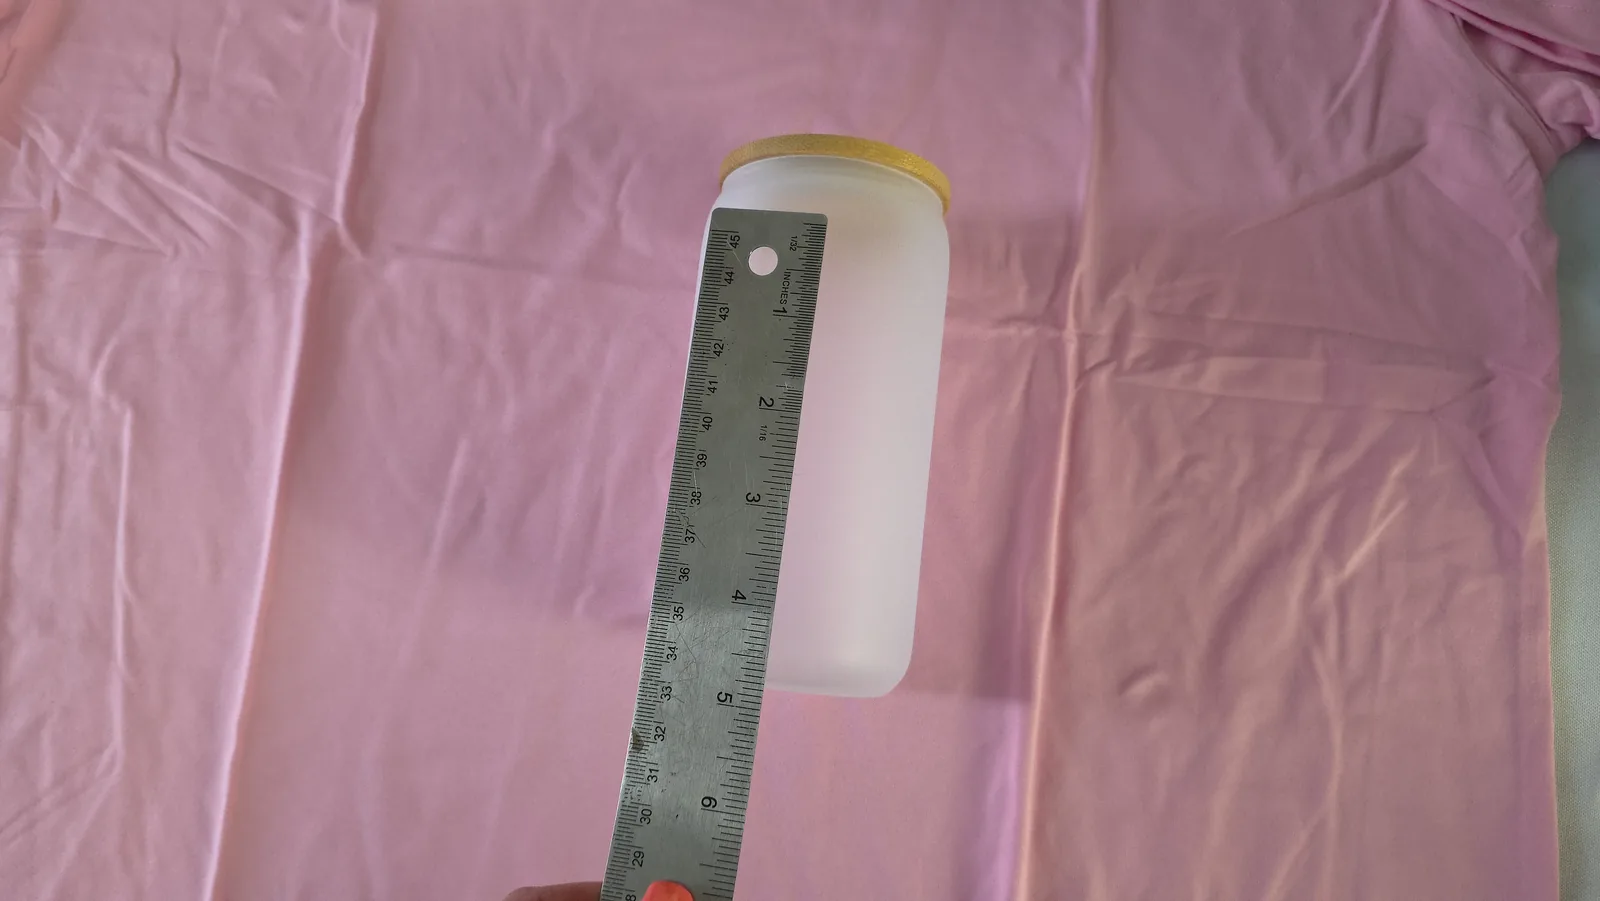
Before I open Canva, I figure out the size for each product. Grab a ruler or a measuring tape and jot these down so you aren't guessing later.
- Adult large t-shirt: a typical front design is about 10 to 11 inches wide. My shirt decal size guide has every size.
- Can cooler: about 3 inches tall by 2.75 inches wide.
- 16 oz frosted glass can: about 4 inches tall by 2.5 inches wide.
Step 2: Create Your Design in Canva
I start with a custom 8.5 x 11 inch canvas in Canva so it matches my paper size.
- Click Text, add a text box and type BRIDESMAID in all caps. I used the font Open Sans.
- Add a second text box underneath and type the name. I used Brittany, a script font that looks lovely on wedding projects.
- Adjust the size and spacing until the two pieces look balanced. You can add a little heart to the end of the name for extra detail.
- Change the color to a blush tone. I used hex code #B76E79.
- Select everything, group it, then copy and paste it two more times, one for each product.
I like to add a second page in Canva for the extra copies. That keeps everything organized and ready to print.
Step 3: Size Your Designs for Each Product
Now resize each copy to the measurements from Step 1. Here's the catch with shirts: on 8.5 x 11 sublimation paper, you're limited by the paper and your printer's printable area.
Canva shows a red margin box as a safe area. At first I thought my whole design had to stay inside it. After some testing, I found I could go well outside it without losing anything. With about a quarter inch of space around the edges, I could make my shirt design about 10.3 inches wide instead of about 9.1 inches inside the Canva guide. Your printer may be different, so do a test print first.
For small designs like the can cooler, put the design near the center of the page so there's plenty of white space around it. How you place the designs on the page is exactly how they print, and that extra paper matters when you press.
Step 4: Make Mockups for Etsy and Social Media
A lot of the product photos you see online aren't real finished products. They're mockups, and they let you show a design without making every item first.
That's why I made a Wedding Sublimation Mockup Bundle for all three of these blanks, and it's in your free kit above. Upload a mockup into Canva, drag your design on top, adjust the size, and you have a clean product photo for Etsy, your website or social media.
This is a huge help in the wedding niche, because you can show customers different names, colors and variations without pressing a single blank. For more ideas, see my post on getting better product photos with mockups.
Step 5: Print Your Designs to Scale
- In Canva, click Share, then Download, and change the file type to PDF Print.
- Check Flatten PDF so everything prints exactly as it looks, change the color profile to CMYK, and click Download.
- Open the file, right-click and choose Print. Select your sublimation printer.
- Set the paper size to Letter (8.5 x 11) and make sure the scale is 100%.
- Click Print using system dialog, go into More Settings and set the quality to High.
- Check the mirror setting. An Epson SureColor sublimation printer should mirror automatically, but a converted inkjet usually won't.
- Click OK, then Print. Once it's set up, you won't have to do it again.
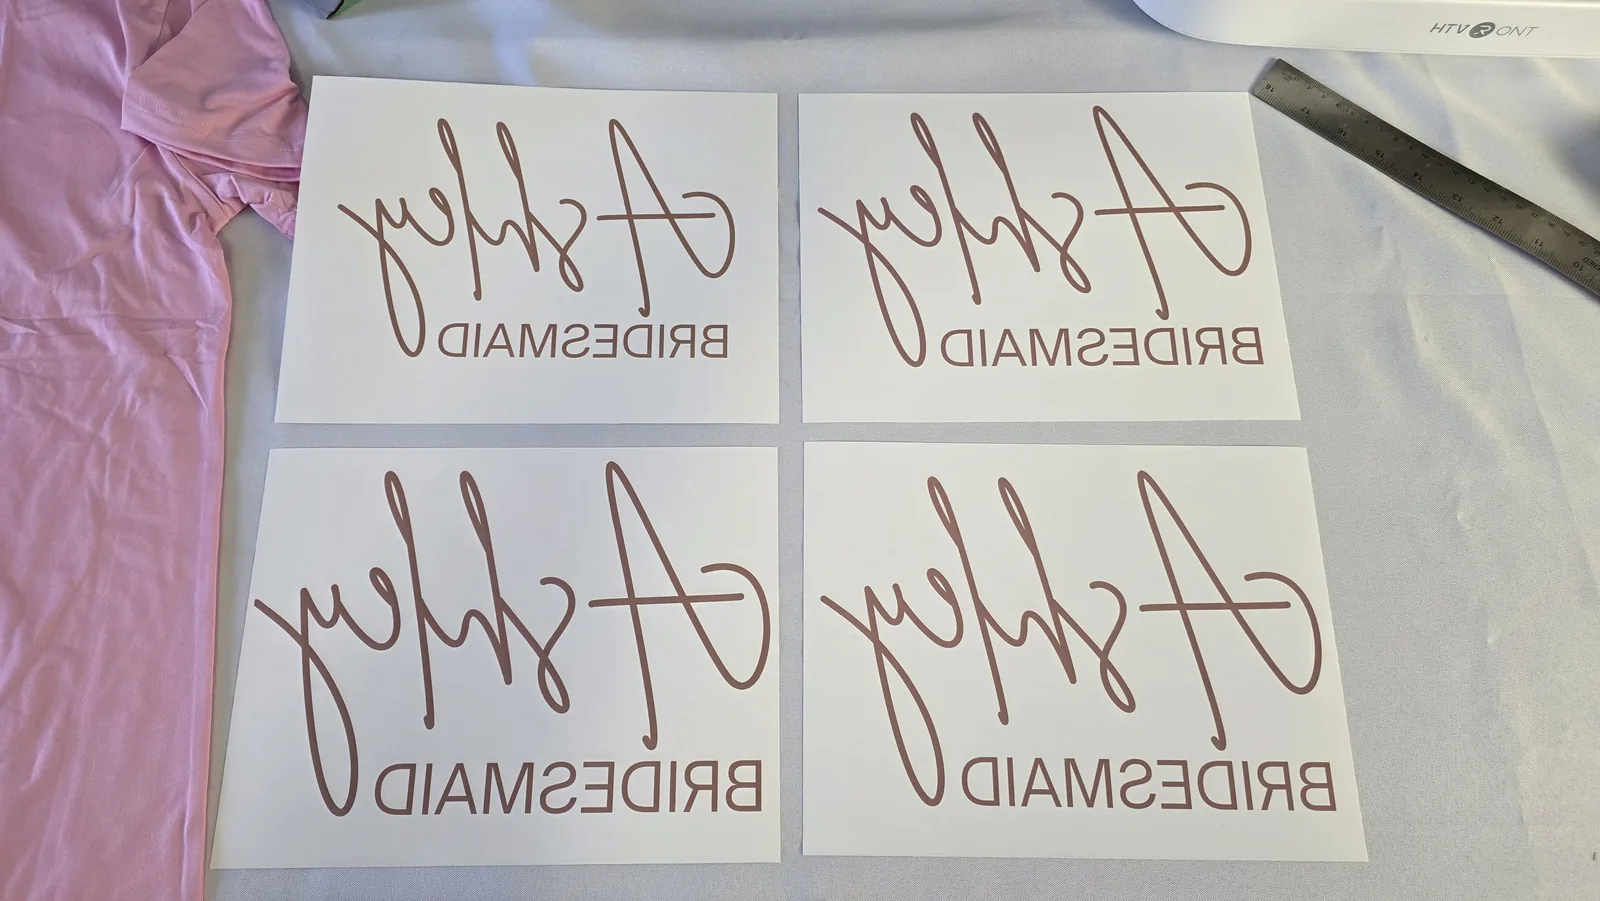
Don't panic when your prints look faded and dull on the paper. That's completely normal. The bright colors show up once heat is applied. Cut your designs out with scissors or a paper trimmer.
How to Sublimate a Frosted Glass Can
I started with the 16 oz frosted glass can. Set your tumbler press to 360°F for 180 seconds.
- Remove the lid first.
- Clean the glass with rubbing alcohol and a lint-free wipe. I use coffee filters because they don't leave lint behind.
- Once it's dry, wrap the design tightly around the glass. Keep it on the flat part, not where the glass starts to curve.
- Secure it with heat-resistant tape, then wrap the whole glass in butcher paper. That protects the press and soaks up extra ink.
- Slide it into the tumbler press and let it run the full cycle.
- Take it out with heat-resistant gloves and peel the paper off while it's still hot. A vinyl weeding tool helps with thick gloves, just don't scratch the glass.
Mine came out with perfect color and no ghosting. One important tip: don't put the lid back on right away. The glass can stay hot enough to damage or melt the rubber gasket inside the lid.
How to Sublimate a Bridesmaid T-Shirt
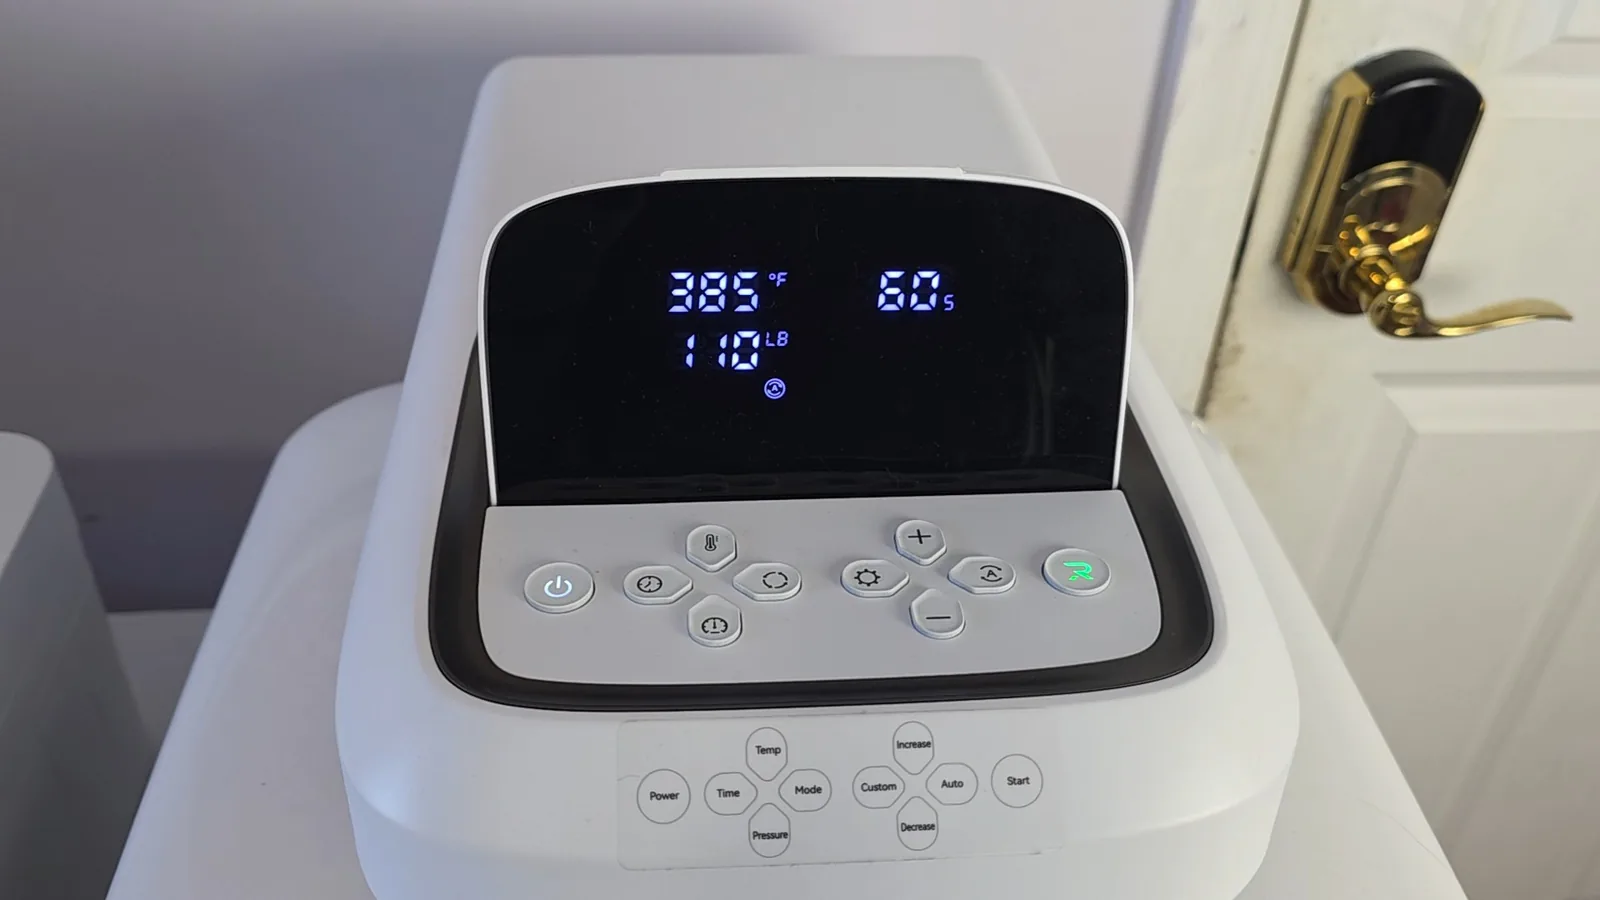
Set your heat press to 385°F for 60 seconds with medium pressure. On my HTVRont Auto Heat Press 2, that's about 110 lbs.
- Put a sheet of butcher paper on the bottom of the press and another one inside the shirt, so ink doesn't bleed through to the back.
- Lint roll the shirt and do a quick pre-press to remove wrinkles and moisture.
- Want a perfectly centered design? Fold the shirt in half vertically and give it a quick press. The crease becomes your center line.
- Let the shirt cool slightly, then place your design on the crease, about 3 inches down from the neckline. You can also use the finger method as a quick guide.
- Cover it with butcher paper and press.
- Peel the paper while it's still hot.
It came out clean and vibrant on the first try.
How to Sublimate a Can Cooler
Honestly, the can coolers were a lot trickier than I expected. If you've never sublimated on neoprene, it can take some experimenting.
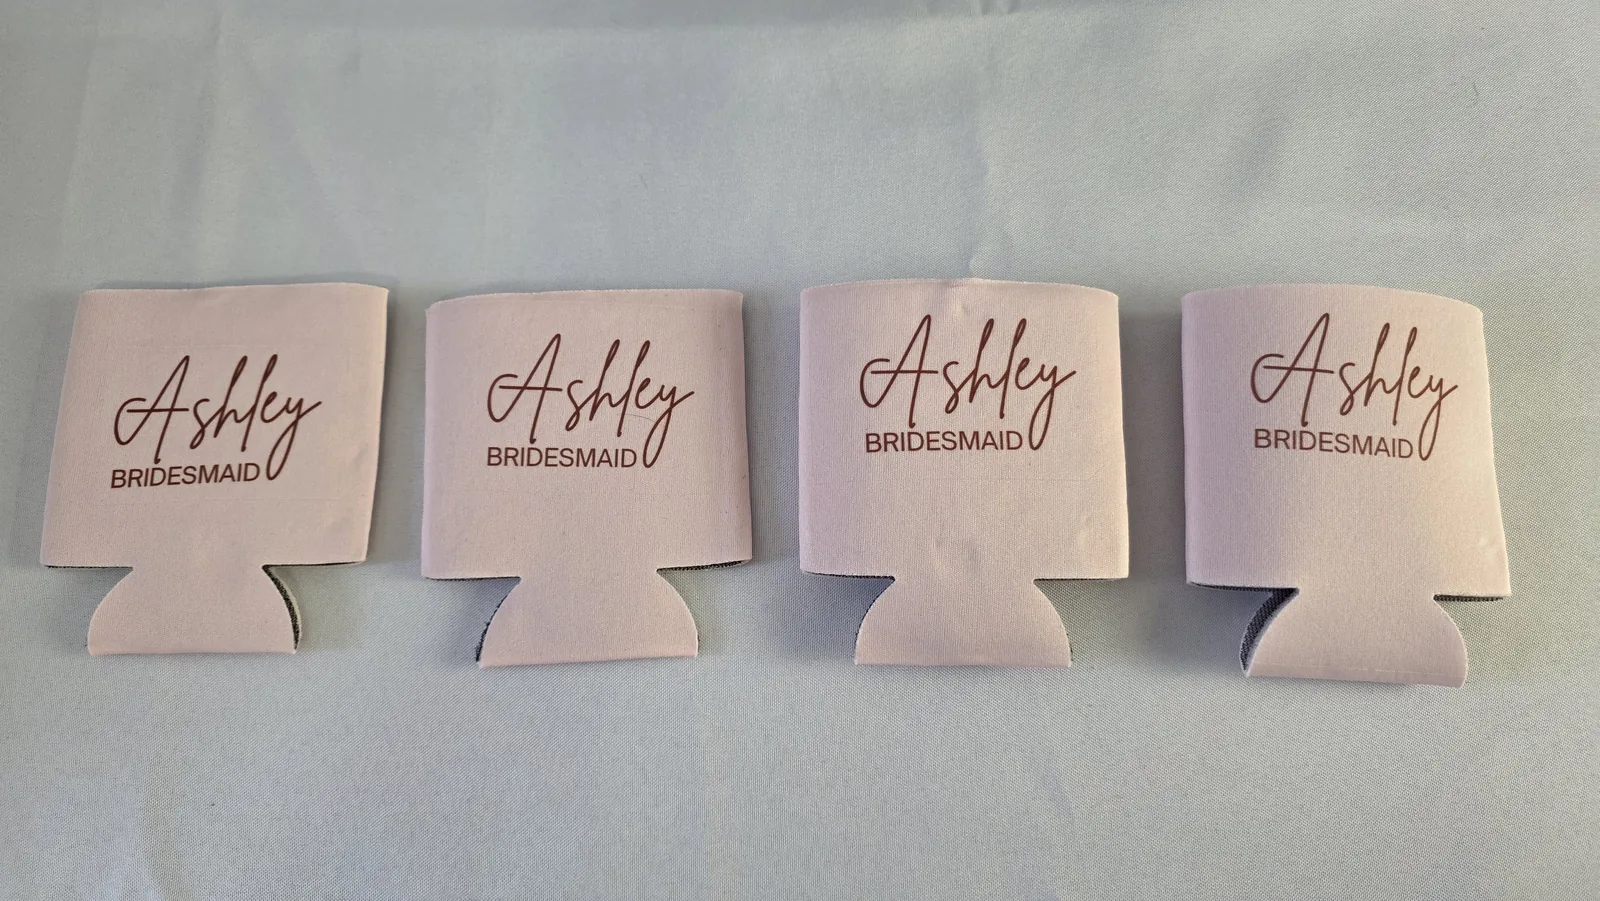
My first tries flattened the foam, left paper impressions or looked faded. What finally worked was 380°F for 30 seconds with butcher paper inside the cooler for support.
- Lay butcher paper on the bottom of the press, and slip another piece inside the cooler so it keeps its shape.
- Lint roll the cooler, place your design and secure it with heat-resistant tape.
- Cover it with butcher paper and press.
- Peel the paper while it's still hot.
Two things made the biggest difference. First, I centered the design on the page and left extra paper around it, so the paper edges didn't press lines into the foam. Second, I stopped handling the cooler while it was hot, because your fingers can leave dents in the foam.
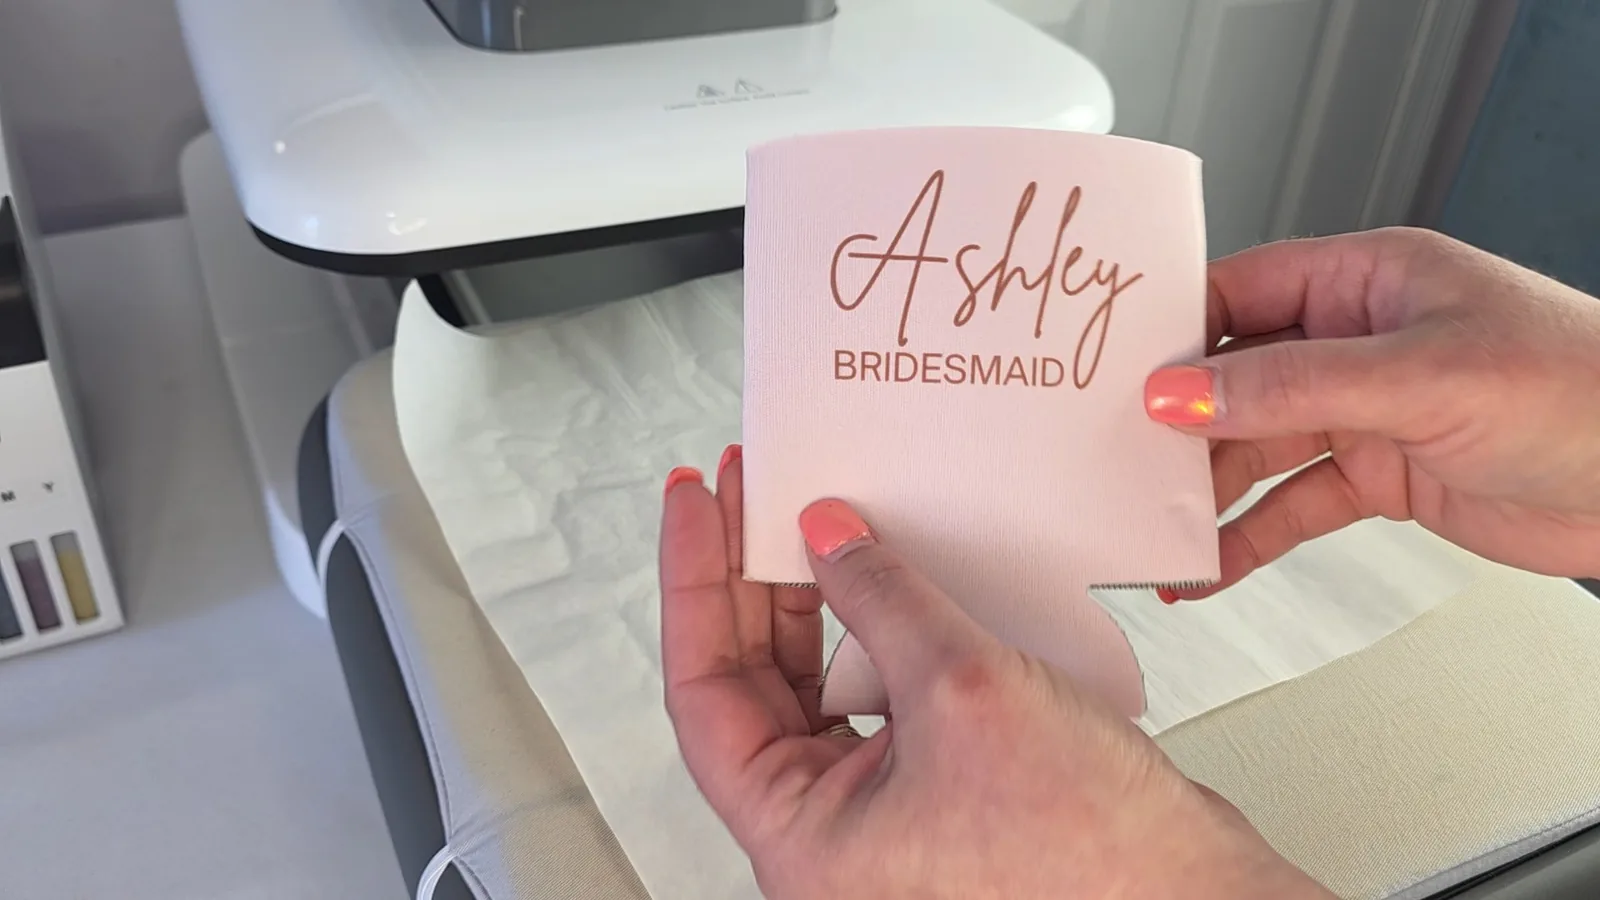
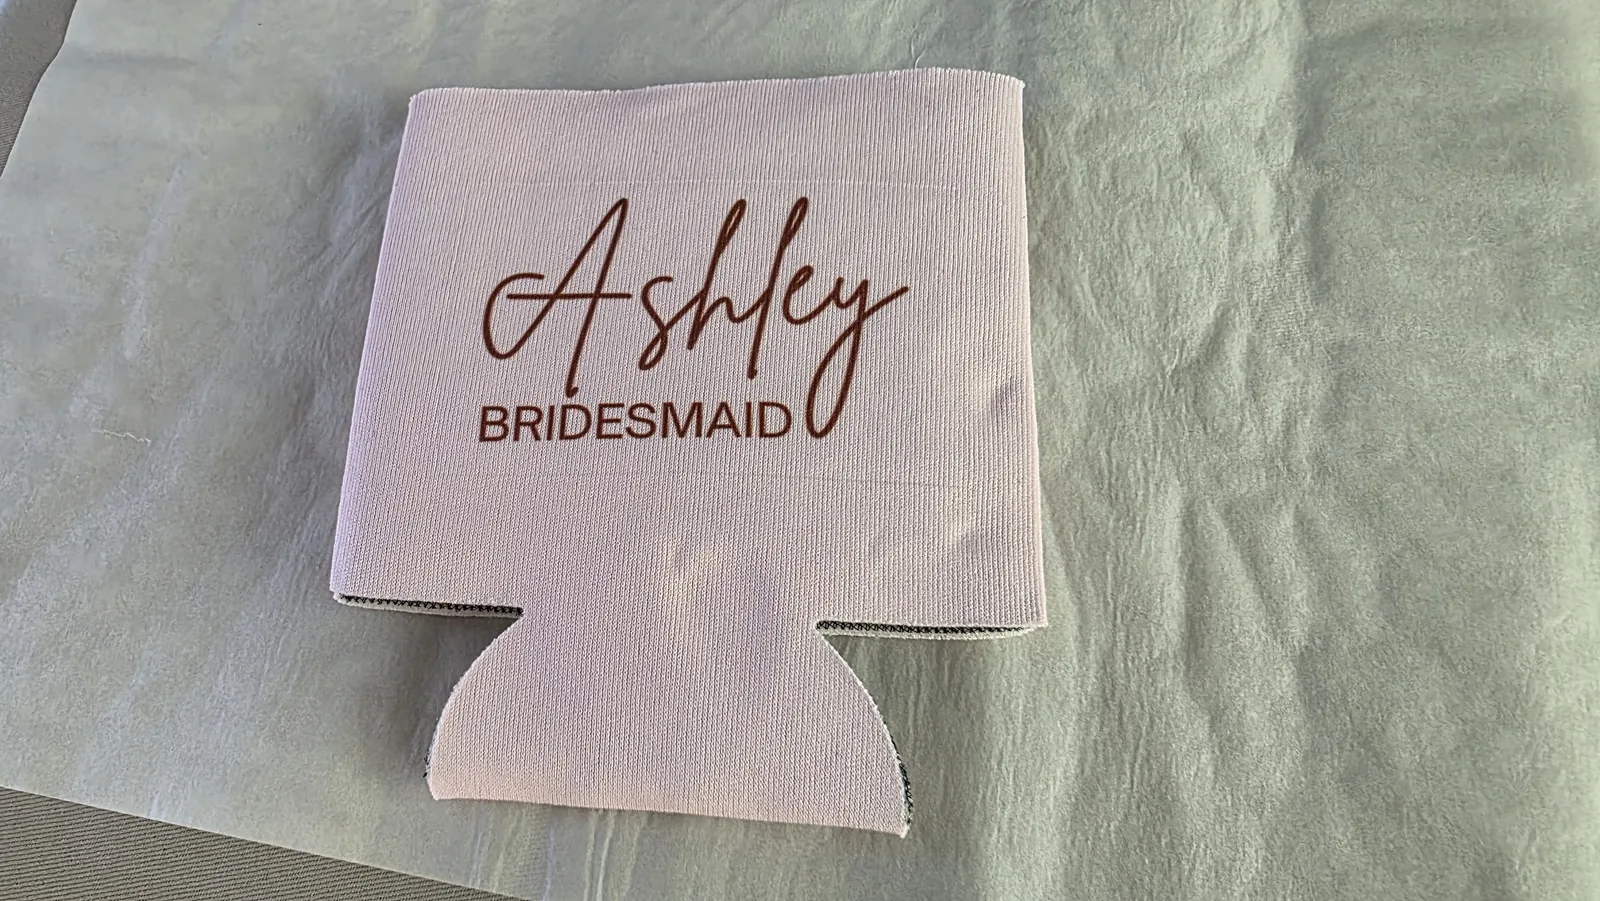
After about 5 or 6 failed attempts, I finally had a cooler that was vibrant, stayed thick and had no paper or finger marks. So if your first one isn't perfect, don't get discouraged. Sometimes sublimation takes a little trial and error to find what works for your blanks and your press.
Turn One Design Into a Full Product Line
Once you have one simple design like this, you can put it on so many products: tote bags, mugs, wine glasses, robes, proposal gifts, guest favors and wedding decor.
That's what makes the wedding niche so profitable. Customers often order matching products for the whole bridal party, the guest tables or family members, so one customer can become a big order. The checklist in your free kit has 25+ more ideas, from proposal boxes to toasting flutes, each with a link to the blank.
Ready to start selling? My guide to selling sublimation crafts walks you through pricing and where to find customers.
Frequently Asked Questions
What temperature do you sublimate a can cooler?
I press neoprene sublimation can coolers at 380°F for 30 seconds, with butcher paper inside the cooler for support. Leave extra paper around the design so the edges don't leave marks, and don't touch the foam while it's hot.
How long do you press a frosted glass can for sublimation?
I press a 16 oz frosted sublimation glass can at 360°F for 180 seconds in a tumbler press. Take the lid off first, and wait for the glass to cool before putting the lid back on so the gasket doesn't melt.
Can you sublimate on any shirt?
No. Sublimation needs a white or light-colored shirt that's polyester or a high-polyester blend. On cotton, the ink can't bond and the design fades or washes out.
What size should a sublimation design be for a can cooler?
I sized my can cooler design about 3 inches tall by 2.75 inches wide. Measure your own coolers first, since blanks vary.
What wedding sublimation projects sell best?
Matching sets sell especially well, because one customer buys for a whole group. Bridal party shirts, frosted glass cans for bridesmaids, can coolers for bachelor parties and guest favors are all great places to start.
More Sublimation Projects You'll Love
- How to Sublimate a Tumbler, Step by Step
- How to Set Up an Epson EcoTank for Sublimation
- Why Sublimation Is the Best Choice for Custom Products
Now it's your turn! Grab your free kit, make your first matching set, and tag me when you share it. I'd love to see what you create.