
If you’ve ever tried laser engraving tumblers with the WeCreat Vista or Vision, you know the struggle: getting a large cup to sit securely in the rotary. The stock jaws are small and require you to screw and unscrew different sets until you find one that fits. It is frustrating and time-consuming.
That is where this cup turner attachment hack comes in. It is inexpensive, adjustable, and holds tumblers of all sizes (from 10 oz to 40 oz) more securely than the stock jaws. Instead of fiddling with different jaw sets, you just slide your tumbler on and tighten.
If you’re new to laser engraving, I recommend starting with everything I wish I knew before buying my first laser engraver. It will give you a strong foundation before tackling larger projects like tumblers.
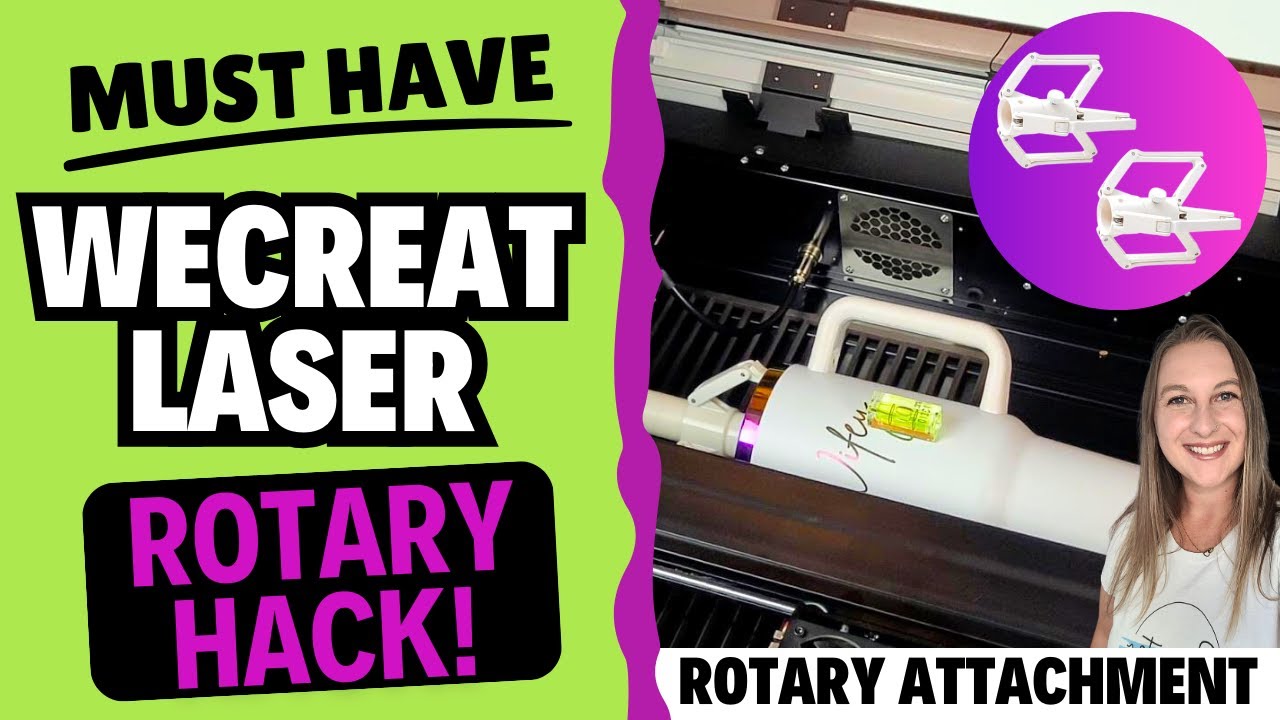
When I first created the video tutorial for this hack, it also solved another problem: the “non-working area zone” that prevented engraving the entire tumbler.

Back then, there was no WeCreat Rotary Pro upgrade or software fix, so this DIY rotary attachment was a must-have.

Since then, WeCreat has released the Rotary Pro and updated the software, so the non-working area issue is not a concern anymore. The Rotary Pro also does a better job at holding big tumblers compared to the original rotary.
That said, I still think this cup turner attachment is worth having, even with the Pro. It grips more securely and adjusts to any cup size quickly. It is one of the easiest upgrades for anyone engraving tumblers on the WeCreat laser engravers.
Affiliate Disclosure: This post contains affiliate links. If you purchase through these links, I may earn a small commission at no extra cost to you. I only recommend products I personally use and trust.
Materials You'll Need
- WeCreat Vista or Vision laser engraver
-
Rotary attachment (specific to your model)
Make sure you purchase the correct rotary for your machine. The Vista rotary and the Vision rotary are not interchangeable.
- Cup turner holder (adjustable 10–40 oz; Amazon, about $15.99 for 2)
- 3/4″ or 1/2″ PVC pipe cut to about 3″ long (I used 3/4″)
- Tumbler blanks (40 oz if you're doing full-size tumblers)
- Small Allen wrench (for the rotary screws, included with the rotary)
- Isopropyl alcohol and a lint-free wipe (I use coffee filters)
- Needle-nose pliers (optional for bending handle tabs)
Why You Need a Cup Turner Attachment
Before the Rotary Pro upgrade, the WeCreat Rotary struggled with larger tumblers. The jaws couldn’t hold them securely, and the no-engrave zone made it impossible to engrave the full design.

The solution is a simple cup turner hack. Here’s why it works so well:
Fits tumblers from 10 to 40 oz
Adjustable grip for different sizes
Extends your tumbler outward with a short PVC pipe
Lets you engrave the entire tumbler surface without limitations
Even today, if you don’t have the Rotary Pro, I still prefer the cup turner over the jaws. The jaws are too small for most larger tumblers, while the turner grips them much more securely.
If you’re deciding between models, here’s a breakdown of which WeCreat laser you should buy based on your budget and project goals.
Step-by-step: Installing the Rotary on the WeCreat Vista
- Move the laser head to the front of your machine.
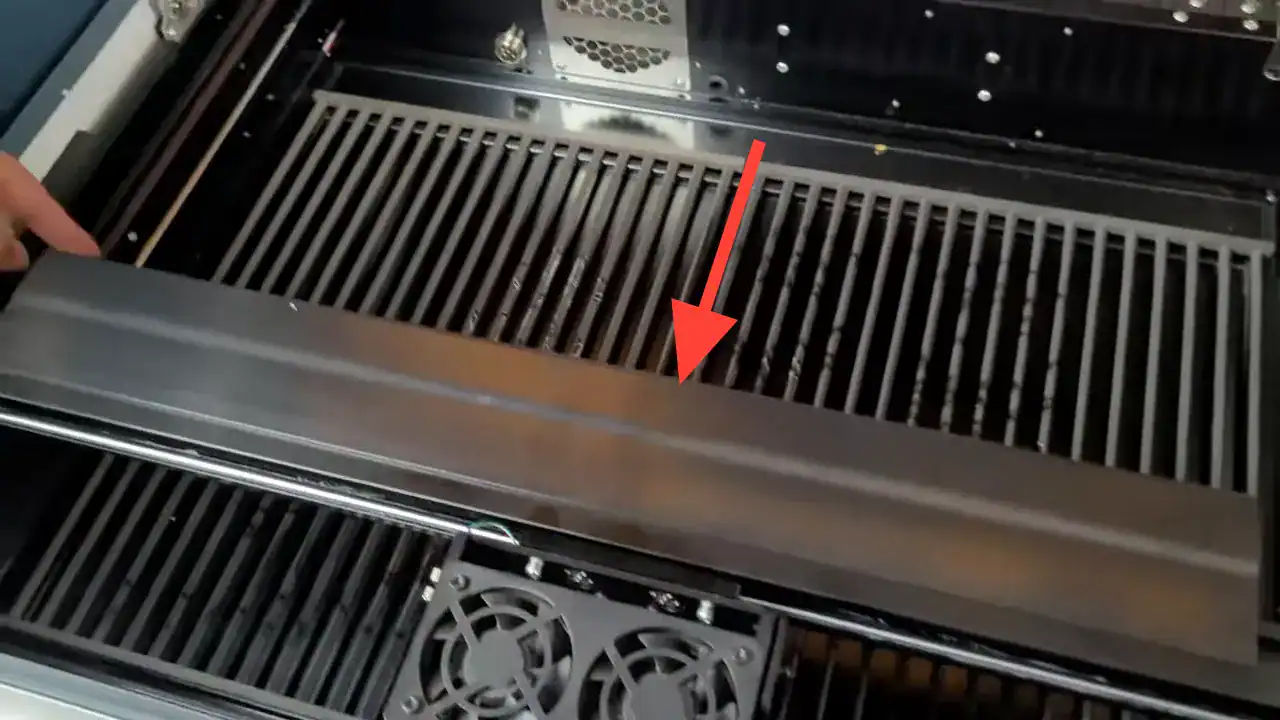
2. On the left side, align the rotary using the second hole from the bottom for the pin.

3. Use an Allen wrench to secure the screws. (Tip: Reach under the bar to hold screws in place — it’s a tight fit!)
4. Connect the rotary cable. The little groove on the plug that should face down when you insert it.

Now your rotary is installed and ready for the cup turner attachment.
How To Attach the Cup Turner and PVC dowel
- Slide your 3-inch piece of PVC pipe into the cup turner holder and tighten with the knob.


2. Flip the jaws (L-brackets) upside down so the peg faces inward.

3. Insert and secure the PVC pipe into the jaws. Twist slightly if it feels tight.

4. Test it with your tumbler. It should sit flat, not on a curved edge.

This setup works for everything from slim 10 oz tumblers to 40 oz cups, making it one of the easiest DIY WeCreat Rotary hacks you can try.
While you're here, take a look at laser engraved cutting boards and booster fan tips. I talk about one of my favorite accessories, the WeCreat Booster Fan
How To Prepare Your Tumbler for Engraving
Remove the handle, especially for 40 oz tumblers.
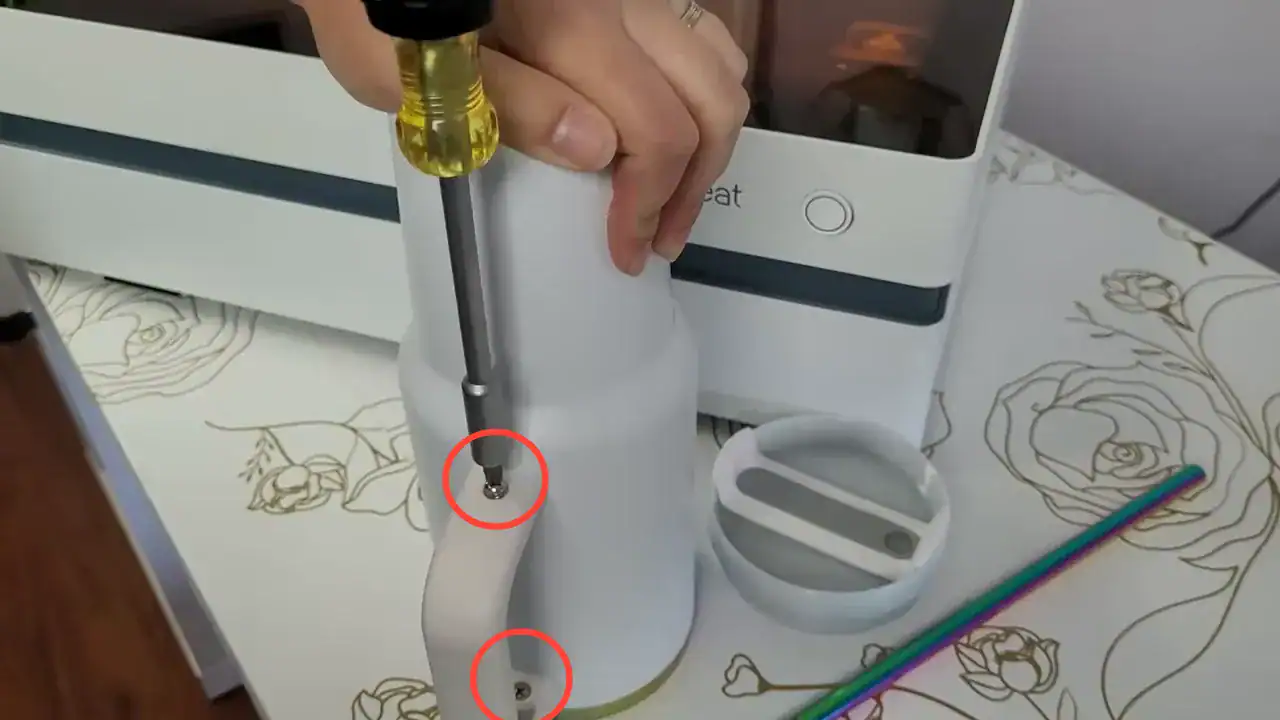
2. Bend the tabs flat with pliers so they do not interfere with the laser.

3. Clean with isopropyl alcohol using a lint-free wipe. Coffee filters are perfect.

4. Check alignment by rotating the cup to make sure it is even all around.
How To Level Your Tumbler For Laser Engraving
1. Use the adjustable leveling stand included with your rotary.
2. Place it under the far end of the tumbler.
3. Adjust the dial left or right to raise or lower the cup.

4. You might need to remove the grate under your tumbler for more clearance.

5. Make sure the wheels on the leveling tool are slightly off the ground so they can spin freely. If it's bottomed out, the wheels won't spin and your tumbler might not engrave right
Pro tip: Some users in the WeCreat Facebook groups recommend a dedicated laser tumbler leveling tool. I have not tried it yet, but it looks like a helpful upgrade for consistent results.
Final setup and tips before engraving
If you’ve removed and bent the tumbler handle tabs, position them so they face the back of the machine. This way, the camera preview will show the tabs on the right side of the cup, and your finished design will face you when you hold the handle in your right hand.
When engraving a full wrap design, you may notice a faint “seam” where the start and end of the design meet if your measurements are not exact. To make it less noticeable, position the seam in line with the handle. Load the tumbler with the handle facing down and align the center of your design with the center of the rotary. Make your design width equal to the perimeter of the cup in the software. The design should fill the length of the engraving area.
For Vista users: keep the lid open while setting up. The camera in the top corner will capture a photo of your laser bed and import it into the software for accurate positioning. The software will prompt you when it’s time to close the lid before engraving.

Vision users: Keep the lid closed while designing.
- Double-check that your PVC pipe/jaw combo is solidly seated in the chuck and that the cup spins freely without wobble.
Want more inspiration? Browse my guide to the best laser engraving blanks and project ideas to stock up on versatile materials.
FAQs About the WeCreat Rotary and Cup Turner Hack
Do I need this if I have the Rotary Pro?
Not really. The WeCreat Rotary Pro and updated software solve the no-engrave zone problem. But if you do not have the upgrade, this hack still makes engraving much easier.
What size PVC pipe should I use?
Use either ¾-inch or ½-inch pipe. I recommend ¾-inch for a sturdier fit. Cut it to about 3 inches long.
Will removing the handle damage my tumbler?
Some people worry about this, but I have never had an issue. Just unscrew the handle and flatten the tabs with pliers before engraving. When you are finished, bend the tabs back into place and screw the handle back on.
What is the biggest tumbler I can engrave with this setup?
The cup turner attachment fits tumblers up to 40 oz.
Do I have to clean my tumbler before engraving?
Yes. Oils, dust, or fingerprints can affect the laser engraving. A quick wipe with alcohol and a coffee filter makes a big difference.
WeCreat Rotary Pro vs Rotary hack, which is better?
The Rotary Pro is more convenient if you are willing to invest in the upgrade. But the DIY cup turner hack is a budget-friendly option that works great if you already own the original rotary.
Join the Community
If you are new to WeCreat, join the WeCreat Vision and Vista Laser Engraver for Beginners Facebook group. With over 9,700 members, it is a great place to get tips, troubleshooting help, and project inspiration.
Ready to Engrave?
With your rotary installed, cup turner attached, and tumbler leveled, you are ready to engrave full-sized tumblers with ease.
Want to see this hack in action? Check out my YouTube video: Laser Engraving Tumblers with the WeCreat Vista: The Ultimate Guide. Don’t forget to subscribe so you never miss new laser engraving tutorials!
And if you ever need to do this at volume, here is how I handled a bulk order of 81 tumblers without ruining a single one.
Once you’ve mastered tumblers, you can branch out into wood engraving too. Here’s my step-by-step guide on how to laser cut basswood with the WeCreat Vista.



