If you’re looking for a fun, personalized gift to make for Father’s Day using your Cricut and iron on heat transfer vinyl, you’re in the right place. Today, I’m going to walk you through an easy and adorable project: creating a custom “Fist Bump” T-shirt using your Cricut machine. This step-by-step guide will help you make a shirt that Dad or Grandpa will absolutely love.
This project uses a design from Creative Fabrica and a few simple materials, and it only takes about 20 minutes from start to finish. Plus, I’ll share my favorite tools and tips to make your crafting experience smooth and enjoyable. Let’s get started!

Table of Contents
- Step 1: Gather Your Materials
- Step 2: Download the Design and Fonts
- Step 3: Upload and Customize Your Design in Cricut Design Space
- Step 4: Measure Your Shirt and Resize Your Design
- Step 5: Prepare for Cutting
- Step 6: Cut Your Design on the Cricut Machine
- Step 7: Weed Your Design
- Step 8: Heat Press Your Shirt and Vinyl
- Step 9: Final Touches and Care Tips
- Frequently Asked Questions (FAQ)
- Wrapping Up
Step 1: Gather Your Materials
Before we jump into the design and cutting, let’s make sure you have everything you need. Here’s a quick list of the materials and tools required for this project:
- A Cricut machine: I used the Cricut Maker, but you can also use the Cricut Venture, Maker 4, Explore 4, Explore 3, Explore Air 2, or Cricut Joy Xtra. Basically anything except for the Cricut Joy because it only cuts up to 4.5 inches wide, which is too small unless you break the design into pieces.
- A shirt: I grabbed a 3XL shirt from Michaels, where they’re currently on sale – two shirts for just seven dollars!
- Heat transfer vinyl (HTV): I highly recommend Siser EasyWeed heat transfer vinyl (also called iron on vinyl). It’s my go-to brand because it’s reliable and easy to work with. I usually stock up on white and black rolls since they’re the most versatile colors.
- A Cricut cutting mat: For a large design like this, a 12 x 24 inch StandardGrip mat is perfect.
- Basic Cricut tools: This set includes a weeding pen, scissors, and a spatula to help with lifting the vinyl from the mat.
- A heat press or iron: I use the HTVRont auto heat press, but any heat press will work. You can also use a household iron if you’re just making shirts for fun, but for selling or frequent use, a heat press is much better for durability.
Here’s a quick tip: always save your leftover vinyl! It’s expensive, and you can use scraps for smaller projects later.
Step 2: Download the Design and Fonts

The design I’m using is from Creative Fabrica, which is my favorite place to get fonts and SVG files. I canceled my Cricut Access subscription because Creative Fabrica offers everything I need at half the price, plus they include a commercial license. That means you can sell your finished projects without worrying about legal issues. If you haven’t tried Creative Fabrica, you can sign up for a free one-month trial to explore their vast collection.

For this project, I downloaded the “Father's Day Fist Bump Set” SVG and a cute handwritten font for the kids’ names to personalize the shirt.
Step 3: Upload and Customize Your Design in Cricut Design Space
Now let’s head over to Cricut Design Space to get your design ready for cutting.
- Click “Upload” and then “Upload Image.” Browse to find the SVG file you saved from Creative Fabrica and open it.
- Select your image and click “Add to Canvas.”
- The design will appear grouped together. Click “Ungroup” so you can remove or move individual elements.
- Delete any extra fists you don’t need. For example, I only needed two small fists, so I removed the extras.
- To personalize the shirt, add your kids' names by clicking “Text” and typing each name.
- I used a cute handwritten style font from Creative Fabrica for the names. To use a new font, you’ll need to install it on your computer, then refresh Cricut Design Space (make sure to save your project first!).
- Adjust the letter spacing if you want the names to look more spaced out and easier to read.
- Resize and position the names so they fit nicely inside the fists.
- Finally, weld the text together to avoid unwanted cut lines between letters.

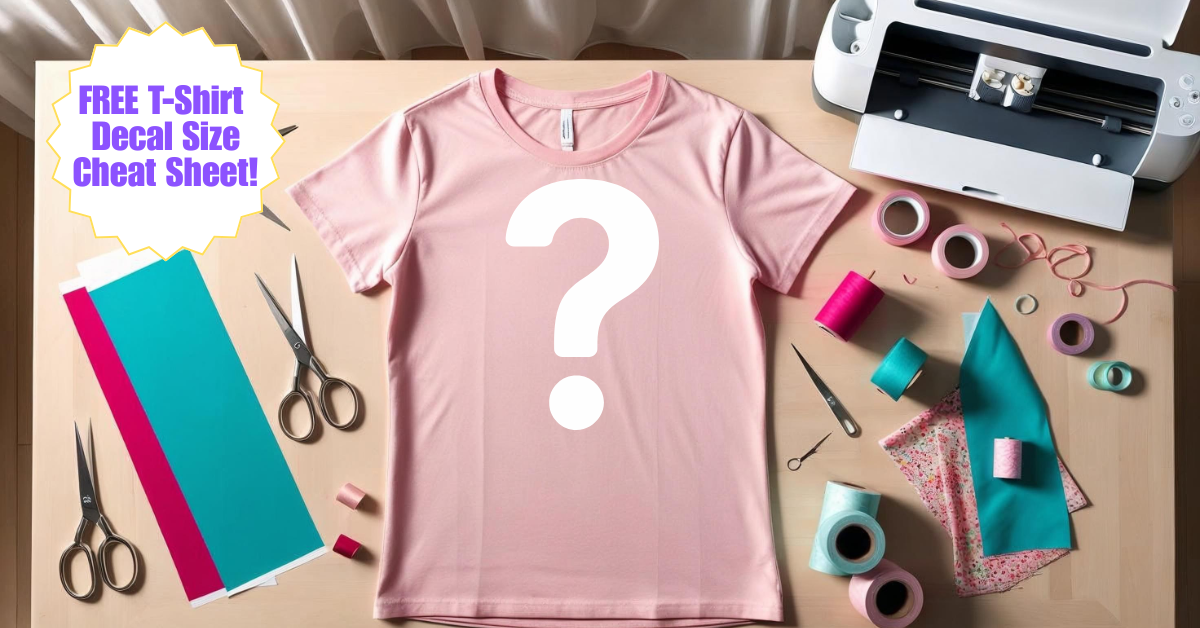
Step 4: Measure Your Shirt and Resize Your Design
Before cutting, it’s important to measure your shirt so the design fits perfectly.
- Lay your shirt flat and measure the width where you want the design to go. For me, that’s about halfway between the neckline and the bottom of the chest area.
- For a 3XL shirt, I found that a design width of about 14 inches works well.
- The height can vary, but mine was about 7.5 inches tall after resizing in Design Space.
Back in Cricut Design Space, select your entire design and drag the corner handles to resize it to your measured width (about 14 inches). Keep the proportions locked so the height adjusts automatically.

Step 5: Prepare for Cutting
Since your design is wider than 12 inches, you’ll need to use the 12 x 24 inch cutting mat.
Before cutting, don’t forget these important steps:
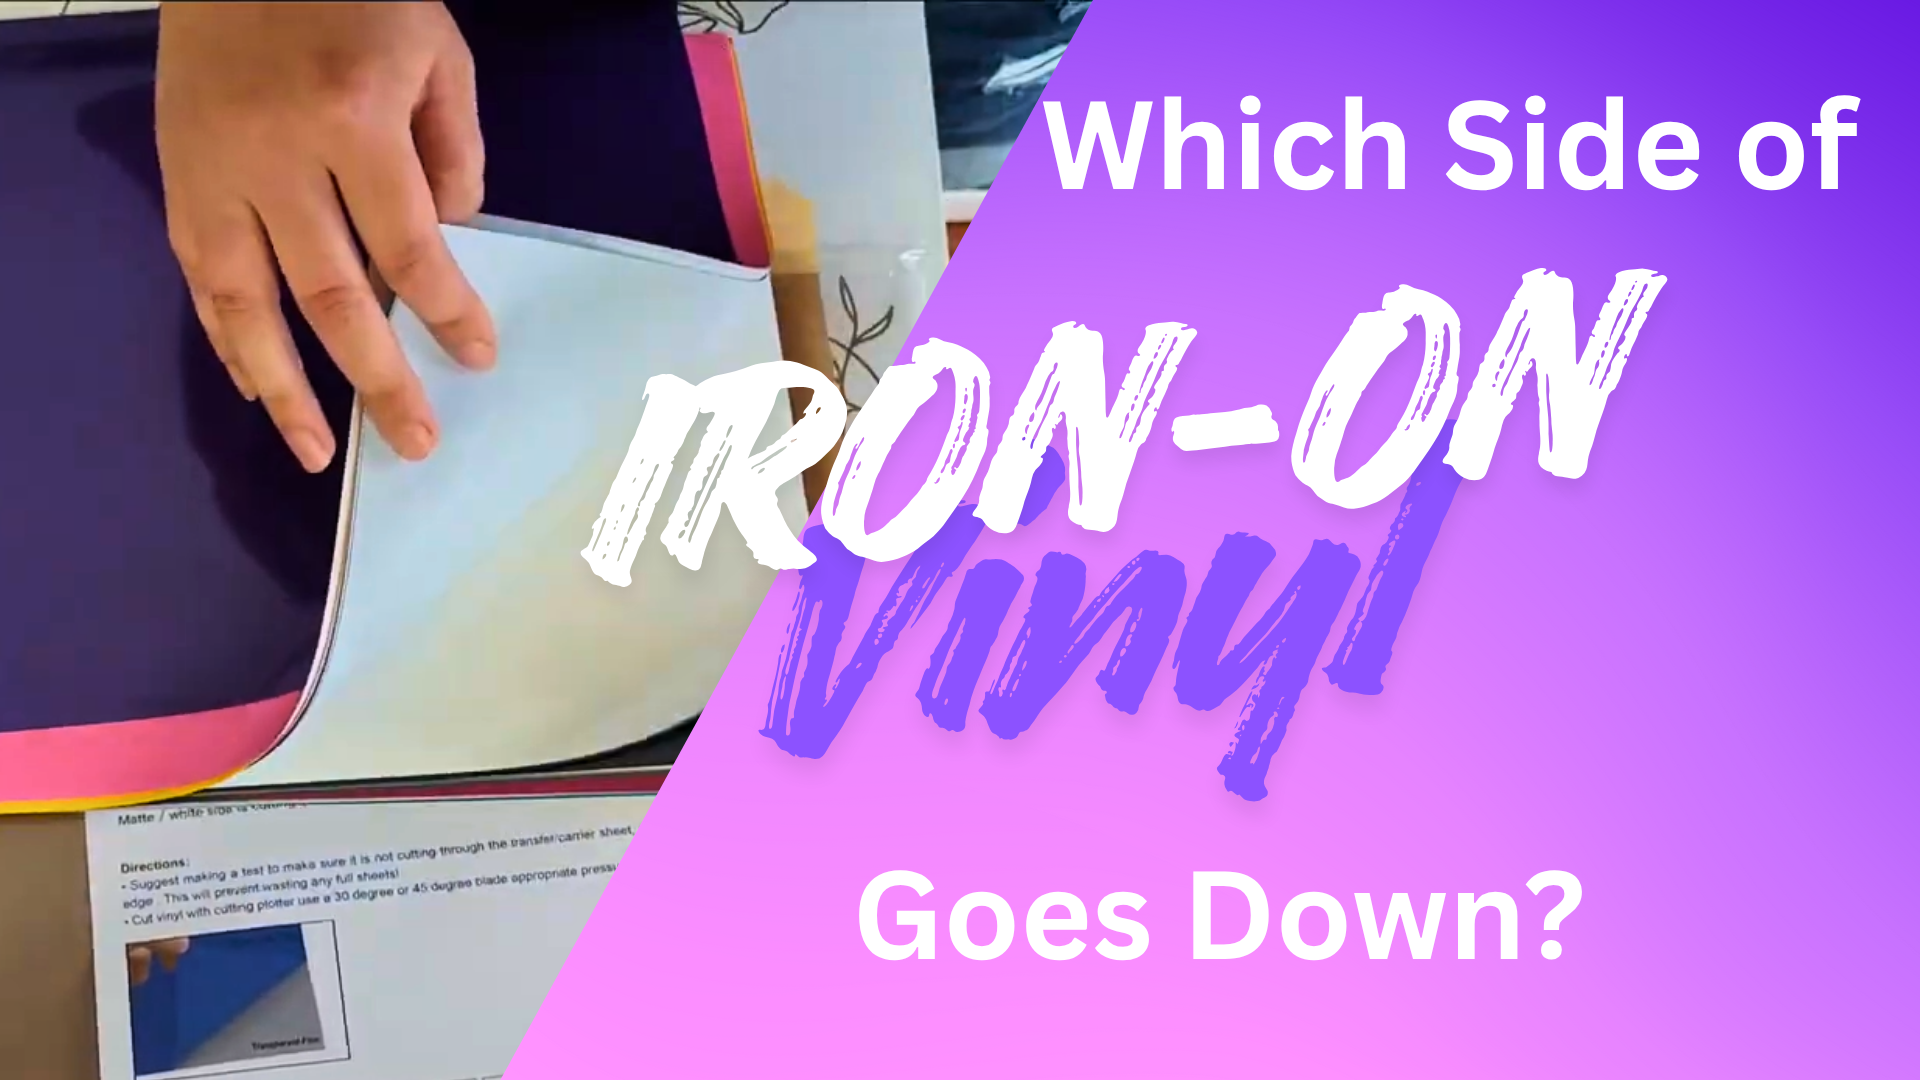
- Mirror your image: When working with heat transfer vinyl, always mirror your design horizontally. This ensures the text and images face the right way when pressed onto the shirt. Cricut Design Space has a new Auto Mirror feature that automatically mirrors your image when you select a heat transfer material.
- Load the mat and vinyl correctly: Place the shiny side of your heat transfer vinyl down on the mat (the plastic carrier sheet should touch the mat).
- Trim your vinyl: Using a Cricut trimmer or scissors, cut a piece of vinyl slightly larger than your design size. I cut mine about 14.5 inches long to give some extra room.

Step 6: Cut Your Design on the Cricut Machine
Now it’s time to let your Cricut do its magic!
- Load your mat into the Cricut machine.
- Select the material setting to “Everyday Iron-On” or the closest match for your heat transfer vinyl.
- Start the cut and kick back and relax while the machine works.
Once the cut is finished, carefully remove the mat from the machine, then cut off the excess vinyl around your design. Save the scraps for future projects!

Step 7: Weed Your Design
Weeding is the process of removing the unwanted vinyl pieces from your design, leaving only the parts you want to transfer to your shirt.
Heat transfer vinyl is pretty easy to weed compared to other vinyl types. You can grab the corner of your design and gently peel back the unwanted vinyl. The sticky carrier sheet helps keep everything in place, so your design won’t shift. Use a weeding tool to get into small areas if needed.

Step 8: Heat Press Your Shirt and Vinyl
Before applying your design, preheat your shirt to remove wrinkles and moisture. This helps your vinyl stick better. Use a lint roller on the shirt so you have a perfectly clean surface for your iron-on vinyl to adhere to.
- Set your heat press to about 305°F (150°C).
- Press the shirt alone for 15 seconds to flatten and prep the fabric.

Next, position your weeded vinyl design on the shirt with the carrier sheet facing up. Cover the design with a Teflon sheet and press for the recommended time (usually around 15 seconds or follow vinyl instructions). Then carefully peel off the carrier sheet once cooled or warm, depending on your vinyl type.

Step 9: Final Touches and Care Tips
Once your design is pressed and the carrier sheet is removed, your custom Father's Day shirt is ready to wear or gift!
Here are a few extra tips to keep your shirt looking great:
- Wash inside out on a gentle cycle to protect the vinyl.
- Avoid high heat drying; air dry or tumble dry low.
- If the vinyl starts to lift, you can re-press it with your heat press or iron.
And don’t forget to unplug your heat press when you’re done to save energy and stay safe.

Frequently Asked Questions (FAQ)
Can I use a Cricut Joy for this project?
The Cricut Joy has a maximum cut width of about 4.5 inches, which is too small for this design unless you break it into smaller pieces and assemble them like a puzzle. For an easier experience, I recommend using a Cricut Maker, Venture, or Explore series machine.
What type of heat transfer vinyl is best?
I always use Siser EasyWeed heat transfer vinyl. It’s easy to weed, durable, and works well with most heat presses. Plus, it comes in a wide variety of colors.
Do I have to use a heat press, or can I use an iron?
You can use a household iron if you’re just making a few shirts for personal use. However, a heat press gives a more consistent temperature and pressure, which makes your design last longer. If you plan to sell shirts, a heat press is definitely worth the investment.
How do I know what size to make my design?
Start by measuring the area on the shirt where you want the design to go—typically about 3 inches below the neckline for adult shirts. A common width for adult designs is 9 to 11 inches, but it depends on the shirt size and the look you’re going for. Use a ruler or t-shirt placement guide to help with sizing and positioning, especially if you're making kids' shirts or smaller designs like chest logos.
Why do I need to mirror the image when cutting heat transfer vinyl?
Heat transfer vinyl is cut on the back side, so mirroring the image ensures that when you press it onto your shirt, the design appears the right way around.
Where can I find good designs and fonts?
Creative Fabrica is my favorite source for fonts and SVG designs. They offer a commercial license with their subscriptions, which is perfect if you want to sell your projects. Plus, they have great deals and a free trial if you want to check them out.
Another great option is Dafont.com, which has a huge collection of free fonts. Just keep in mind that many of the fonts on Dafont are for personal use only, so be sure to check the license before using them for anything you plan to sell.
Wrapping Up
Making a personalized Father's day Cricut T-shirt is a wonderful way to show Dad some love with a custom, handmade gift. This project is beginner-friendly, quick, and uses materials you can easily find or order online.
Remember to take your time measuring and customizing your design, and enjoy the process of creating something unique. Whether it’s for Father’s Day, a birthday, or just because, a DIY shirt made with love is always a hit.
Happy crafting!