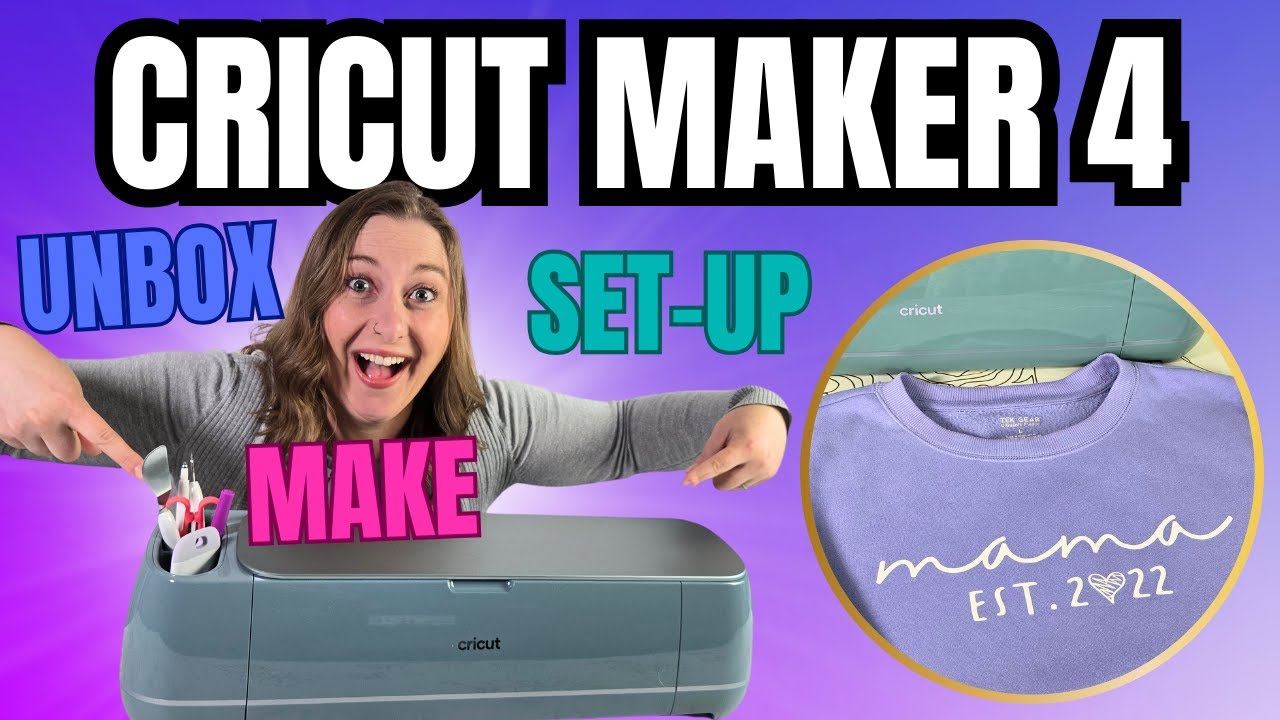
If you’ve been thinking about upgrading to the Cricut Maker 4 or buying your very first Cricut machine, you’ve come to the right place!
This guide will walk you through everything from unboxing the Cricut Maker 4, setting it up, and creating your first custom project: a Mother’s Day sweatshirt using iron-on vinyl.
You can also watch the video for this post here!

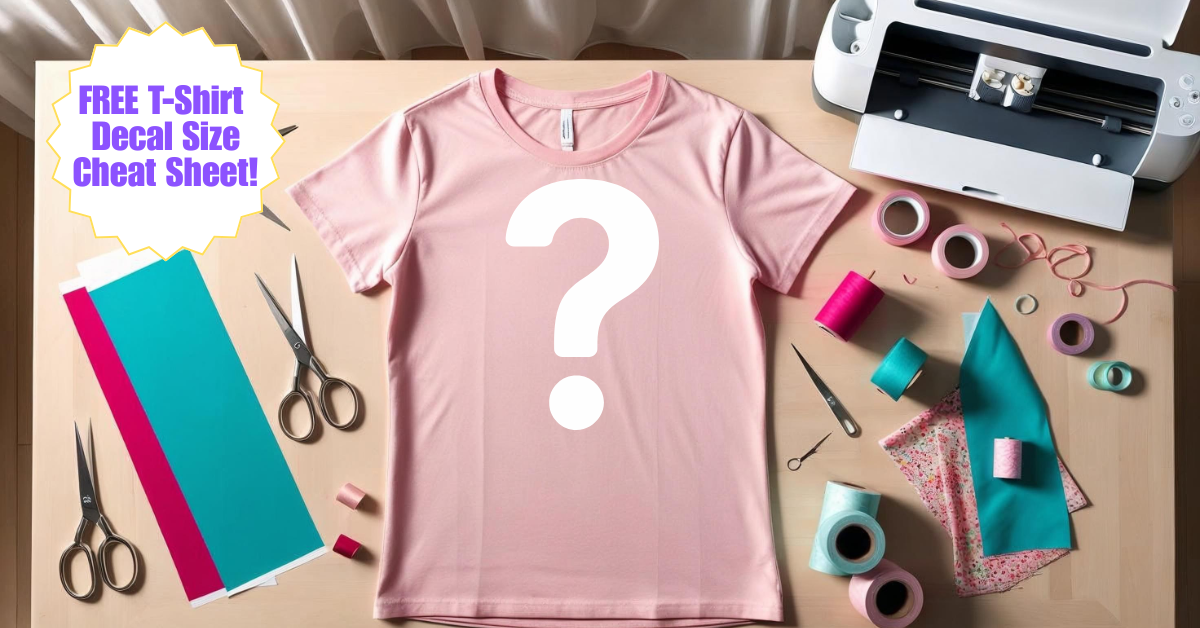
🎉 Get a Free T-Shirt Decal Sizing Guide! 🎉
Plus, Sign up for our email newsletter and we’ll send you our super handy decal sizing guide—totally free! Perfect for Cricut lovers, small biz crafters, or anyone who wants their tees to look just right. Keep reading to find out how!
Whether you’re new to Cricut or a few models behind like me, I’ll show you how easy and fun it is to get started with this powerful cutting machine.
/

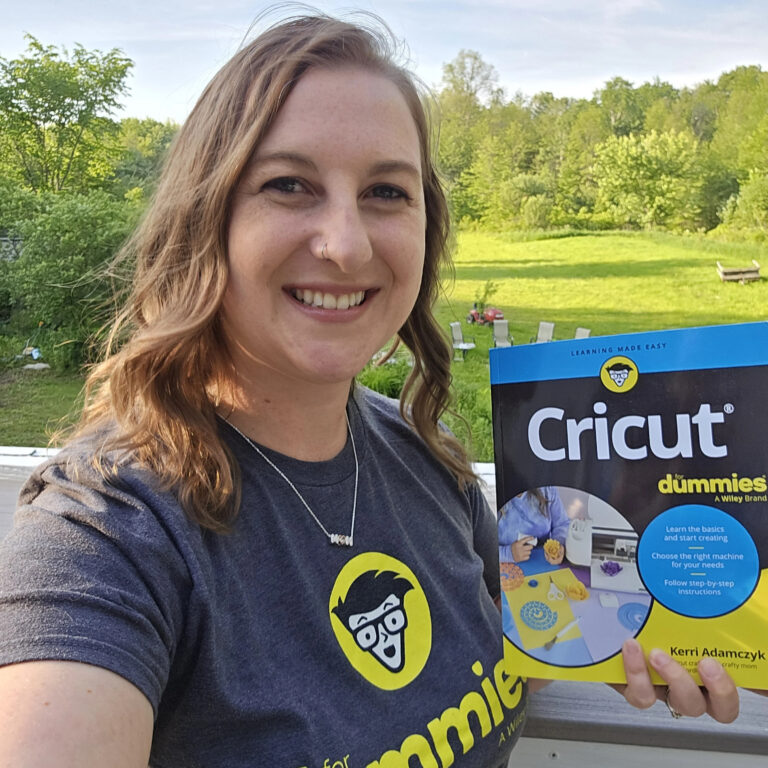
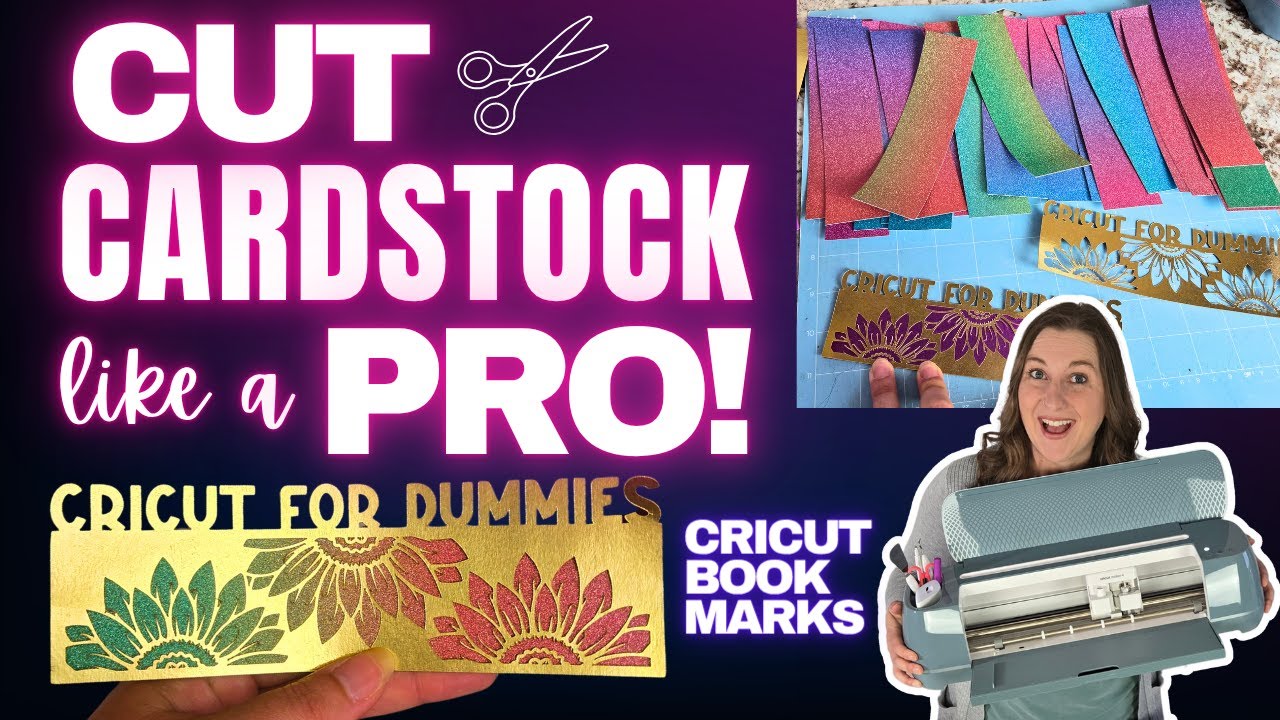
Preorder Cricut For Dummies!
As the creator behind Kerri Crafts It, I’ve been making Cricut videos since 2020 and have shared tons of tutorials on iron-on vinyl, adhesive vinyl, printable vinyl, and more. I’m also the author of Cricut for Dummies, a beginner-friendly book packed with tips, project ideas, and step-by-step help to get the most out of your machine.
You can preorder Cricut For Dummies now at Amazon, Target, Barnes & Noble, and other bookstores.
Cricut for Dummies is your fun, no-stress guide to mastering your machine. From setting it up to making your first cute vinyl project, we’ve got your back—step by easy step.
📦 No tech talk. Just real tips for real crafters.
🖨️ Perfect for beginners.
🎨 Projects you'll actually want to make!
Grab your copy and start creating today—because crafting should be fun, not frustrating! ✂️✨
Now, let’s dive into what makes the Cricut Maker 4 special, how to set it up, and how to make your first project with it!
Table of Contents
- Step 1: What Is the Cricut Maker 4 and What’s New?
- Step 2: What’s in the Cricut Maker 4 Bundle?
- Step 3: Setting Up Your Cricut Maker 4
- Step 4: Testing Your Machine with a Vinyl Decal
- Step 5: Making a Custom Mother’s Day Sweatshirt with Iron-On Vinyl
- Step 6: Heat Press Your Design onto the Sweatshirt
- Step 7: Should You Get the Cricut Maker 4?
- FAQs About Cricut Maker 4 and Iron-On Vinyl Projects
- Final Thoughts
Step 1: What Is the Cricut Maker 4 and What’s New?
The Cricut Maker 4 is Cricut’s latest smart cutting machine, part of their new “4” series lineup alongside the Explore 4. It’s not a total redesign from the Maker 3, but it’s a fantastic upgrade, mainly because it’s much faster.
In fact, the Maker 4 cuts about twice as fast as the Maker 3, and compared to my original Maker, it’s four times faster!

The Maker series uses the adaptive tool system, letting you use a variety of blades and tools like the knife blade and rotary blade. This means you can cut thicker materials such as chipboard and fabric with ease.
The Maker 4 also supports Cricut Smart Materials, which you can cut without a mat — perfect for big projects like wall decals or party banners.
One of the best things about Cricut machines is that they are super beginner-friendly. You’ll use Cricut’s software called Design Space, which is mostly free to use. However, extras like special fonts, images, and tools come with a subscription called Cricut Access.
The Cricut Maker 4 bundle I have comes with a free month of Cricut Access, so you can try it out and see if it’s worth it for you.
If you’re just starting with Cricut, the Maker 4 is a great machine to begin with. And if you have an older model, you’ll definitely notice the difference in speed and performance.
What Can You Make with the Cricut Maker 4?
The possibilities are nearly endless! You can create:
- T-shirts and sweatshirts
- Custom mugs
- Vinyl decals for water bottles or windows
- Greeting cards
- Labels
- Wall art
It works with over 300 materials, so there’s plenty of room to grow your skills and projects. I have tutorials for many of these projects on my YouTube channel and in my book.
Step 2: What’s in the Cricut Maker 4 Bundle?
The bundle I got is the Sage Cricut Maker 4 Essentials Bundle, which is a Michaels exclusive and comes in a beautiful sage green color. It includes the machine itself and some essential tools and materials to get you started right away. This bundle is perfect for beginners because you don’t have to buy a ton of extras upfront.
However, there are a few additional tools I recommend picking up to make your crafting life easier:
- Brayer tool: Like a mini rolling pin, it helps smooth vinyl and paper onto your mat without bubbles or wrinkles.
- Standard grip and strong grip mats: The standard grip mat works for most materials, while the strong grip mat is great for thicker materials like glitter heat transfer vinyl.
- Vinyl trimmer: My favorite is the Cricut One vinyl trimmer because of its swing-out arm and super straight cuts.
I’ve linked all my favorite tools and materials in the video description below for easy shopping.
Step 3: Setting Up Your Cricut Maker 4
Getting your Cricut Maker 4 ready to use is simple and straightforward. Here’s how to do it:
- Plug in your machine and turn it on.
- Open Cricut Design Space: Go to design.cricut.com on your computer or mobile device.
- Select your machine: Click on the search products bar and choose Cricut Maker 4 from the dropdown list.
- Download and install Design Space: If you’re on a computer, agree to the terms and download the app. Wait for it to install.
- Connect your machine: You can connect via USB or Bluetooth. I prefer Bluetooth for wireless convenience.
- Activate your machine: Follow the prompts in Design Space to activate your Cricut Maker 4.
- Decide on Cricut Access: You’ll be offered a free trial for Cricut Access, Cricut’s subscription service for extra fonts, images, and projects. I personally use Creative Fabrica instead, but you can try Cricut Access for free and decide if it’s right for you.

Once you’ve completed these steps, you’re ready to make your first project!
Step 4: Testing Your Machine with a Vinyl Decal
Before jumping into a full project, it’s a good idea to test your machine with the vinyl decal that comes in the bundle. This ensures everything is working perfectly.
- Click “Continue” in Design Space to start the test cut.
- Grab the vinyl sheet from the envelope that came with your machine.
- Insert the sheet under the white guides until it reaches the gray rollers.
- Press the blinking double arrow on your machine to load the mat.
- Press the “Go” button to start cutting.
- After cutting, unload the mat and carefully weed the vinyl by peeling away the excess material.

Now that your machine is ready and working well, let’s move on to making something fun!
Step 5: Making a Custom Mother’s Day Sweatshirt with Iron-On Vinyl

For our first real project, we’ll make a cute Mother’s Day sweatshirt for my best friend Erica using iron-on vinyl (also called heat transfer vinyl or HTV). You can use the same process for t-shirts, pillowcases, towels, or any fabric you want to customize.
Materials You’ll Need
- Cricut Maker 4 machine
- Heat transfer vinyl (I'm using Siser EasyWeed brand today)
- Standard grip mat (12×12 inches works well)
- Vinyl trimmer or scissors
- Weeding tools
- Lint roller
- Teflon sheet (to protect your fabric while heat pressing)
- Heat press (I use the HTVRont Auto Heat Press 2)
- Sweatshirt or shirt of your choice

Step-by-Step Process
1. Start a New Project in Design Space
Open Design Space and click “New Project.” You’ll see options for vinyl decal, iron on t-shirt, gift tags, or blank canvas. For this project, select “Iron On Vinyl T-Shirt.” This option brings up a sizing guide to help you decide how big to make your design.

The sizing guide defaults to an adult medium shirt. I’m not sure if there’s a way to change the shirt size in Design Space, so if you know, please share in the comments!
2. Choose Your Design
I get most of my fonts and designs from Creative Fabrica, which is a great alternative to Cricut Access. Their subscription costs $3.99 a month or $47 a year, and you get unlimited downloads, including commercial and print-on-demand use — perfect if you want to sell your creations.
Go to Creative Fabrica and find the design you want. I chose a fun “Varsity Mama” design for this sweatshirt.
Download the file using the download button. Find SVG file (the one labeled “SVG” or with the SVG icon) and open it, then save it to a folder on your computer.

3. Upload Your Design to Design Space
- In Design Space, click “Upload” then “Upload Image.”
- Browse to the folder where you saved your SVG file and select it.
- Design Space automatically removes the background from SVG files, so no extra cleanup is needed.
- Click “Upload” to add the design to your canvas.

4. Edit Your Design
Now you can resize and move your design on the canvas. Use the corner arrows to shrink or enlarge it. If you make a mistake, use Ctrl+Z to undo.
For this project, I wanted to change the year from “2025” to “2022.” To do this, use the “Ungroup” button to break apart the design, delete the “5,” copy and paste another “2,” and then “Weld” or “Unite” the design back together so it cuts as one piece.
Welding is permanent and can’t be undone, while uniting can be reversed later. I prefer uniting for flexibility.

5. Size Your Design for Your Shirt
Measure your shirt with a ruler and compare it to a t-shirt decal size guide. If you don't have one, don't worry!
🎉 Get a Free T-Shirt Decal Sizing Guide! 🎉
Sign up for our email newsletter and we’ll send you our super handy decal sizing guide—totally free! Perfect for Cricut lovers, small biz crafters, or anyone who wants their tees to look just right.
For a woman’s large shirt like mine, the decal size should be between 10 and 11 inches wide.
Resize your design in Design Space accordingly. Mine ended up about 11 inches wide.

6. Prepare to Cut
Click “Make” in Design Space. It will ask if you’re cutting with or without a mat. Since I’m using regular Siser EasyWeed HTV, I’m using a 12×12 inch mat.
Make sure the “Mirror” toggle is on — this flips your design horizontally so it presses correctly onto your shirt. Design Space now has an auto-mirror feature when you select heat transfer vinyl, which is super helpful.

7. Load Your Mat and Cut
Cut a piece of heat transfer vinyl about 12 inches long and a bit over 3 inches wide. Use a brayer tool to smooth it flat on your mat.
Load the mat under the guide tabs in your machine and press the blinking double arrow to load it. Press the “Go” button to start cutting.

8. Weed Your Design
After cutting, unload your mat and use your weeding tools to carefully peel away the excess vinyl, leaving only your design on the clear carrier sheet. Start from the upper corner and work slowly.

Step 6: Heat Press Your Design onto the Sweatshirt
Now for the fun part — pressing your design onto the shirt! I do this in my basement craft studio, which I call the Kerri Crafts It laser lounge. It’s a cozy space filled with crafting supplies and machines.

I use the HTVRont Auto Heat Press 2, which is beginner-friendly and easy to use. Here’s how to heat press your design:
- Turn on the heat press and set the temperature to 305°F and time to 15 seconds.
- While it heats up, lay your shirt flat and use a lint roller to remove any dust or lint.
- Place a Teflon sheet over the shirt to protect it.
- Close the heat press and start the timer to preheat the shirt and remove moisture and wrinkles.
- Open the press and place your weeded design on the shirt, about 3 inches below the neckline.
- Cover the design with the Teflon sheet again and close the press.
- Press for 15 seconds, then open the press and let the shirt cool.
- Peel off the clear carrier sheet gently.

And just like that, you have a custom Mother’s Day sweatshirt, ready to gift!

Step 7: Should You Get the Cricut Maker 4?
If this is your first Cricut machine, the Maker 4 is definitely the best choice. It’s fast, versatile, and beginner-friendly.
If you’re using an older machine like the Maker or Explore Air 2, upgrading to the Maker 4 is totally worth it for the speed and new features.
But if you already have the Cricut Maker 3, you can probably wait unless speed is super important to you. The two machines are very similar, with the Maker 4 mainly being faster.
FAQs About Cricut Maker 4 and Iron-On Vinyl Projects
Q: Do I need Cricut Access to use the Cricut Maker 4?
A: No, Cricut Design Space is free to use for most features. Cricut Access is a subscription for extra fonts, images, and projects. You get a free month with the Maker 4 bundle to try it out.
Q: Can I use heat transfer vinyl on any fabric?
A: You can use HTV on cotton, polyester, blends, and other fabrics. Always check the HTV brand instructions and test on a small area if you’re unsure.
Q: What’s the difference between welding and uniting in Design Space?
A: Welding permanently joins your design pieces into one shape and can’t be undone. Uniting groups them but lets you separate them later if needed.
Q: How do I know what size to make my iron-on design?
A: Measure your shirt and use a decal size guide. I offer a free cheat sheet on my website to help with sizing and placement.
Q: Can I cut without a mat?
A: Yes, if you use Cricut Smart Materials designed for matless cutting. Otherwise, use the appropriate mat for your material.
Q: Is the Cricut Maker 4 compatible with all Cricut tools?
A: Yes, it uses the adaptive tool system, so all your existing Maker tools will work with it.
Final Thoughts
The Cricut Maker 4 is a fantastic machine for anyone looking to dive into crafting with vinyl, fabric, paper, and more. Its speed, versatility, and ease of use make it a great choice for beginners and seasoned crafters alike.
This tutorial showed you how to unbox, set up, and make a simple but meaningful project — a custom Mother’s Day sweatshirt. With the right tools and a little creativity, you can make so many personalized gifts and decorations.
Don’t forget to check out my book, Cricut for Dummies, for more beginner-friendly tips and projects. You can preorder it now at Amazon, Target, Barnes & Noble, and many other stores.
For even more tutorials, tips, and inspiration, visit my blog at kerricraftsit.com. And if you want to see more Cricut projects, I have a whole playlist ready for you on YouTube!
Happy crafting, and I can’t wait to see what you create with your Cricut Maker 4!