Want to create those stunning 3D crystal photo cubes you see in gift shops? The ones that look like magic floating inside solid glass? Now you can make them at home.
I've tested a lot of lasers over the years, but the ComMarker Omni X UV 5W laser engraver is on a whole new level. It opens the door to products with very little competition because almost no one else can make them. For the first time ever, you can do real 3D engraving inside glass blocks at home without spending a fortune.

If you're thinking about adding unique, high-value products to your craft business, this machine is worth a serious look. It also works great on wood, leather, stainless steel, clear acrylic, and over 1,500 other materials. Let me walk you through everything I discovered.

✨ What You'll Learn
- How a UV laser differs from diode and CO₂ lasers
- A tour of the Omni X features you'll actually use
- Real project results on metal, wood, acrylic, and glass
- How 3D glass engraving works and where to find STL files
- Ideas to turn these projects into products you can sell
Quick Links / Table of Contents
Materials You'll Need
Here's everything you'll need to create UV laser projects with the Omni X:
- ComMarker Omni X UV 5W laser engraver – The star of the show for 3D glass engraving
- An air purifier or exhaust fan, I love the WeCreat Booster Fan – Helps exhaust fumes out a window
- K9 crystal cubes or clear glass blocks – For 3D internal engraving
- 3mm basswood sheets – Great for testing and wood projects
- Metal blanks like bottle openers or business cards – For custom metal gifts
- 3D Glass Cube Blanks – 100×50×50mm K9 Glass Crystal Cube for 3D Engraving
- Creative Fabrica subscription – For SVGs, fonts, and ready-to-engrave STL 3D files
*Applies to laser engravers, accessories & more. Affiliate link.
What Makes the Omni X Different
The ComMarker Omni X is a fully enclosed UV laser with autofocus and zero burn technology. That means you can watch it run safely without goggles thanks to its built-in laser shield. The ComMarker Omni X takes the guesswork out of focusing your laser, just place an item, and the machine finds the perfect height when you click the auto focus button.
The machine comes with a 70mm and 150mm lens, giving you a max 150x150mm work area, which is expandable to 400mm x 150mm with ComMarker's slide extension. The enclosure vents fumes outside, and it has an exhaust fan where you can attach a booster fan to help exhaust air out a window.

Key Features:
- UV “cold” engraving — Changes materials via light-driven chemical reactions instead of heat, so less charring, melting, or warping
- Tiny spot size — The ComMarker Omni X spot size is extremely small (0.0019 mm), which gives super fine detail for photo engraving
- Available Rotary and slide extension — Smooth roll 360 engraving via a chuck or rollers handles cylinders, spheres, and rings. With the slide extension the working area reaches 150 x 400 mm (about 5.9 x 15.7 inches)
- Software flexibility — Use ComMarker's easy software or LightBurn if you prefer
Project Tests and Real Results
Metal – Bottle Openers and Business Cards
I started with bottle openers. The ComMarker Omni X projects an outline of the design onto your blank so you can check placement. It came with a green transparent paddle that makes that outline visible and easy to adjust.

My first try at engraving stainless steel with a UV laser engraver looked great, the engraving looked white when you look straight at it with a cool rainbow effect when you look at it from the side.

The laser settings I used to engrave these stainless steel bottle openers with the ComMarker Omni X were:
- Speed: 1000 mm/s
- Frequency: 40 KHz
- Pulse Width: 1 us
- Interval: .02
- Passes: 1
- Fill Angle: 45 degrees
I wanted to try to get some black engraving on stainless steel, so I flipped the opener, increased power, and got a deeper darker engraving. The settings I used to get black engraving on stainless steel were:
- Speed: 20 mm/s
- Frequency: 40 KHz
- Pulse Width: 1 us
- Interval: .01
- Passes: 1
- Fill Angle: 45 degrees

By the way, if you like this design and want to use it yourself, you can find it, and thousands more at Creative Fabrica. I use Creative Fabrica so much because it includes a commercial license so you can sell the products you make.
Since I was able to get such different colors by changing the settings, I tried mixing two settings in a single design to create shading on a soccer-ball graphic. It worked — darker spots for the dark parts and lighter spots for the rest. I also engraved a logo on a black metal business card and loved the professional contrast.

💡 Pro Tip: Try mixing two power settings in a single design to create shading effects on metal. Use darker settings for shadows and lighter settings for highlights.
Wood – Basswood Cuts and Engravings
Engraving and cutting basswood with the ComMarker Omni X blew me away. Cuts were clean with almost no charring thanks to its Cold Laser technology. The engraved detail was crisp thanks to the Omni X's tiny laser spot size and you could actually see the natural wood grain through the design, giving a hand-carved look straight out of the machine.
I tested medium, dark, and extra dark passes and got smooth, consistent results. It cut through basswood quickly and cleanly.

Clear Acrylic – No Prep, Frosty Results
Clear acrylic was a joy. No marking spray, no paint, no messy prep — just pop it in and go. The engravings came out frosty white, clean, and sharp without the extra steps diode lasers often need.
If you've been frustrated trying to engrave clear acrylic with other lasers, check out my guide on how to cut acrylic with a laser for more tips with a diode laser.

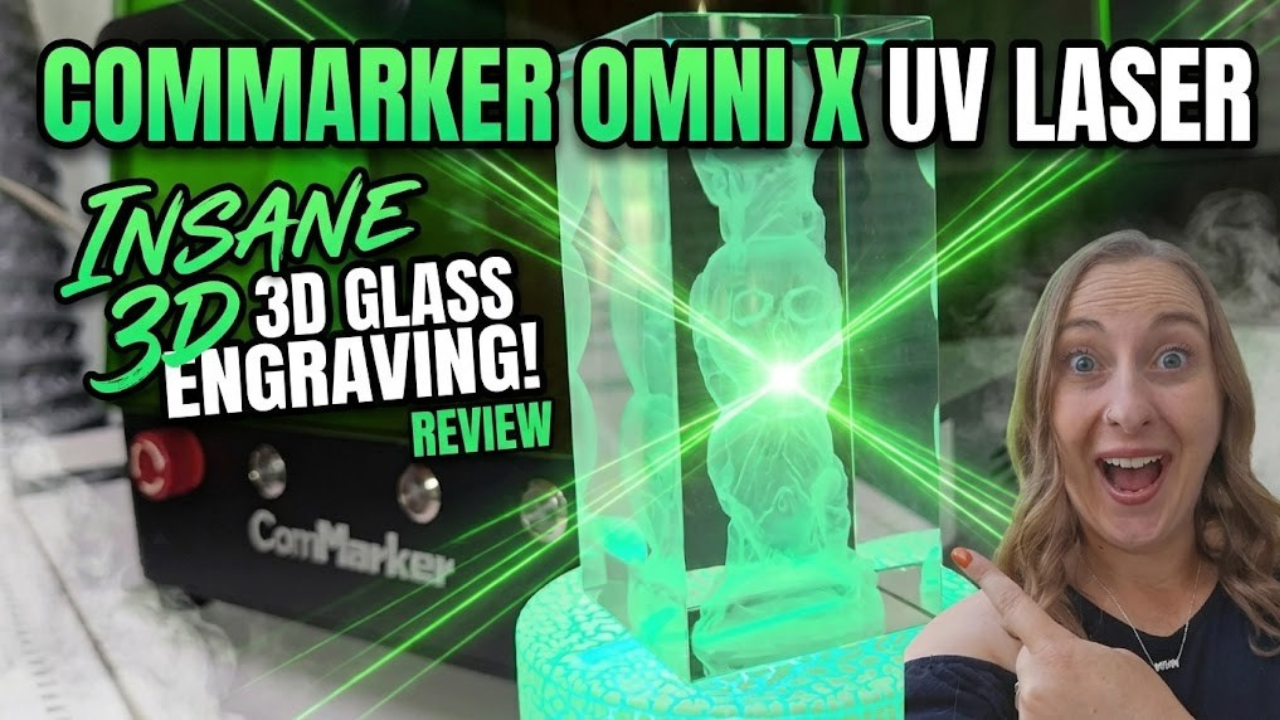
3D Glass Engraving – The Showstopper
This is the feature that truly stunned me. The Omni X engraves tiny points deep inside glass blocks using STL 3D model files. It creates a point-by-point, layer-by-layer array of micro fractures inside the crystal without touching the surface. The result: floating 3D images inside a solid block of glass.

I made a Star Wars ship that captured every groove and panel. It looks like a collectible statue floating in midair. I also engraved stacked spooky skulls that glow under a color-changing base and converted our wedding photo into a floating 3D image inside a square glass cube.
You can place the image near the top of the glass block or deep in the center. I left room at the bottom of one cube to add our names and date later.

⚠️ Important: For best 3D glass results, use high-quality K9 crystal or optical-grade glass. Lower quality glass can have impurities that affect the engraving clarity.
How 3D Glass Engraving Works

To make a floating 3D image you load an STL file into the software. The UV laser fires tiny focused pulses that create micro points inside the glass. Layer by layer the image forms within the crystal, not on the surface. Because the process is light-driven instead of heat-driven, the surface stays intact.
If you need STL files, Creative Fabrica is my go-to. They have many ready-to-engrave 3D STL files plus fonts, SVGs, and laser-ready assets. Their subscription is affordable compared to buying individual files elsewhere.
Watch my full ComMarker Omni X review video here
UV vs Diode vs CO₂: Which Laser Does What?
Wondering which type of laser is right for you? If you're new to laser engraving, check out my guide on choosing the best laser engraver to compare your options.
Here's the quick breakdown:
UV lasers like the Omni X change materials through a chemical reaction caused by ultraviolet light. That cold process reduces burning, melting, and damage to delicate materials.
Diode lasers work by heat — they burn and melt the top layer. Diode lasers like the WeCreat Vision are great for wood, leather, paper, and darker acrylics but struggle with clear glass, clear acrylic, and shiny metals without marking sprays or paint.
CO₂ lasers also work by heat and are great for many materials but cannot do true 3D engraving inside glass.
Key differences:
- UV laser — Can engrave bare metal, clear acrylic, and inside glass; tiny spot size for crisp photos
- Diode laser — Best for wood, leather, and darker materials; larger spot size and more charring
- CO₂ laser — Powerful for cutting and engraving many materials, but not for 3D internal glass engraving
Price and Value
The ComMarker Omni X was on sale for $4,599, down from $5,299 at the time I tested it. That price is thousands less than the old glass-engraving machines that cost tens of thousands of dollars. If you decide to buy one, use coupon code Cricuter for an extra 5% off your order. That would save you $264!
*Applies to laser engravers, accessories & more. Affiliate link.
For makers who want to add unique, high-value products like 3D glass cubes, this machine can be a game changer.
Creative Project Ideas
Looking for inspiration? Here are some projects you can make and sell with the Omni X:
- Floating wedding photos inside crystal cubes — perfect keepsakes and anniversary gifts
- Collectible figures or vehicles engraved in glass — for niche fandom markets
- Personalized metal items — custom-crafted bottle openers and business cards
- Cylindrical engraving — tumblers, wine glasses, and rings with detailed logos
- Custom acrylic signs — with frosty white engraving for home decor or awards
If you're interested in tumbler projects, my guide on how to laser engrave tumblers covers everything you need to know for diode machines to get you started. Keep an eye out for my upcomin post about engraving tumblers with the ComMarker Omni X
From Hobby to Side Hustle: Making Money with UV Laser Projects
UV laser products can command higher prices because of their novelty and detail. If you're thinking about starting a craft business, here are some tips:
- Profit margins: Premium 3D crystal cubes and custom metal gifts can have healthy margins if you buy blanks in bulk
- Market demand: Wedding keepsakes, fandom collectibles, and corporate gifts sell well on Etsy, craft fairs, and local shops
- Efficiency tips: Batch similar jobs, use templates, and prepare files ahead to speed production
- Platforms: Etsy, Shopify, local gift shops, and social media storefronts work well for custom pieces
For more ideas on pricing your handmade items, check out my guide on how to price your items.
Tips & Troubleshooting
- Test on scrap material first: Always dial in your settings before using your good blanks
- Use quality glass: K9 crystal or optical-grade glass gives the clearest 3D results
- Ventilation matters: Even with the enclosed design, connect a booster fan for proper fume extraction
- STL file quality: Higher polygon count STL files produce more detailed 3D engravings
- Photo conversion: For 3D photo cubes, use high-resolution images with good contrast
- Batch production: Group similar projects together to maximize efficiency and profits
FAQ
Q: What materials can the ComMarker Omni X engrave? A: The Omni X can engrave over 1,500 materials including wood, leather, stainless steel, clear acrylic, clear glass, and even bare metals. It also does 3D internal glass engraving.
Q: How is a UV laser different from a diode laser? A: UV lasers change materials with ultraviolet light, not heat. That reduces charring and allows engraving on tricky surfaces like clear glass and bare metal. Diode lasers rely on heat and are best for wood, leather, and dark acrylics.
Q: Can I engrave photos inside glass at home? A: Yes! The Omni X uses STL 3D model files to engrave tiny internal points inside glass, creating floating 3D photos and objects. The process is point-by-point and layer-by-layer without touching the surface.
Q: What software do I need to run the Omni X? A: You can use ComMarker's easy software or opt for LightBurn if you prefer. For 3D glass projects you will need STL files, which you can prepare or purchase from places like Creative Fabrica.
Q: How much does the Omni X cost? A: At the time of testing the Omni X was on sale for $4,599, down from $5,299. Pricing can vary, so check the vendor for current offers.
Downloads & Design Files
- Creative Fabrica – Download unlimited designs including STL 3D files, SVGs, and fonts with a commercial license
About Kerri Crafts It
I started with Cricut projects and expanded into laser engraving, sublimation, DTF printing, and other ways to build a craft business. I love showing simple ways makers can level up their offerings. I also wrote Cricut For Dummies to help new crafters get started. My goal is to share tools and techniques that help hobbyists turn creativity into profit.
Community Invite
Now it's your turn! If you try a project with the Omni X (or any UV laser), I want to see it.
Share photos in my Facebook group, tag @kerricraftsit on Instagram, or post with a hashtag and drop a link in the comments. Tell me what you'd engrave first — keepsake cubes, metal gifts, or photos?
Find me on all platforms: linktr.ee/kerricraftsit
Social Links:
- Visit YouTube
- Follow on Facebook
- Follow on Instagram
- Follow on TikTok
- Follow on Pinterest
- Shop on Etsy
More Projects You'll Love
- Best Laser Engraver for Beginners – Compare options before you buy
- ComMarker B6 Review – Another great option for metal engraving
- How to Laser Engrave Tumblers – Step-by-step tumbler guide
- Best Laser Engraving Blanks – Where to find materials
- Laser Cutting Boards – Another profitable project idea