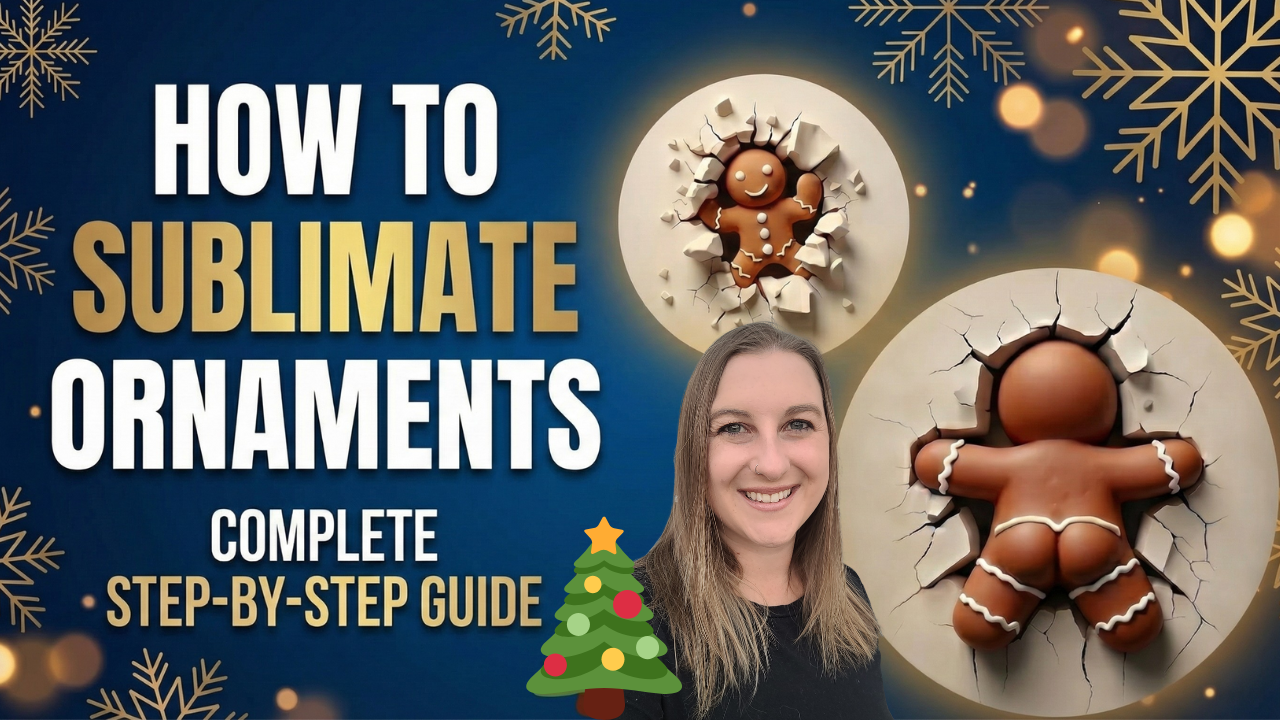
Looking for a fun Christmas craft that will make people do a double take? I recently stumbled upon the funniest and most creative sublimation designs I've ever seen. These optical illusion ornaments look like they're popping right off the surface, and I couldn't stop laughing when I saw them!

These aren't 3D printed ornaments in the traditional sense. They're sublimation designs made to look three-dimensional. It's so cool how they create that effect. Whether you want to sell them during the holiday season or make unique gifts, this project is a total crowd-pleaser.
If you're new to sublimation, don't worry! I'll walk you through everything. And if you came here from one of my laser engraving or Cricut videos, you'll find sublimation is a great addition to your crafting toolkit. Check out my guide on what is sublimation if you want to learn the basics first.
✨ What You'll Learn
- Where to find the best 3D optical illusion sublimation designs
- How to use Canva for sublimation and print designs to scale
- The exact heat press settings for sublimation ornaments
- Pro tips to avoid ghosting and get bright, professional results
- How to personalize and sell sublimation ornaments for profit
Quick Links
Materials You'll Need
Here's everything you need to make your own 3D sublimation ornaments:
- Epson EcoTank ET-2800 converted to a sublimation printer – or any compatible sublimation printer
- Hiipoo Sublimation Ink – the ink I used to convert my printer
- HTVRont Sublimation Paper – quality paper for crisp transfers
- HTVRont Sublimation Ornament Blanks – comes with blue protective film
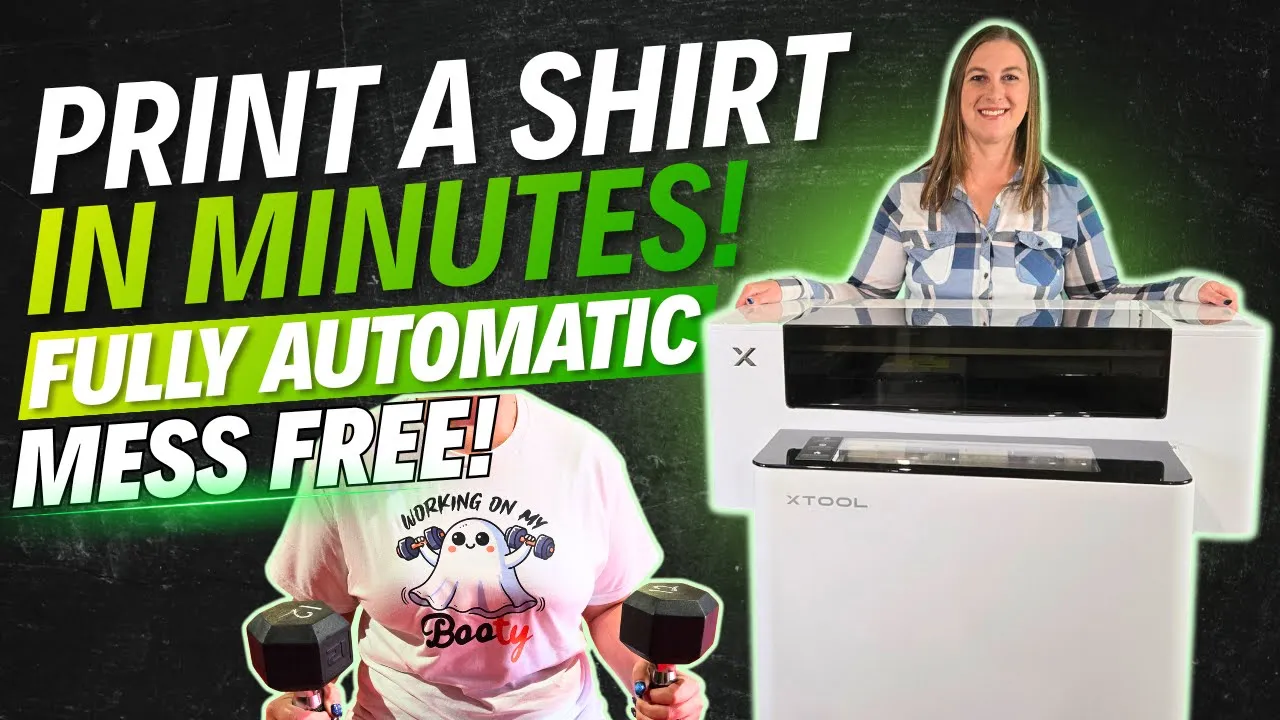
- HTVRont Auto Heat Press 2 – my new favorite with adjustable pressure
- HTVRONT Heat Tape for Sublimation – heat resistant tape to hold everything in place
- Butcher Paper – white butcher paper to protect your press
- Heat-resistant gloves – for handling hot ornaments safely
- Scissors – for cutting out your designs
- Computer – for designing in Canva
- Creative Fabrica membership – for unlimited sublimation designs
What Is Sublimation?

Sublimation is a process where you use special sublimation ink to create vibrant designs that transfer onto different surfaces. It works by turning solid ink into gas using heat and pressure, which then permanently infuses into the material.
Sublimation is perfect for making all kinds of custom photo gifts like blankets, coffee mugs, tumblers, puzzles, keychains, and shirts. This technique works best on polyester-based or specially coated surfaces. The ink permanently bonds with the material, making it durable and long-lasting. You don't have to worry about your designs peeling or fading in the wash like you do with vinyl!
The design is printed on sublimation paper and then transferred onto special items called sublimation blanks using heat and pressure. For a deeper dive, check out my benefits of sublimation printing guide.
Step-by-Step Instructions
Step 1: Set Up Your Sublimation Printer
You can't use a regular inkjet or laser printer for sublimation. You need to either buy a dedicated sublimation printer or convert an inkjet printer. I converted my Epson EcoTank into a sublimation printer using Hiipoo ink.

I have a full tutorial on my channel showing you exactly how it's done. It's surprisingly cheap and easy compared to buying an actual sublimation printer, which can get very expensive! Check out my Epson EcoTank for Sublimation guide for the complete walkthrough.
Step 2: Find Your 3D Ornament Designs
Head over to Creative Fabrica and type “sublimation” into the search bar. You'll find over a million results! Their all-access subscription gives you unlimited downloads for just $3.99 a month. You can sign up for a free trial through my link.
For this project, search for “3D ornament sublimation” designs. There are so many hilarious options to choose from! I went with a gingerbread man with a funny backside, buff Santa (kind of creepy but funny!), and a cute kitty cat.
💡 Pro Tip: Create a new folder on your computer for this project. Extract all your downloaded designs into that folder. This way you can preview the images easily instead of double-clicking each file to see what it looks like!
Step 3: Design in Canva
Canva is the best program to use with sublimation printing. They make it so easy to customize designs, add text, adjust quality, and print to scale. You can do everything with the free version, but the paid version has extra perks like CMYK color profiles.

Here's how to set up your design:
- Click “Create a Design” then “Custom Size”
- Change units to inches
- Set the size to match your paper (8.5 x 11 inches for standard printer paper)
- Click “Create New Design”
- Go to Uploads → Upload Files and select your ornament designs
- Drag your files onto the canvas
- Resize each ornament to about 3.3 inches (slightly bigger than your ornament blank gives you wiggle room!)

I found that I could comfortably fit about six ornament designs on one sheet of paper. Remember, you need a front AND back for each ornament!
Step 4: Download and Print Your Design
This step is important for printing to scale!

- Click Share → Download
- Change file type to “PDF Print” (best for printing)
- If you have Canva Pro, select CMYK color profile for professional printing. RGB works fine too!
- Click “Flatten PDF” then Download
- Right-click the file and select Print
- Choose your sublimation printer from the dropdown

⚠️ Important: In your print settings, set Scale to Custom and 100%. This is how you print images to scale! Also change paper type to Premium Presentation Paper Matte and quality to High. Don't forget to select Mirror Image under More Options!
Step 5: Cut Out Your Designs
After your designs print, grab your scissors and cut around each ornament. It doesn't have to be perfect! Since we made the designs slightly bigger than the ornament blanks, you have plenty of wiggle room.

Try not to touch the printed area too much. The oils from your fingers can affect the transfer.
Step 6: Prepare Your Ornament Blanks
When you look at your HTVRont ornament blanks, they might appear blue. Don't worry! That's just a protective film you can peel off.

Be careful not to touch the white surface too much. You want it nice and clean for the best results. Any oils or dirt can affect your final transfer.
Step 7: Set Up Your Heat Press
I'm using my HTVRont Auto Heat Press 2, which is an upgrade from the previous model. Here's what I love about it:
- Adjustable pressure (20-80 kg) – finally!
- Flip-up control panel with clearly labeled buttons
- Auto-close feature when you slide the drawer shut
- Angle-adjustable screen
- Automatic shut-off for safety
- Compact, space-saving design
- No assembly required

Heat Press Settings for Sublimation Ornaments:
- Temperature: 355°F
- Time: 45 seconds
- Pressure: 170 Lbs

The machine heats up in about 4 minutes.
Step 8: Press Your Ornament (Front Side)

- Lay a sheet of white butcher paper on your heat press to protect it
- Place your ornament blank on top
- Carefully line up your design FACE DOWN on the blank (remember which way the hole for the string is!)
- Secure with heat resistant tape so nothing shifts
- Cover with another piece of butcher paper
- Push the tray in and let the countdown begin!
After 45 seconds, the machine lifts automatically. Sometimes the top butcher paper sticks to the lid. If that happens, just turn off the machine and carefully remove it with tweezers.
⚠️ Important: Leave the ornament alone for 5-10 minutes until it's completely cooled! If you try to rush this step, the ink might smudge and ruin your project. That's called ghosting.
Step 9: Press the Back Side
Once your ornament is cool, it's time to do the back!
- Give the back a quick wipe down with rubbing alcohol (since the tape was touching it)
- Let it dry completely
- Repeat the pressing process with your back design
Peel off the paper to reveal your beautifully sublimated ornament! The colors should be bright and the details sharp.

Step 10: Add Finishing Touches
The only thing left is to add an ornament hook or some pretty string! These ornaments are perfect as gifts or to sell during the holiday season.

You can personalize them with names, funny sayings, or even photos. I always sell a ton of photo ornaments for around $10 each during the holidays!
Tips & Troubleshooting
Avoid Ghosting: Make sure your design is secured with tape and don't move anything during pressing. Let it cool completely before handling!
Design Size Matters: Make your designs slightly bigger than your ornament blanks. This gives you wiggle room for alignment without worrying about bare edges.
Clean Surfaces: Wipe your blanks with alcohol before pressing the back side, especially where tape was touching.
Mirror Your Image: Always select “Mirror Image” in your print settings. This is essential for sublimation!
Use the Right Pressure: Lower pressure works better for these thin ornament blanks. Adjust down to prevent pressing issues.
Profit Potential: Blank ornaments cost very little, and you can sell personalized ones for $10+ each. These make great craft fair items! Check out my guide on how to sell sublimation crafts for more tips.
FAQ
Q: What temperature do you sublimate ornaments at? A: I press at 355°F for 45 seconds with 170 lbs pressure. Always check the manufacturer's recommendations for your specific blanks.
Q: Can I use a regular inkjet printer for sublimation? A: No, you need either a dedicated sublimation printer or an inkjet printer converted with sublimation ink. I converted my Epson EcoTank and have a full tutorial on how to do it!
Q: Why do my ornament blanks look blue? A: That's a protective film! Peel it off carefully before pressing. The actual blank is white underneath.
Q: How do I prevent ghosting on my ornaments? A: Secure everything with heat resistant tape, don't move anything during pressing, and wait 5-10 minutes for complete cooling before touching or peeling.
Q: Can I sublimate on both sides of the ornament? A: Yes! Just do one side at a time. Let the first side cool completely, then wipe the back with alcohol before pressing the second side.
Q: Where can I find funny 3D ornament designs? A: Creative Fabrica has tons of options! Search for “3D ornament sublimation” and you'll find everything from gingerbread men to cats to buff Santa designs.
Downloads & Design Files
- Creative Fabrica – Unlimited sublimation designs for $3.99/month (includes commercial license!)
- Gingerbread Man 3D Ornament Design
- Black Santa 3D Ornament Design
- Christmas Cat 3D Ornament Design
Call to Action & Community Invite
Ready to make your own hilarious 3D sublimation ornaments? I'd love to see what designs you choose!
Tag me on Instagram @kerricraftsit or post in the Kerri Crafts It Facebook community to show off your creations!
Watch my full video tutorial here
Find me on all platforms: linktr.ee/kerricraftsit
Social Links:
- Visit YouTube
- Follow on Facebook
- Follow on Instagram
- Follow on TikTok
- Follow on Pinterest
- Shop on Etsy
More Projects You'll Love
- Top 15 Must-Know Sublimation Tips for Perfect Results
- Epson EcoTank for Sublimation: Complete Setup Guide
- How to Sell Sublimation Crafts
- What Is Sublimation? A Beginner's Guide
- Benefits of Sublimation Printing
Tags: #HowToSublimateOrnaments #SublimationChristmasOrnaments #ChristmasSublimation #DIYChristmasCrafts #SublimationTutorial #htvront #htvrontautopress2